Recent Articles
Saving some more pumpkin puree
12.5 years ago pie, pumpkin, recipe 3 Comments
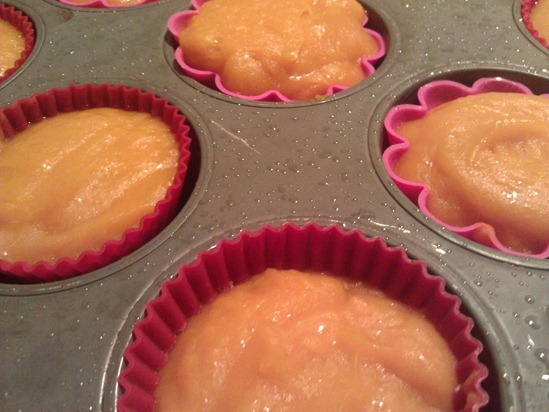
I cooked up another pumpkin to make some more puree to last be though the rest of the year. This time I used silicon liners which made the removal of the frozen pumpkin pucks a piece of cake.
Last year I made a delicious pumpkin pie with some of this puree, this year I decided to be a little more health conscious and used this recipe for a low carb, gluten free pumpkin pie. Just as delicious, but with almost half the calories and none of the sugar/carb rush/
Quick winter garden update
12.5 years ago bok choy, broccoli, cold season crops, garlic bulbs, winter garden 3 Comments
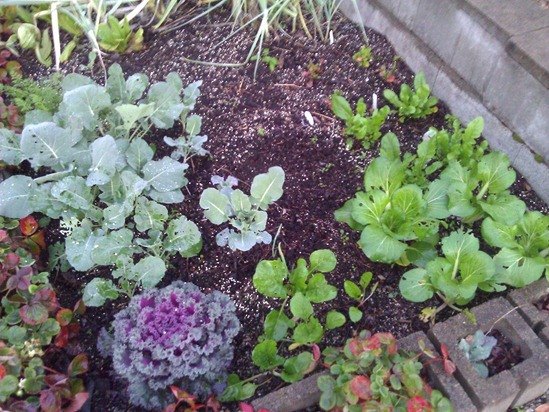
The weather is starting to get colder (yesterday woke up to 37F) but still in safe ranges for my winter garden which is doing great. An abundance of Kale and arugula and chard and bok choy are getting pretty close to harvest. Broccoli is taking its time like it should.
I also planted some chives, onions which I started from seeds several week ago. I have also planted a bulb worth of garlic to harvest next summer.
Growing tomatoes and getting to grips with the green tomatoes at the end of the year
12.5 years ago indoor seed starting, product review, sponsored post, tomato 2 Comments
October tends to see the first frosts in much of the UK and as tomato plants won’t survive a frost, gardeners growing tomatoes not lucky enough to have a heated greenhouse are struggling to get those stubbornly green tomatoes to ripen.
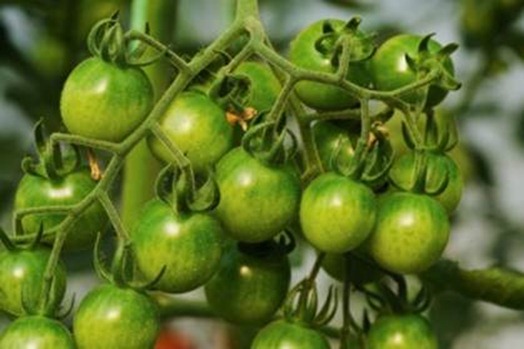
Figure 1 – The end of the growing tomatoes year – green unripen tomatoes
If you are wondering how to grow tomatoes so that they have the best chance of turning red you will be interested to know that temperature has a major impact on ripening. If your fruits are too cold they will not turn red. To give your tomatoes the best chance of ripening properly you should ensure your tomato plants are maintained at the correct temperature throughout the entire growing process. Tomato seeds need a temperature between 18°C and 22°C (68°F to 75°F) to germinate and tomato plants won’t survive below 10°C. It is also important to grow them somewhere where they are exposed to as much natural sunlight as possible to aid photosynthesis.
A Helpful introduction to tomato growing
Many growers make use of seed propagators such as the Greenhouse Sensation Vitopod to ensure their seeds are kept at the optimum temperature for germination. The Vitopod is particularly useful compared to traditional tomato pots in a basic propagator, because it is large enough to be used for hardening-off and protecting young tomato plants from late frosts. The shock of a late frost to a young tomato plant just out of a heated propagator can kill the plant, resulting in you having to start again.
Obviously greenhouses, polytunnels or even a conservatory are the ideal environment in which to keep your tomato plants warm but many people do grow outdoors, just make sure you choose a bright spot and be aware that they will take longer to ripen because of the cooler temperatures.
Even though October can be a particularly bountiful month and with aids such as the self-watering tomato pots such as the hydro grow system you can sometimes harvest fruit through to December providing that the plant is located in a heated location such as a greenhouse. The season is never long enough to ripen every single tomato you grow on the vine. Consequently no matter how particular you are with caring for your tomato plants it is inevitable that if you have produced a bumper crop you will end up with a lot of green fruit. If your vines are groaning with green tomatoes there are a couple of methods you can employ to encourage them to turn red:
One solution commonly advocated in gardening circles is harvesting the green tomatoes and placing them in close proximity to a banana. This works because ripening bananas give off ethylene — an odorless gaseous organic compound which also occurs naturally in tomatoes and catalyzes the ripening process.. Tomatoes produce their own ethylene once they have reached the mature green stage of their development but the process can be speeded-up by placing tomatoes near ripe bananas, the ethylene produced by the bananas stimulates the ripening process normally stimulated by the tomatoes own ethylene, this can be blown away if they are being grown in a windy environment.
How to get green tomatoes to ripen
One way of employing this method is by selecting three or four green or yellow tomatoes and placing them in a box with a banana which is starting to ripen. Ideally the banana should be at the stage where it is still green in places but turning yellow. This process will take one or two weeks so you may have to change the banana at some point. Alternatively you could just place a few tomatoes in a sunny spot near a bunch of bananas. Many growers use apples instead of bananas for this technique due to their abundance in British gardens (unlike bananas)!
Another way of encouraging your green tomatoes to turn red is by placing the fruit in a closed paper bag on its own. This traps the ethylene which the tomato produces itself and accelerates the ripening process. Simply place the fruit in a brown paper bag, folding the top over it twice to seal it. Regularly checking to see if the fruit is ripening is important to ensure that it doesn’t start to rot, especially in a humid environment such as a home.
If you are thinking of growing tomatoes at home the Greenhouse Sensation site has some excellent information about the varieties to grow, how and when to sow tomato seeds.
How to Freeze pumpkin puree
12.5 years ago freezing, halloween, pumpkin 13 Comments
After making my own pumpkin puree last year, I can’t go back to the old stuff in the cans. Last year I put the pumpkin puree into individual 1/2 cup plastic containers. This worked ok but given our full freezer it was pretty common for these hockey pucks to fall out from where they were wedge breaking on the floor (if I was luck enough to get my foot out of the way)
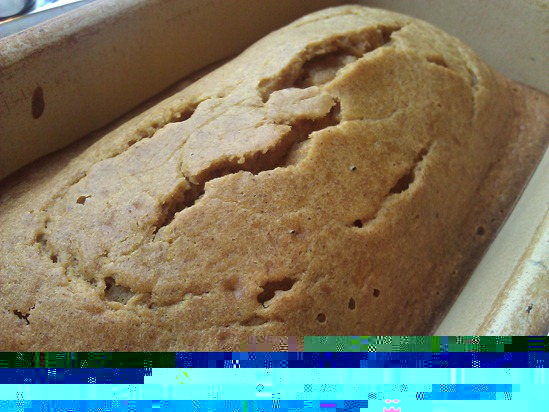
This year I am using a different technique to freeze these to use in pumpkin pie, pumpkin cheesecake (low carb version), pumpkin ice cream, or pumpkin bread this holiday season. Before you can freeze the pumpkin puree you need to get it from the pumpkin.
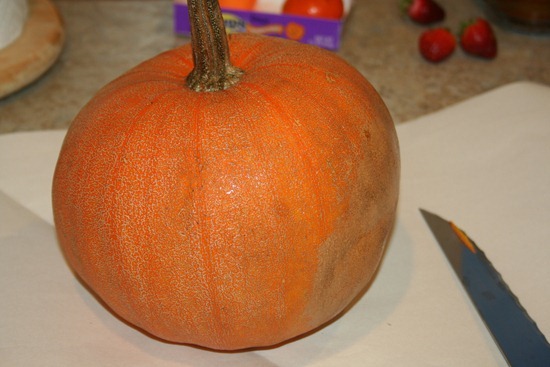
Step 1: Clean the pumpkin. Use a little water and scouring pad to remove loose dirt
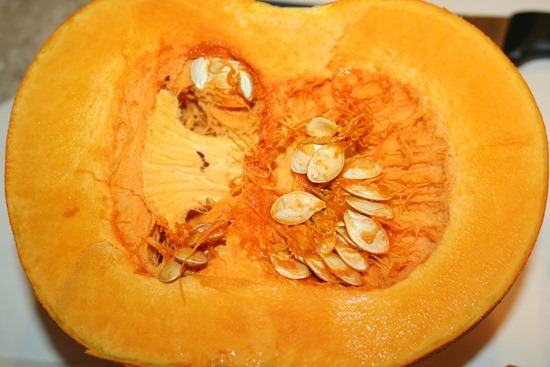
Step 2: Remove stem and cut pumpkin in half. This will take a little muscle to get through but using a serrated blade should make quick work of this little pumpkin.
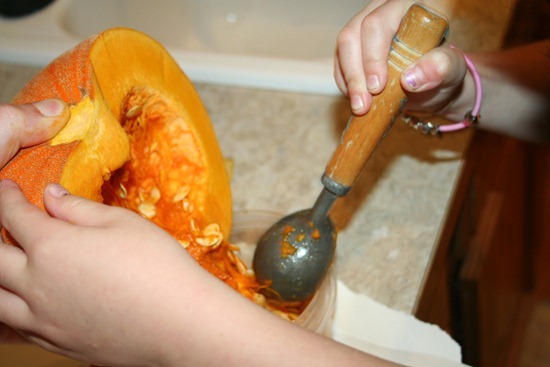
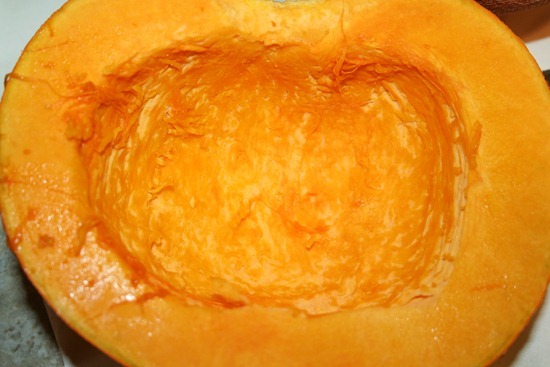
Step 3: Scoop out seeds and innards. Using an ice cream scoop scrape out the seeds and the stringy innards, you don’t have to get this completely clean as you can see below. I also decided to save a few seeds with hopes to grow my own sugar pumpkins next year using the seed saving techniques I have wrote about last year.
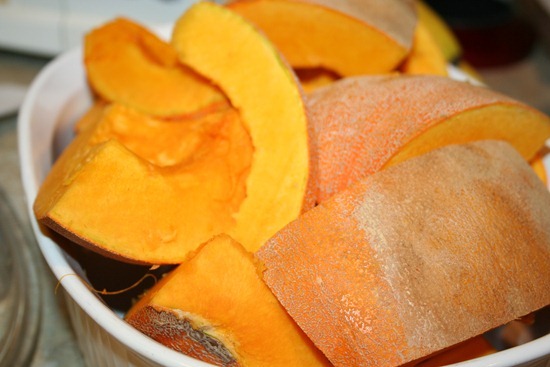
Step 4: Cut the pumpkin into smaller equally sized pieces. Once you have all the seeds and gunk out slice up the pumpkin halves into several equally sized pieces.
Step 5: Cook the pumpkin. Places pieces in a casserole dish and cover with top or if yours are overflowing your largest casserole dish like mine you can simply cover the dish with a piece of aluminum foil. Place in a preheated oven at 350F and cook the pumpkin for 45-90 minutes. The pumpkin is done cooking when you can slice through the pumpkin flesh with an edge of a fork with almost no effort.
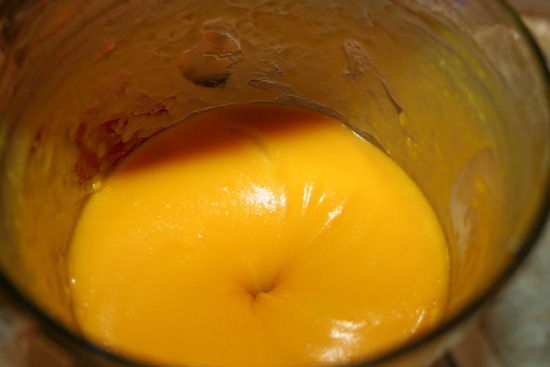
Step 6: Blend. Use a large metal spoon to scape the pumpkin away from the skin and place into a blender and blend until smooth. If you have a very dry pumpkin like mine you might need to add a little water to get a good cortex going like above.
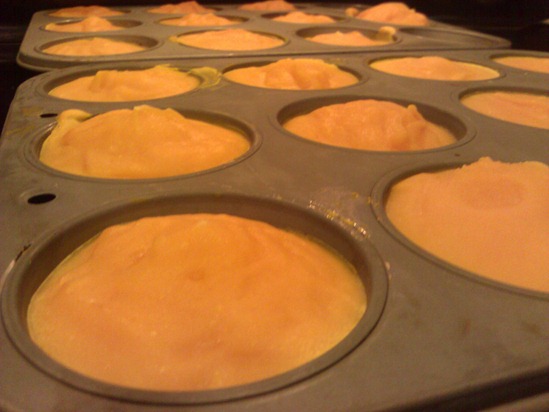
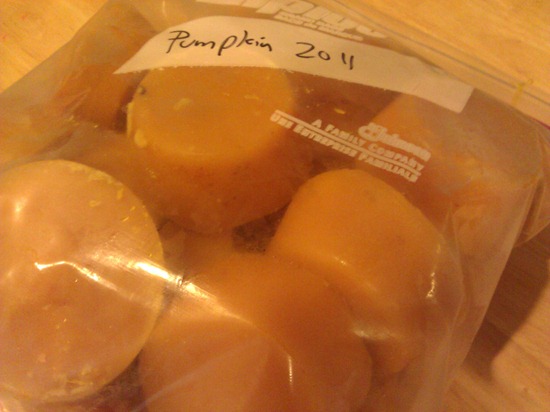
Step 7: Freeze. Scoop your pumpkin puree into a couple of cupcake pans and freeze for 24 hours. Then using both your thumbs apply a little pressure on the bottom of each frozen pumpkin puck to dislodge. My wife had a great idea of using those silicon cupcake liners to make getting them out easier….though we just purchased those a day too late so I had to deal with the muscle and cold finger technique. Place your dislodged pumpkin pucks into a freezer bag removing extra air with a straw and should be good to use for about 12 months…which is perfect when more pumpkins arrive and the process repeats.
Each puck is approximately 1/2 cup so just pull out and defrost as many as you need for your recipe. Given there are no additives or sugar involved I have also used this same puree as baby food, which our daughter seemed to enjoy, but I opted for some fresh banana bread for myself.
Late summer harvest
12.6 years ago cucumbers, jalapeno, peppers, summer, tomato 2 Comments
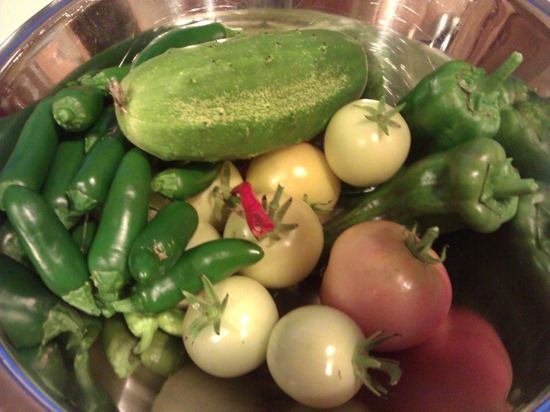
One of the good things about a cold summer is still getting harvests of summer vegetables now into October. Got another cucumber for summer fall pickles and some tomatoes I have ripening inside which this weekend I used to make some low carb pizzas.
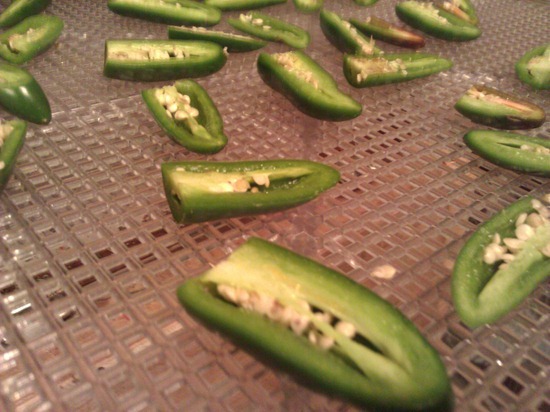
One thing I was especially excited about was my jalapenos finally getting ready to be picked which I will dry and make jalapeno pepper powder which is an excellent addition to eggs in the morning and burgers in the evening providing the taste and kick of jalapenos without the texture and moisture.
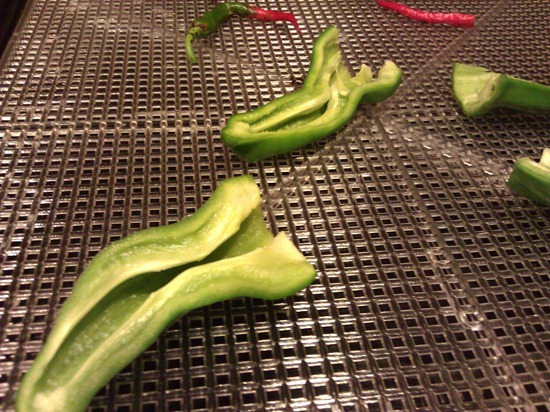
I have also picked some green peppers which I will be drying out for my own variation of not so sweet paprika.
What I am growing in my winter garden
12.6 years ago bok choy, cold season crops, garlic bulbs, leeks, lettuce, onions, winter garden 1 Comment
I normally get burned out over the spring/fall and don’t do much for the fall/winter season. This year I decided I want to have a nice selection of winter veggies so I am going all out and start my winter garden.
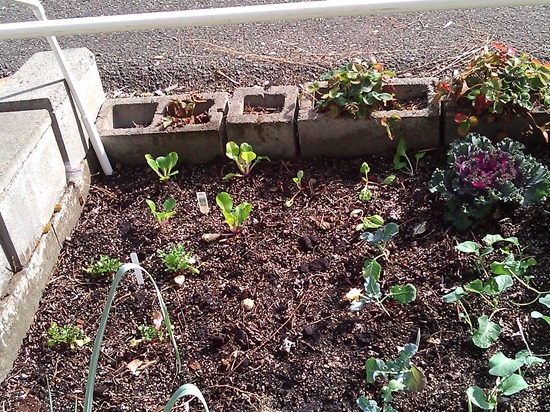
In the garden now are kale, broccoli, bok choy, carrots, spinach, romaine lettuce, arugula (one of the most profitable vegetables), bunching onions, garlic, and leeks. I wanted to grow Brussel sprouts but I should have started those about 4 month ago.
I grew the lettuce, broccoli, onions, and leeks from seeds in the grow box and transplanted them a few of weeks ago. The bok choy, kale, and arugula were an impulse addition when I saw the plants on sale and struggling at my local grocery store.
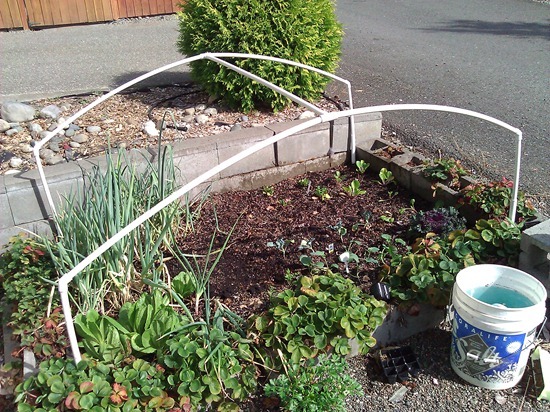
All of these plants should do pretty well with the mild winters we get here in the Pacific Northwest…but our hard rains and occasional snowfall could lead to their downfall. For this reason I came up with this structure which when the rains and/or low temperatures come I will cover with 2.5mm plastic sheeting. Though I plan on adding one more set of cross pieces to prevent sagging in the middle, I consider this design a bit of a hybrid between row covers and a full blown hoop house.
This will provide plenty of space for the plants to grow and ease of getting under the structure to harvest in the rain while not large enough to hopefully not catch a little wind and sail away.
I am excited to continue to collect my harvests all year round.
