Search Results

Frugal way to grow a garden with bird seed for temporary spaces

image

Many people love bird watching. It is the favorite pastime of many gardeners too. For drawing the birds to the garden, you need to use the feeders. Instead of buying and storing the feeders every season, you can as well consider turning a special part of your garden exclusively for attracting birds. If the feeders are able to sprout, you can use them for growing the plants. Once the plants grow and mature, the birds can eat the seeds from the plants directly. Apart from that, you can pick the best seeds and store them away for the next season. If this interests you, here is how to grow bird seed.

1. Find a special spot

If you have a large garden, you can make use of the space effectively. Divide it into many parts. One special spot can be left for the birdseeds. The first thing to do is to find the best spot in your garden to attract the birds. The best thing is to consider an area away from your main garden. The birds will not disturb your garden and other useful items there.

2. Choose a good mixture of seeds

Choose a good mixture of seeds that can produce a wide variety of flowers. This can add a lot of color to the area and attract a lot of different types of birds. When the plants grow and produce different kinds of plants and flowers, various birds come to your garden automatically. In order to make the seeds grow well, you have to take the necessary steps.

3. Growing the plants

The soil should be well suited for growing the type of garden and plants you are looking for. First, begin with loosening the soil with a garden hoe. This will make it easy for planting the seeds. When the soil is ready, take a handful of seeds and scatter them on the loosened soil. Rake some topsoil over the scattered seeds. Sprinkle some water lightly over the topsoil to provide enough moisture for the sprouting.

4. Harvest the seeds

After the plants grow well, they start producing the seeds. Harvest these seeds at the end of the season. Store them properly in an airtight container. They can be used for feeding the birds during the winter season. Or, you can also leave them on the plants so that the birds eat them directly from the plants.

The best thing about these plants is that they will produce different kinds of colorful flowers before producing the seeds. So you will be able to enjoy different kinds of flowers and plants in your garden. At the same time, you can get a large amount of seeds for the next season. This is one of the best ways to produce healthy bird seeds in your own garden without spending money too often. Once you get used to the procedures, it will be easy to maintain the garden and follow the different procedures for taking care of the things. Choose an ideal location in your garden and spend some time with the birds daily. Children can also learn a lot of things from your garden.


About the author: Alia Haley is a blogger and writer. She loves writing on technology and luxury. Beside this she loves gardening in free time. She recently bought a book on Japanese Garden. These days she is busy in writing an article on patio umbrellas.

HomeTown Seeds: 3-Tray Kitchen Seed Sprouter Review and Giveaway

005

Last year I played with sprouting seeds in a mason jar to hold me and the kids over during the winter until it was time to start growing for the following spring.  The process worked great but I ended up with way more sprouts than I could consume and most of the sprouts were wasted.  One option was to use smaller jars and stagger the starting of the seeds, but this would leave me to fill and drain 3-4 jars a couple of days.

Fortunately Hometown Seeds has a product (3-Tray Kitchen Sprouter) that solves these problems for me and when they asked it I would want to review this product I jumped at the chance.

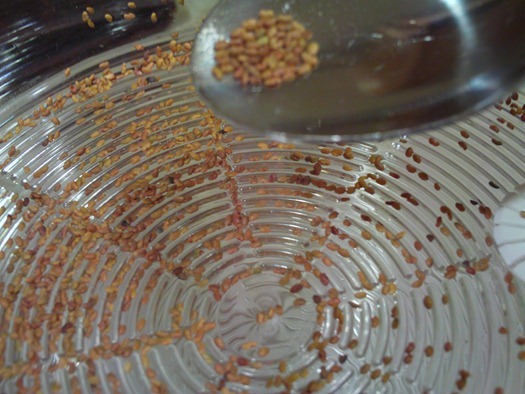
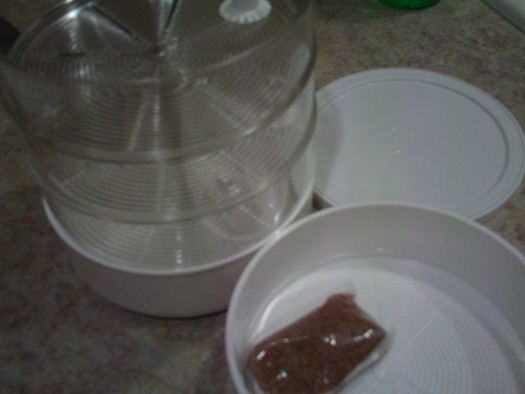
The kit comes with 3 trays and a packet of 2 oz of organic alfalfa seeds, which you can fill each with a half of tablespoon of seeds to get a full tray full of sprouts in 2-3 days.  Each tray is easily removable so you can choose to create 3 trays worth of sprouts at a time or create start a new tray every day to always have a fresh supply of sprouts.

007

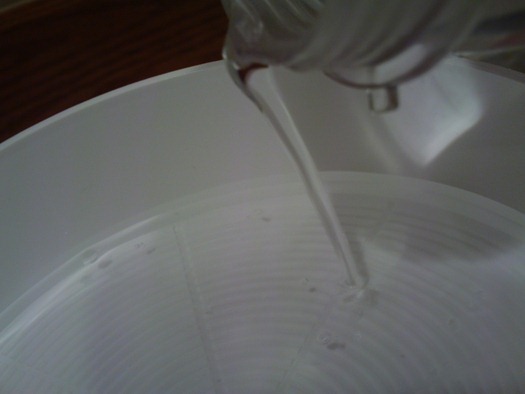
After you have added the seeds you put the pieces together and simply fill the top reservoir with water and the sprouter does the rest.  The sprouter uses a syphon technique to allow the tray to partially fill with water before draining to the tray below it, to repeat the process for any other trays you have.

009

Here you can see the syphoning in action.

I have not tried it myself but I don’t see any reason if you bought multiple kits and stack them as high as you want and have a sprouting factory on your kitchen counter.

Overall I was very impressed with the sprouter it was easy to use and entertaining for my 6-year-old to watch the water drain through the various levels.  Also produced clean quality sprouts without making a mess all over the kitchen counter.  The only negative observation is sometimes the seeds/sprouts can clog the syphon if too many get packed together.  Fortunately when this happened to me, I simply removed the plastic syphon cap and pushed away a few of the seed/sprouts blocking the drain and didn’t have any problems after that, but something to keep an eye on.

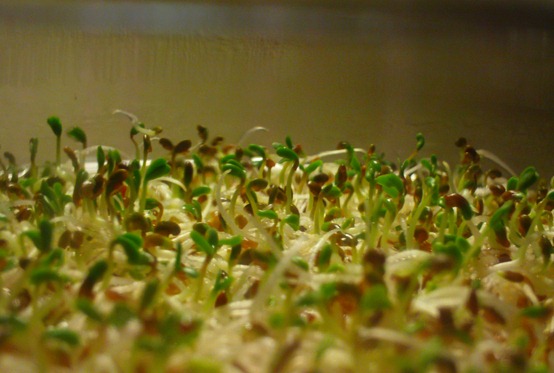
Here are some sprouts I after growing for 2 days…tomorrow they will go on some sandwiches.

005

Hometown Seeds has also graciously offered one of these sprouting systems to readers of CVG, so if you are in the continental United States, just enter a comment below and I will pick a winner at random in one week (9/18/2010 Midnight PST)

5 Easy Money-saving Gardening Tips

image

Starting and keeping a garden is a great way to spend your time for those of you with a green thumb. I just recently took up the hobby, and was shocked at just how expensive it was to start a relatively large garden in my back yard. Undeterred by the cost, I opened my wallet, pulled out the no fee credit cards and began buying seeds, mulch, and the tools I needed to keep my garden looking great.

Make you own compost. There are two big benefits to composting.  First, those scraps from the vegetables and other foods you spent your hard-earned money on don’t go to waste, allowing you to make the most of your purchases. More importantly, however, compost is free nutrient rich soil for your garden.  It’s easy, too.

A very simple way to create a compost area is to choose an area of your yard that’s away from everything else and section it off with chicken wire.  Once you’ve built your bin, simply toss your scraps, veggie peelings, egg shells, and more into the bin and let it decompose. Compost soil takes about a year to be ready for gardening, but once it’s ready, you’ll have some of the freshest free soil around.

Cut back on mulch. Have you laid mulch and then had pesky weeds pop up anyway? If you answered “yes,” there’s a good chance that you also purchased more mulch to lay over the invading weeds. There’s a simpler solution, however.

Next time you go to lay mulch, take some of those old newspapers out of your recycling bin and lay them flat over the area where you’re going to lay the mulch.  With this biodegradable layer between the weeds and the mulch, you’ll see fewer of their little heads popping through the wood chips, and you’ll save money since you’ll have to reapply your mulch less often.

Buy self-seeding plants. Another really great way to save money on your garden going forwards is by not having to by new plants every year. Many plants – like Foxgloves, Oriental Poppies, etc. – are self-seeders.  This means that as they deteriorate in the colder months, they will release seeds that will germinate when the weather gets warm again.

This is a great way to save money on your garden because it removes some of the monetary burden of purchasing all-new flowers at the start of each warm season.

Start small. One way to facilitate the lushness of your garden is to buy larger, adult plants instead of growing from seeds. Many gardening stores sell larger plants because they are more expensive to the buyer, however.  To save some money this year, but smaller, starter plants or grow your garden from seeds. Seeds and smaller plants cost less because they’ve cost the growers and distributors less to grow and maintain.

For some, growing a garden can be challenging, but if you’re willing to try, going this route will save you money upfront and could very well produce just as beautiful a garden as larger plants.

Become a plant food chef. Another expense that can be very important to your garden (and its health) is purchasing plant food.  Plants, like all other organisms, need certain things to thrive—water, light, nutrients, and more. And one of the ways we give plants nutrients is with expensive plant foods.

You can, however, save money on plant food by making your own. Here’s how: take compost and place it into a large container of water for a week.  When the week’s up, the water should be murky and brown. That means it’s ready. Now, use this mixture to water your plants—it will work as well as store-bought foods, but will lack the chemicals found in them.

The biggest tip I can give you is to keep it small and simple until you get the hang of it. Gardening is supposed to be relaxing, not complicated. If you want complicated, try understanding section 529 college savings plans.  That’s complicated.  Gardening should be the opposite of that, and once you get the hang of it, it is.

Saving Thanksgiving rosemary and sage cuttings by cloning

Hey, everyone! I hope you had a wonderful Thanksgiving with your loved ones. Sage and Rosemary are two repeating ingredients in which I typically would get from my herb garden but appears I was a bit lapsed on my watering this summer and plants didn’t make it, so I was forced to buy some fresh herbs from the grocery store. To avoid having to this next year I am repeating what I have done in previous years and cloning them to use next year. Here’s how.

First, you need to trim the cuttings to remove any leaves or flowers. You want to have a clean stem with a few nodes (the bumps where leaves grow). Then, you need to dip the cut ends in some rooting hormone, which you can buy at any garden center or online. This will help the cuttings develop roots faster and stronger.

Next, you need to prepare some pots with moist potting soil. Make a hole in the soil with your finger or a pencil and insert the cutting. Gently press the soil around the stem to secure it. You can put several cuttings in one pot, but make sure they have enough space between them.

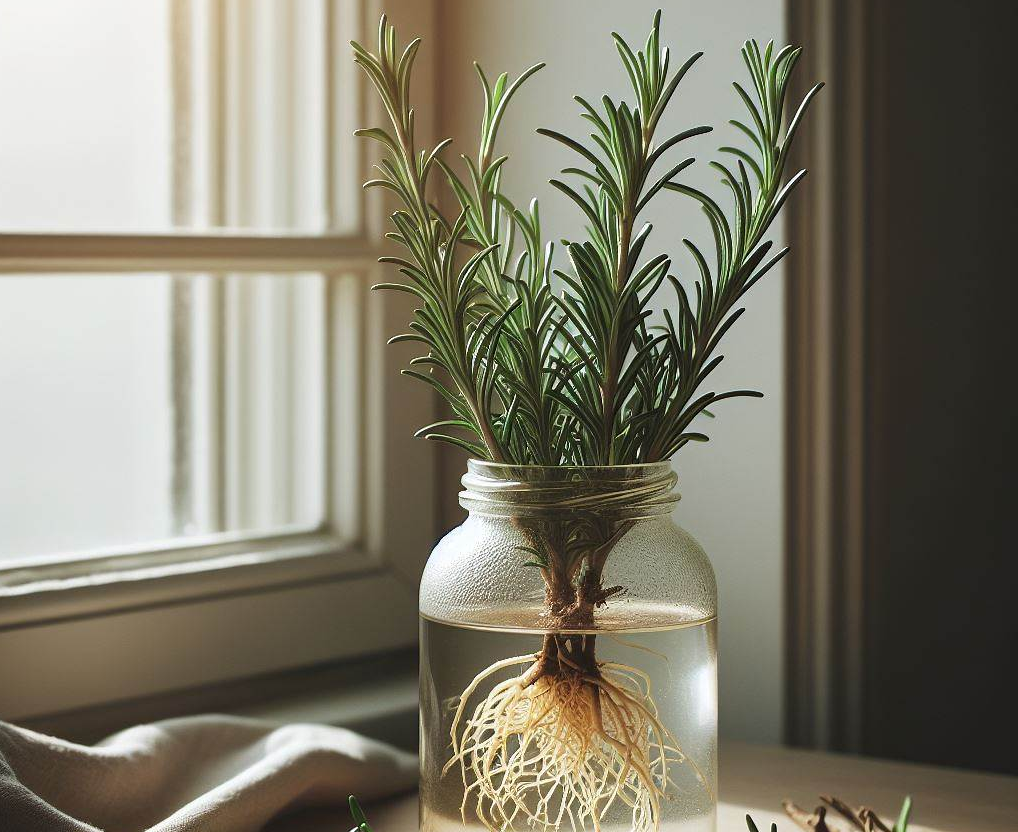
Another option here if you are lapsed in remember to keep up in watering and you have an aerogarden you simple put these stripped stems in the water and then once they are more established with some solid roots then transplant to a small pot filled with some quality dirt.

Finally, you need to place the pots in a bright spot, but not in direct sunlight. You also need to keep the soil moist, but not soggy. You can mist the cuttings with water every day or cover them with a plastic bag to create a humid environment. In a few weeks, you should see new leaves sprouting from the nodes. That means your cuttings have rooted and are ready to be transplanted into bigger pots or into your garden.

And that’s it! You have successfully saved your rosemary and sage cuttings from Thanksgiving and cloned them to use next year. You can do this with other herbs as well, such as thyme, mint, basil, oregano, etc. It’s a great way to save money and enjoy fresh herbs all year round. Happy gardening!

Saving some more pumpkin puree


WP_000852

I cooked up another pumpkin to make some more puree to last be though the rest of the year.  This time I used silicon liners which made the removal of the frozen pumpkin pucks a piece of cake.

Last year I made a delicious pumpkin pie with some of this puree, this year I decided to be a little more health conscious and used this recipe for a low carb, gluten free pumpkin pie.  Just as delicious, but with almost half the calories and none of the sugar/carb rush/

image

Giveaway: $1354.83 worth of fresh produce

006

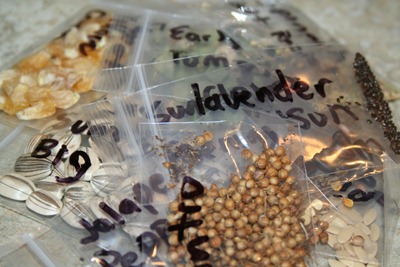
Ok there is a little catch, you have to plant the seeds and grow the produce yourself and have perfect weather and unlimited space to do it.  Over the past season I have intentionally harvested more seeds than I needed just for the purpose of sharing them so here is your first chance to get some of CVG’s seed stash.  This should be a good addition to your current selection of seeds or great for a person just starting out next year.

The harvest values were calculated using my most profitable vegetables in your garden post, so numbers are estimated but I tried to be as accurate as possible.  Below are also links to my harvesting techniques of most of the “Self” seeds below (just realized I never wrote up cilantro and radish seed harvesting so expect to see these soon).

CVG’s Seed Stash (Variety Pack)

Seed Seed
Type
Seeds (Est.) Harvest Value
(Est.)
Jalapeno Pepper Self Collected 10 $ 45.00
Radish Self Collected 30 $ 11.66
Lavender ? 50 $ 10.00
Cilantro/Coriander Self Collected 100 $ 525.00
Bhut Jolokia pepper Self Collected 10 $ 150.00
Sunflower (Big) Self Collected 20 $ 10.00
Spinach Self Collected 25 $ 11.25
Carnation ? 30 $ 5.00
Onions (White) Self Collected 50 $ 12.94
Tomato (Early Girl) Hybrid 15 $ 233.55
Corn (Sweet Yellow) Self Collected 25 $ 31.25
Pumpkin Self Collected 15 $ 150.00
Carrots (Finger) Hybrid 70 $ 15.58
Sunflower (Evening Sun) Hybrid 10 $ 10.00
Cucumber Heirloom 30 $ 116.10
Peas Self Collected 30 $ 12.50
Mint (Spearmint) Hybrid 50 $ 5.00
Total     $ 1,354.83

As always just enter a comment and a winner will be randomly selected using my patented “CVG’s Contest Winner Pickorama” on Jan 1st, 2010.  This contest is open to everyone inside/outside the United States pending any export/import of regulations of sending seeds, which I am still doing some research on.

IKE