Search Results

Hometown Seeds – variety pack give away

Recently I was approached by Hometown seeds if I would be interested in receiving a variety pack of their top selling seeds, my first instinct was “woohoo free stuff.”  Though instead I decided it would offer the seeds to my awesome readers.  Well that and with all the seed saving I have been doing this year I have more seeds than I know what to do with.

Hometown Seeds loved the idea so much that they have graciously increased the offering to three sets of garden seeds variety pack, so in normal fashion enter a comment and after a week I will somehow randomly pick three winners and the seeds will be sent out to you.

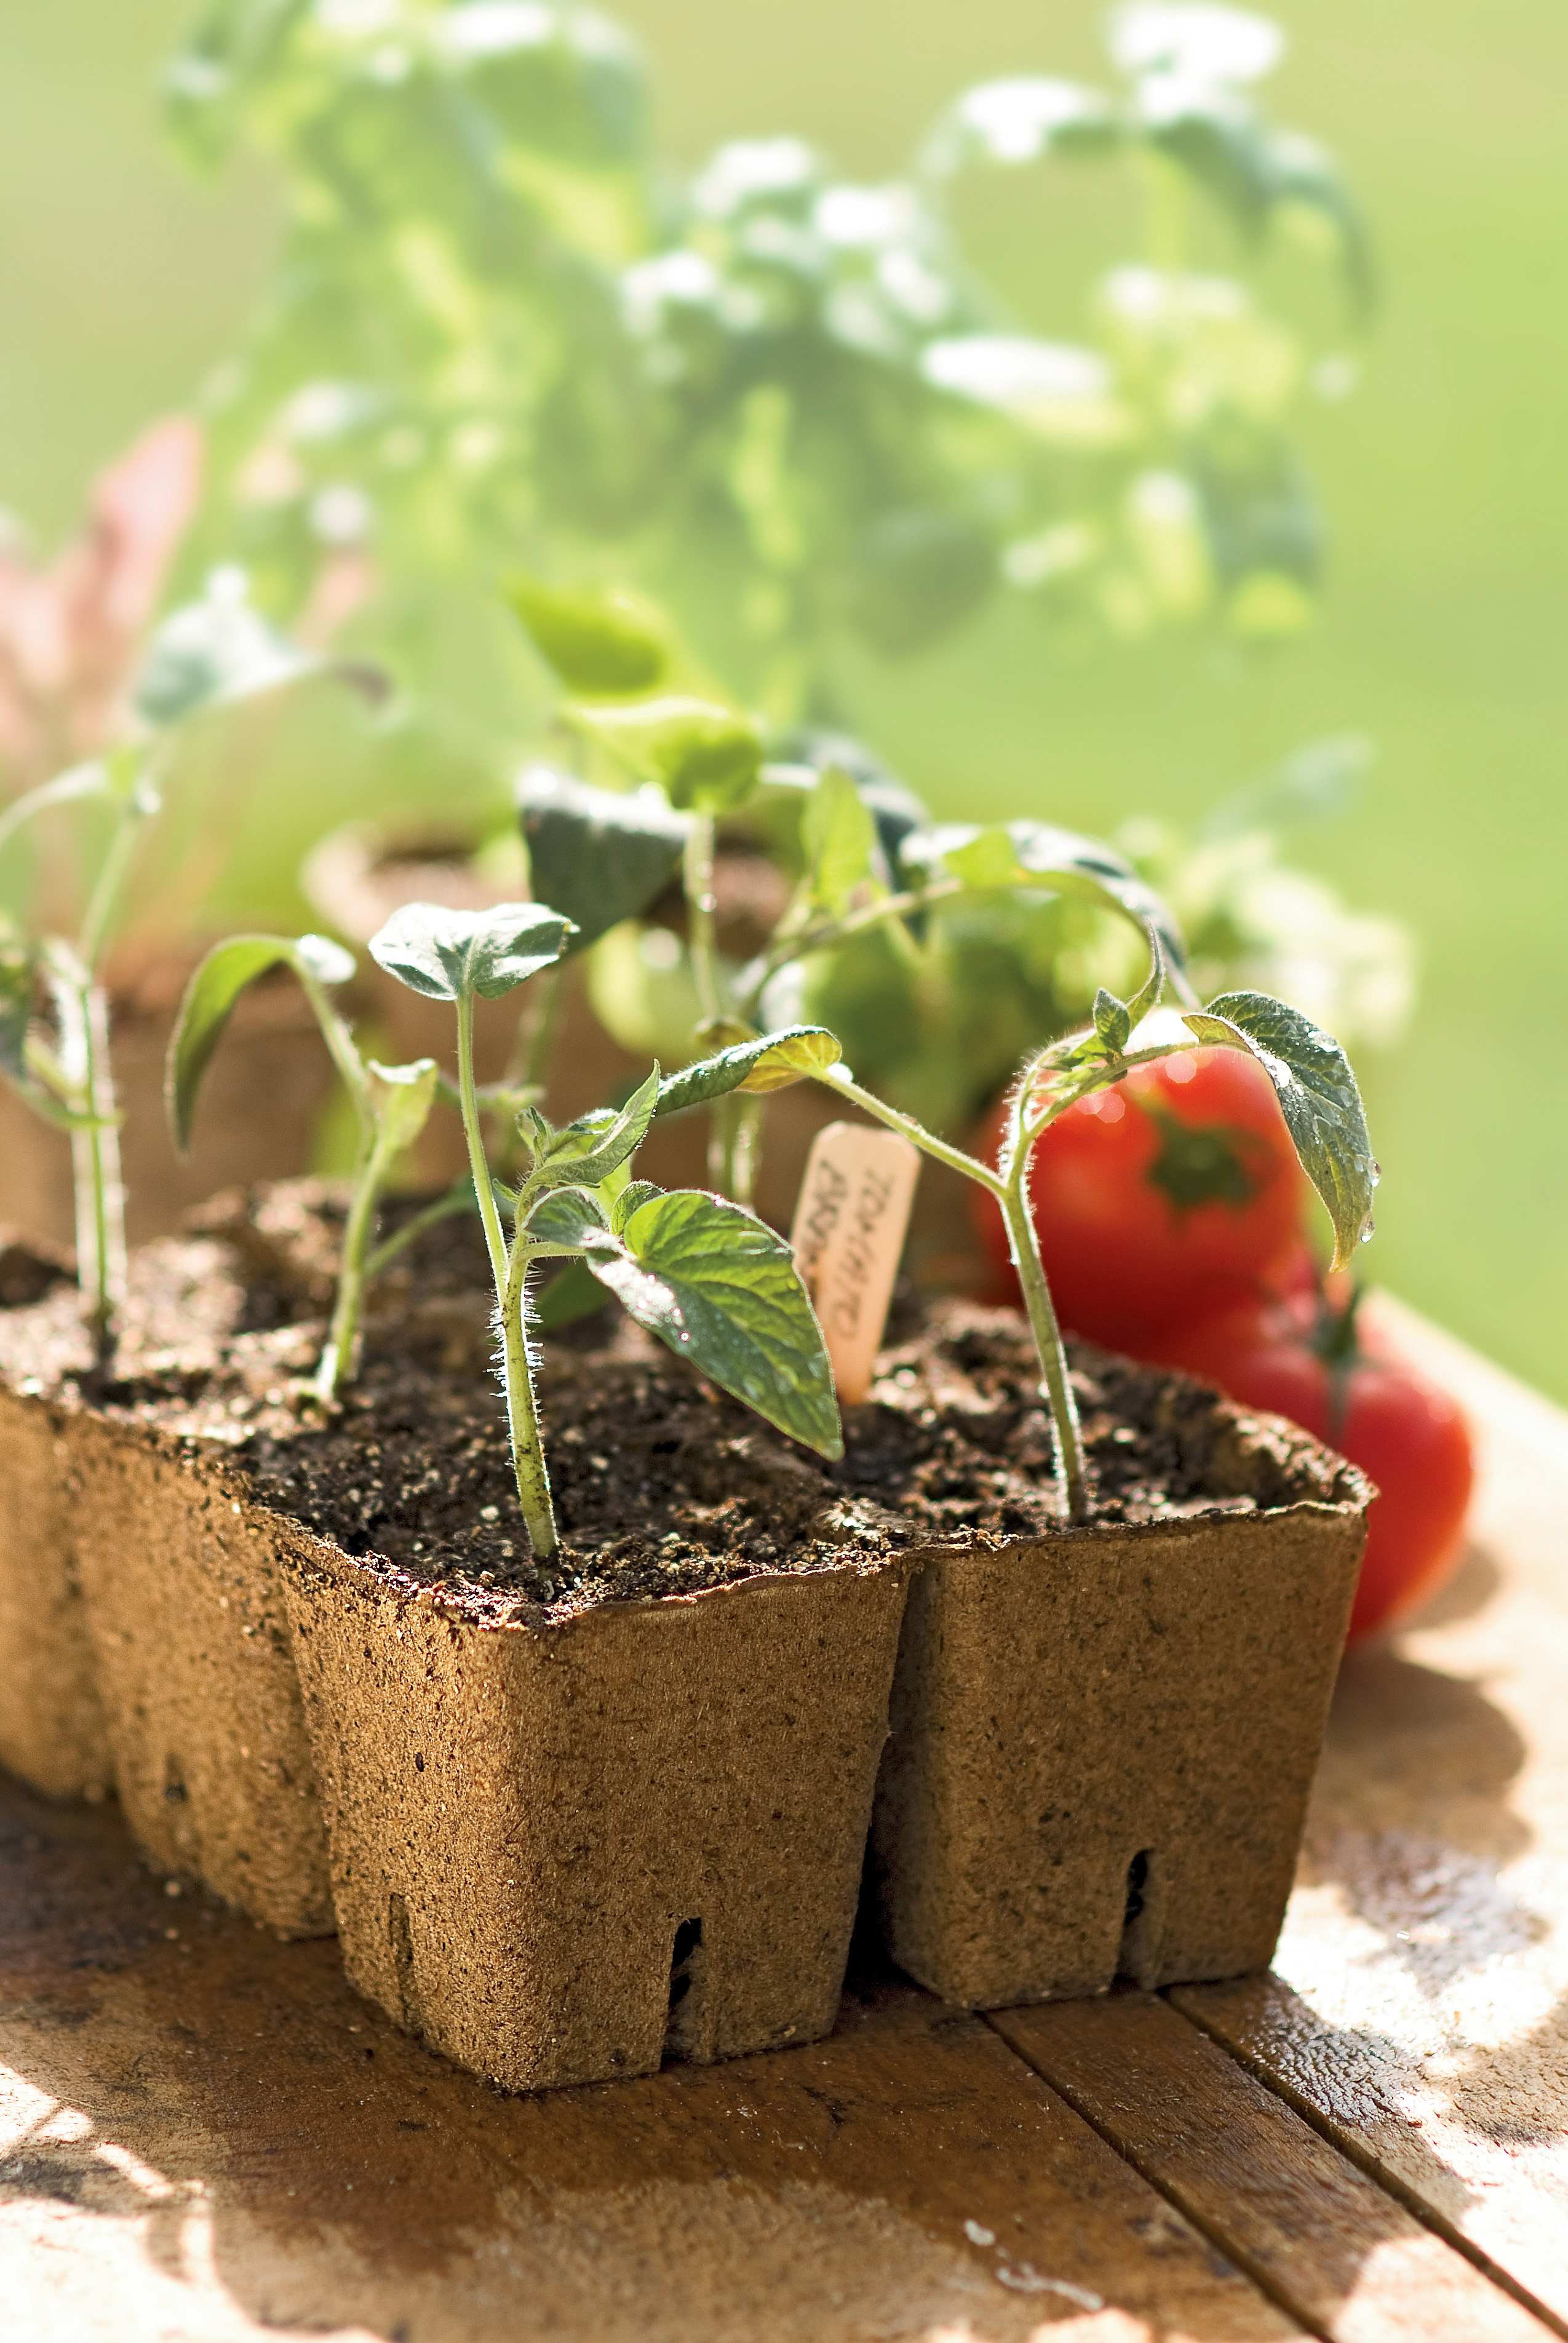
The variety pack includes (1) packet of each of the following:

  • Slow Bolt Cilantro
  • Alaska Shasta Daisy
  • Giant Tetra Snapdragon
  • Elite Mix Wildflower
  • Marvel of Peru Four O’clock
  • Yellow Pear Tomato
  • Purple Haze Carrot
  • Waltham Broccoli
  • Casaba Mellon
  • Gourmet Mix Lettuce

The total value of this package is $19.80 so good luck everyone!

Winner will be chosen at Midnight 12/9/2009 (Pacific)

Starting seeds in paper towels

image

Most often I start my seeds in a mix of coconut coir and perlite in seeding cells or small containers, though there are occasions when it may be better to start your seeds in a simple paper towel.

Before going into the benefits first lets go over the technique:

  1. Get a paper towel, napkin, or coffee filter and spray with water so it is moist (not soaking wet or the seeds could rot)
  2. Add a few seeds and folder over the paper to cover them.
  3. Place the paper and seeds into a zip lock bag (I like to use the snack sized ones) and place in a warm location (top or refrigerator, water hearer, etc)
  4. Check every day or so do see if seedlings have emerged and water as needed
  5. When seedlings emerge very carefully place the strongest seedlings into dirt cups.

Tips

  • Instead of trying to remove the seeds from the paper, you can simply cut around the seedling and plant both into the ground.  The paper will eventually erode away without affecting the seedling.
  • You can also use this technique to plant the seedling right into the ground.

This technique is great for many reasons:

  • Allows for faster germination rates and times
  • Great if you have limited space for seedlings (stack of zip lock bags take up much less space than 40/50 seed cells)
  • More consistent moisture
  • Less dirt on your counters
  • Great option for rare, poor germination rates and/or very slow germinating times (think hot peppers with 3-4 weeks germination delays)  With this method you can keep close tabs on the progress and know after a week or two if you need to start some more (or buy some new seeds)

For the home grower this is a great space saving technique and due to the water retention in the bags it is nearly impossible to lose seedlings due to lack of watering.

How to make pumpkin puree

020

It is that time of year again to stock up on some pumpkin puree from some fresh pumpkins.  Not sure if it is the 3rd daughter or just getting older but this year I have come up with an ever faster way to convert pumpkins into puree.  Not only does this give you a better tasting pie, but given a organic pumpkin cost $6 a can you also save quite a bit of money with just a little additional work.

034

Step 1: Clean the pumpkin. Use a little water and scouring pad to remove loose dirt

037

Step 2: Remove stem and cut pumpkin in half.  This will take a little muscle to get through but using a serrated blade should make quick work of this little pumpkin.

041

Step 3: Scoop out seeds and innards.  Using an ice cream scoop. scrape out the seeds and the stringy innards, you don’t have to get this completely clean as you can see below.  I also decided to save a few seeds with hopes to grow my own sugar pumpkins next year using the seed saving techniques I have wrote about last year.

038

Step 4: Cook the pumpkin. Places halved pumpkins on a cookie sheet. Place in a preheated oven at 350F and cook the pumpkin for 1.5-2 hours. The pumpkin is done cooking when you can slice through the pumpkin flesh with an edge of a fork with almost no effort.

WP_001691

Step 5: Scape out cooked pumpkin.  When the pumpkins are cool enough to handle simply take a large spoon and scrape out the cooked pumpkin and scoop into a large bowl being careful to not scrape too hard and accidentally get some pumpkin skin in the mix.

WP_001694

047

Step 6: Blend.  Use a large metal spoon to scape the pumpkin away from the skin and place into a blender and blend until smooth.  Typically this can be as much as 1/3 water to 2/3 cooked pumpkin to get a good vortex going like above.

031

That is it.  With my 5 pound pumpkin I purchased for $5 I got 6 cups of pumpkin puree, which is enough to make 3 pumpkin pie or 6 loafs of pumpkin bread and if my math is right about $30 compared to buying the canned variety.  After making a pie and a loaf of pumpkin bread this left me with 3 cups of pumpkin goo, which I put in 6 half-cup containers which I froze to make some more pie for Thanksgiving.

Gardening products I would buy if I wasn’t so cheap

Today I got my Gardener’s Supply Companycatalog, this particular catalog is dedicated to items to assist you with your gardening habit.  You should be able to guess from this site I do my best to resist buying anything for the garden I absolutely need, otherwise I make a cheaper alternative.  Well the point of this post is to show what I would like to get if I wasn’t as disciplined.

They sell these Accelerated Propagation System (APS) seed starting kits which have all the basics you expect from a seed starting kits you would find at your local garden store. They include 6 to 40 cells to plant seedlings and a clear plastic dome to help raise the humidity to provide extra moisture for the tender seedlings.  The bonus in this setup is it also contains a reservoir which holds enough water to keep them moist for up to a week.  With the help of an elevated platform and capillary matting provides just the right amount of water to your plants.  At just $19.95 for the 40 and 24 cells sizes this is one purchase I am still considering, since I never have finished my automatic watering system on my computerized grow box and this makes much better use of space than my plastic tub, newspaper pots, and daily watering method I am doing now.
Eco-Friendly Cowpots basically planting pots made as a byproduct of processing cow poo.  The poo is dried, composted and mixed with natural fibers creating a completely biodegradable pot which holds up well during growth and transplanting but biodegrades in the soil after several weeks.  I watched an episode of Dirty Jobs which went through the whole process and it was very interesting and environmentally conscience but, unfortunately due to the price tag (about $1 a pot) these are a little over my budget since my newspaper pots are free.
Gardener’s Revolution Planter – You have probably seen something similar advertised between gardening shows on HGTV (Topsy Turvy) , I know my daughter has and has been talking about growing tomatoes upside down for some time now.  She even on her own came up with a ingenious design to do this (not 5 gallon bucket) which I will write-up when we get around to that project. In case you were wondering the improvement this year (or compared to the TV advertisement) it is the addition of a 1 gallon water reservoir which slowly releases water to the plant as neededSelf watering must be a big seller this year since there are also many other variances of self watering pots in many shapes and sizes with designs similar to the original (to my knowledge) the EarthBox.
Now definitely in the gadget department the Push-Button Kitchen Scrap Composter can take your everyday kitchen scraps and turn them into compost in less than 11 days. The concept on this one is pretty simple:Food + Heat + Spinning = Compost

Of course it crossed my mind of creating something similar myself, but probably would end up burning down the house or if I was lucky just launch partially composted food across the living room at 50 miles per hour.  Given the $299 price tag seems like I will be stuck to waiting 3-6 months for my compost to be created.  Though it would be much more convenient than walking through the snow to add kitchen scraps to the compost.

Hey, those cucumbers look like pickles

cucumber
That was a statement my oldest daughter (6 years old) made which I must admit I am pretty sure I was much older before I had that thought. Seemed like a good opportunity for teaching the kids were pickles come from and a great excuse to make some sweet summer pickles. While heading out the door to get some spices we were lacking my wife told me, "these better not be $20 pickles." I have some history here, taking that advice I only came back with just mustard seed and decided to improvise the rest, here is what I came up with.

sweet summer pickles

Cheap Vegetable Gardener’s Sweet Summer Pickle recipe

  • 1 cucumber
  • 1 clove garlic
  • 1/2 cup apple cider vinegar
  • 1 cup water
  • 3 T sugar
  • 1/2 tsp salt
  • 1/4 tsp pepper flakes
  • 1/4 tsp cloves
  • 1/8 tsp cinnamon
  • 1/4 tsp coriander (mine were still a little green from garden)
  • 1/4 tsp mustard seed
  • 1/4 tsp black pepper

Directions: Pretty easy, just cut the cucumber into slices 1/4 in thick and add all ingredients to sealable container, shake well, and place in refrigerator. Wait at least 3 days and eat. Once empty just add more sliced cucumbers and repeat.

How to save corn seeds (Kernels)

IMG_4486

Corn is one of those crops I really don’t have space to grow but still like to try every year.  This past year I only had one ear that made it to maturity, in the plants defense we have a very hot summer and I didn’t have the most consistent watering schedule so I am to blame for most of their demise.  Given I used the last of my corn seed this year and wanting to make the best out a bad situation, I decided to use this ear for seeds for next year. 

IMG_4482

I decided to go the natural route and simply let the corn stay on the stalk until I was ready to pull up my corn stalks my wife got tired of looking at our dead corn stalks in the backyard which turned out to be yesterday (October 31st)  As you can see from the picture above the corn kernels have dried out pretty well, though still contain a little moisture.

IMG_4485

To remove the kernels I started by braking the cob in half and then starting where I split the cob pushing the loose kernels off with my thumb starting from one end to the other.  Once I have this first row off it should be pretty easy to attack these kernels at any angle. 

Lastly I layered the kernels in a single row in an open ended brown lunch bag to allow air flow to allow the remaining moisture to be removed.  I put the bag on top of our cabinets in the kitchen and will add them to a homemade paper seed packet after a few weeks or drying (or when I remember they are up there more like a few months late) then store in the refrigerator until time for planting next year.

Now I have more seeds than I probably will ever need for a few years and hopefully will have better luck (or at least remember to water them better) next year.

IKE