Successive Pea Planting
14.1 years ago outdoor seed starting, peas, spring
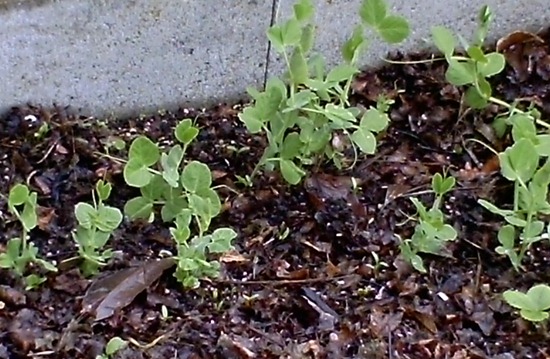
Last year by 5 year old learned she likes to pick and eat fresh pea pods and was very diligent on harvesting new peas as she found them. Unfortunately this meant less peas for me. This year I am using successive planting to ensure I get my fill this year but also do not get overwhelmed with one big harvest all at once.
I started the process about a month ago by soaking my sugar snap peas in water overnight…then forgetting about them and ended up planting them by flashlight in the rain the following day. I couple weeks later I did the same for my snow peas in a separate part of my garden.
If everything goes as planned I should get some early snap peas and followed by some snow peas 2-3 weeks later. Even if my plants do not cooperate and I get overwhelmed with too many peas I can always leave a few on the plants and harvest the pea seeds for next year.
Tags: cheap, garden seeds, outdoor plants, vegetables
Cheap Homemade Cold Frame
14.2 years ago cheap, cold season crops, outdoor seed starting
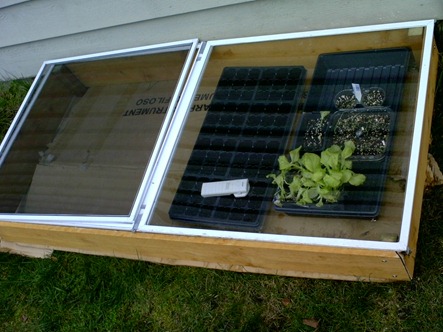
When we bought our house we found a screen door in the garage. Not wanting to have or install the screen door we tried many times to get rid of it without success.
Finally I decided to use the parts to create a cold frame. I did consider using the whole door and hinges as a cold frame but decided I could make something that looked a little better by taking it apart.
The construction was very simple, by taking measurements of the windows I made the box out of cedar with similar dimensions. Wanting to try out my new circular saw I decided to make the cuts at 45 degrees for a more finished look. Last I simply screwed the sides into a length of 2” by 2” I placed at each corner
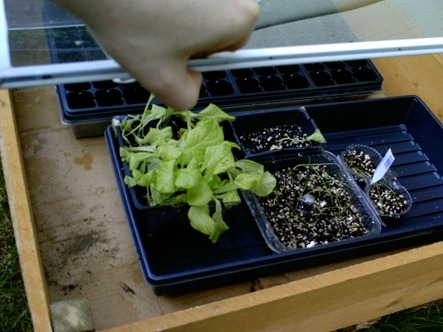
I have two squares of glass and a screen of the same size so I should be able to switch these in/out to make sure I am not frying the plants when it is time to harden them from the nice warm garage.
Later I plan on making a more secure (from the wind) hinged top but wanted to see what I could create with a small budget and I could not resist the 3 pack of seedling trays which took a decent chunk of my budget from this project which was sponsored by my Lowes Gift card winning from Rob’s World.
Tags: cheap, garden seeds, outdoor plants, vegetables
Cheap Light Bar for Seedlings
14.2 years ago cheap, indoor seed starting
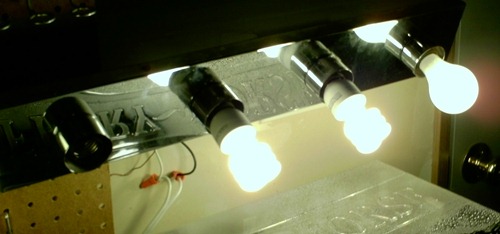
A couple months ago we replaced a couple of bathroom light fixtures and it didn’t take too long for me to find the old ones a new home. An old extension code couple electrical connectors and I have a completely non-code light bar. I used the smaller fixture and replaced my light bulbs hanging from sockets using zip ties.
When I have some more time I will plan on making a reflector to redirect more light on the plants but for now the little peppers/tomatoes look very happy.
Tags: cheap, garden seeds, outdoor plants, pepper plants, tomato plants, vegetables
The Winner of the Hometown Seeds IS…
14.2 years ago giveaway, seeds
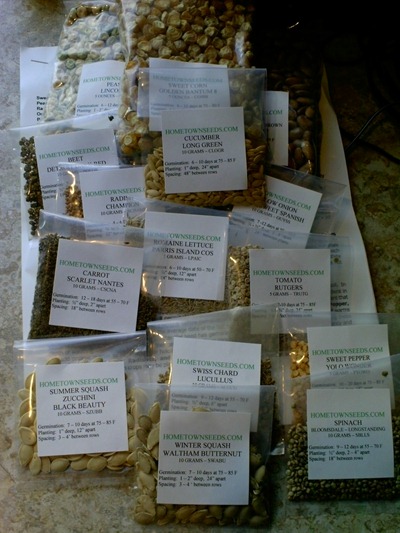
Melody D was the winner of the Hometown Seeds survival pack, though for the rest of you Hometown Seeds has provided me a code to allow 10% of any order with them by using the code “thanks”
Tags: cheap, garden seeds, vegetables
Hometown seed giveaway #2 (Survival Seeds)
14.3 years ago free, giveaway, seed storing, seeds
Hometown Seeds has again graciously offered up a selection of their non-GMO non hybrid survival seeds. These are advertised to keep in storage for 5-10 years but also are open pollinated so you can grow them this year, collect the seeds and create your own stockpile in preparation of any future catastrophic food shortage.
They include a selection of the following varieties:
- Lincoln Peas
- Detroit Dark Red Beets
- Kentucky Wonder Brown Pole Bean
- Yolo Wonder Pepper
- Champion Radish
- Lucullus Swiss Chard
- Black Beauty Zucchini
- Waltham Butternut Winter Squash
- Bloomsdale Longstanding Spinach
- Scarlet Nantes Carrots
- Long Green Improved Cucumber
- Rutgers Tomato
- Golden Acre Cabbage
- Romaine Paris Island Cos Lettuce
- Golden Bantem Sweet Corn
- Yellow Sweet Spanish Onion
They will be sending me the seeds to no restrictions on where these can be mailed to, so simply add a comment by 2/16/2010 2/19/2010 and I will randomly select a winner in one week.
Update — 2/16/2010
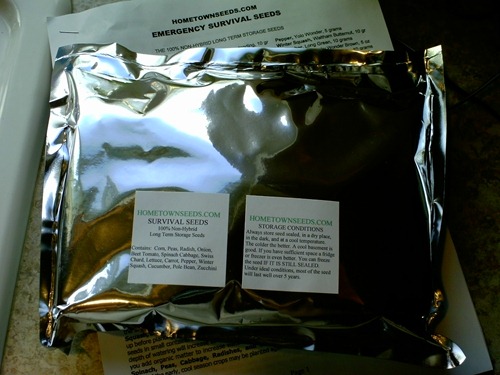
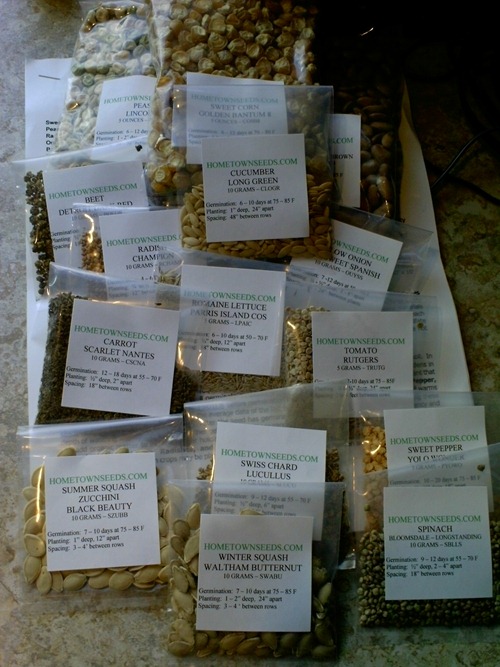
I got the seeds in the mail from Hometown Seeds and I was very surprised in the weight of these seeds. Well over a lb of seeds in this package. They come in a sealed lightproof wrapper as you can see below:
Though the seeds would last longer if I kept them in this packaging, though I just had to rip it open to see what was inside (winner’s package will not be opened):
As you can see there are quite a few seeds in this package so you may want to think about who you may want to share these with if you win.
Tags: cheap, garden seeds, led, pepper plants, tomato plants, vegetables
LED grow box gets an upgrade
14.3 years ago cheap, indoor growbox, indoor seed starting, LEDs, seeds
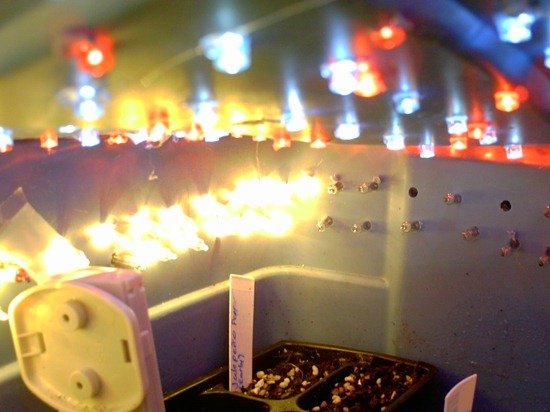
In our family we are not just cheap in the garden we also keep our house pretty cool to save on heating costs. Unfortunately since the LEDs in my grow box do not put out very much heat the inside is only about 68 F degrees even placing it on top of my refrigerator. For most seeds 77 F degrees is a great ball bark number to shoot for to get the best germination percentage as well as quicker germination times. This was the number I was shooting for, so I decided to add a string of mini incandescent bulbs to help bring up the temperature.
To do this I did exactly what I did for the LEDs just drill a hundred or so holes into the side of the box just slightly smaller than the bulb. Then had the fun job of pushing them all through.
I first tried having all the lights on but that brought the temperature up to 85 degrees, next I tried only half the lights on…70 F degrees. Then I got the idea of adding the blinker bulbs and tada 77 F degrees on the nose (ok technically 77.1 F).
So far everything is looking good have some onions, peppers, basil, and Swiss chard already sprouted and expecting more shortly.
Tags: cheap, garden seeds, grow lights, growbox, led, pepper plants, vegetables
