When to bring your vegetables outside?
13.1 years ago garlic bulbs, onions, peppers, seeds, spinach, summer, tomato
Every time I have a discussion with a beginner gardener, this is the most common question. Typically the answer involves figuring out your last frost date then doing some backwards math when to start your seeds or purchase your plants from your local nursery. The problem with this is there is an assumption of the rate at which temperatures will increase after this no frost date. It doesn’t really matter how many weeks after the last frost when you bring out your tomatoes but the fact that it is over 65° F
This is good for estimation but ultimately it comes down to what temperatures various vegetables can survive and thrive at. This is ultimately when you should decide to start bringing those fragile plants outside. For reference the table below shows these temperatures for various vegetables.
| Vegetables | Thriving Temp Range |
Surviving Temp Range |
| Hot Vegetables eggplants, sweet potatoes, peppers, watermelons, okra, tomatoes |
70° F – 85° F 21° C – 30° C |
65° F – 90° F 18° C – 32° C |
| Warm Vegetables beans, black-eyed peas, cucumbers, melons, sweet corn, squashes |
65° F – 75° F 18° C – 24° C |
50° F – 90° F 10° C – 32° C |
| Cold/Warm Vegetables artichokes, beets, broccoli, brussel sprouts, cabbages, carrots, cauliflower, celery, chard, collards, endives, fava beans, fennel, kale, kohlrabi, lettuce, parsnips, peas, potatoes, radishes, rutabagas, spinach, turnips |
60° F – 65° F 16° C – 18° C |
40° F – 75° F 4° C – 24° C |
| Cold Vegetables garlic, leeks, onions, shallots |
55° F – 75° F 13° C – 24° C |
45° F — 85° F 7° C – 30° C |
Now that you know what temperatures your veggies grow best in, unless you can find a news station with a 2-3 month forecast this doesn’t help you too much. Fortunately we have been saving weather data for some time now and with some simple statistics you can make a more logical prediction of when this may occur (compared to last freeze date)
One site that makes this very easy is WeatherSpark, it uses historical data with great visuals to easily determine when the best probability of picking the right date to plan on your veggies going out into the great unknown.
As you can see in my area we rarely stay in the thriving temperature zone during a 24 hour period which is the reason why I personally keep my tomatoes and peppers in my automated grow box as long as I can.
Hopefully WeatherSpark can give you some incites about predicting the best times to bring those veggies out for a successful crop this year.
Tags: seed, starting seedling
How to store your Fruits and vegetables
13.3 years ago corn, herbs, peas, peppers, spinach, storing, tomato, vegetables
Whether it is to preserve your harvest from your garden or to help extend the life of the expensive produce you purchased from your local grocery store or farmers market, a little knowledge can help keep your veggies tasty and even stretch out a couple of extra days before becoming compost.
The basic idea is pretty simple, think about where your produce is stored in the grocery store and then do the same thing at home. For example they store carrots in a refrigerated display case…so you should store yours in your refrigerator. They store their onions at room temperature so you would think it would be best to do the same…reality is they are best to be stored between 55-65 degrees. During the winter time my room temperature is probably in the top part of that range but majority time my indoor temperatures will be much higher. Depending on the age of your house, you may have a root cellar which helps to create these ideal conditions for that pesky produce that is too cold in the refrigerator but too warm in a heated house. For the rest of us find a nice cool location in your house such as garage or spot next to a window (at least during the wintertime) otherwise you may be reducing the quality and viability of your produce.
Below is a list of the recommended storing temperatures for fruits and vegetables:
Vegetables
FRUIT
How to make cayenne powder
13.5 years ago cayenne, dehydrator, peppers
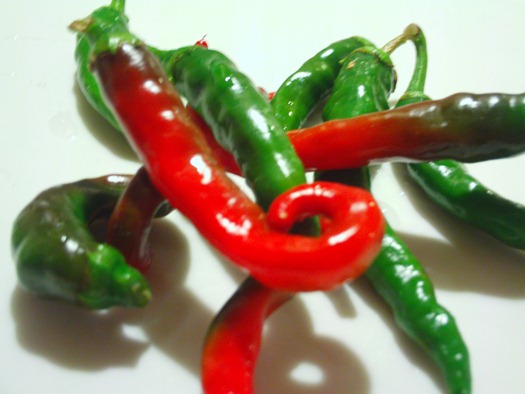
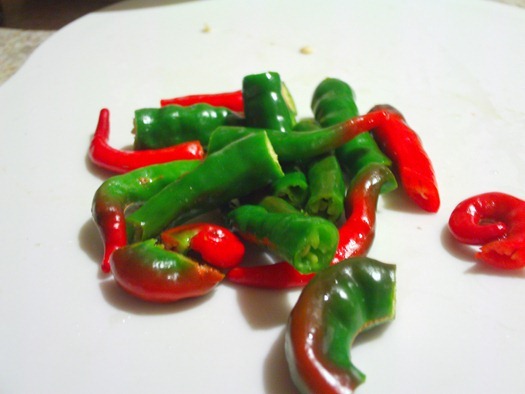
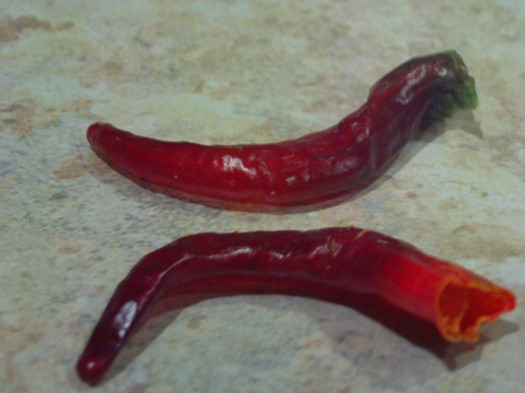
After letting my cayenne peppers ripen some more in the grow box I decided that this was good enough and decided to make some cayenne pepper for winter BBQs. The different stages of ripeness provides slightly different flavors, from what I have read partially ripe can give an excellent heat with a unique flavor. As you can see the color is also a little different than what you would typically think for for cayenne peppers. The process for this is very similar to making jalapeno powder with a few minor differences.
Step 1: Clean the peppers. Simply give them a quick rinse and a towel dry
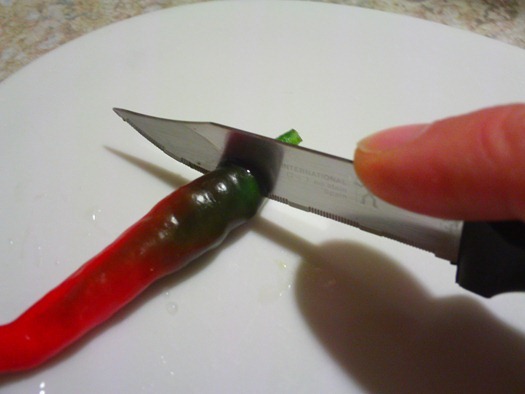
Step 2: Cut off the stems (stocks).
Step 3: Remove seeds. This is an optional I chose not to do this for laziness but also to give my powder a little extra heat. To remove seeds slice lengthwise and scrape out the seeds carefully. Recommend gloves on this step to prevent burning eyes later.
Step 4: Cut the peppers in half. Again this is optional but I did this to speed up the drying time since I didn’t split them to remove the seeds
Step 5: Dry the peppers. These peppers are very tough and can handle almost any temperature for drying. You can go with the slower method by stringing them through the middle using some fishing line and hang them until dry. You can also dry them in your oven at 225-300F checking every couple hours for dryness (about 8 hours). I opted to use my dehydrator (12-14 hours) since I have one and I didn’t want to get up in the middle of the night to check them. Just like the jalapenos you want to dry the peppers until they are crisp and break when you bend them. Just as another warning be careful when handling these peppers even when dry, you still can get burned.
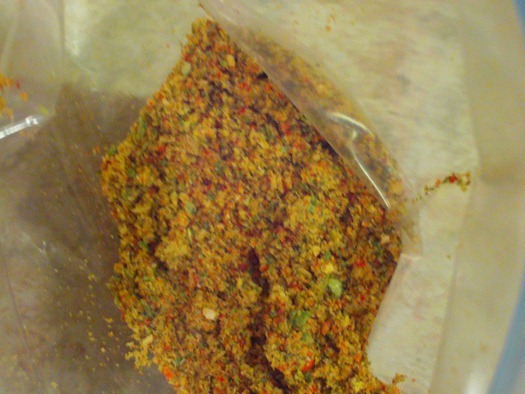
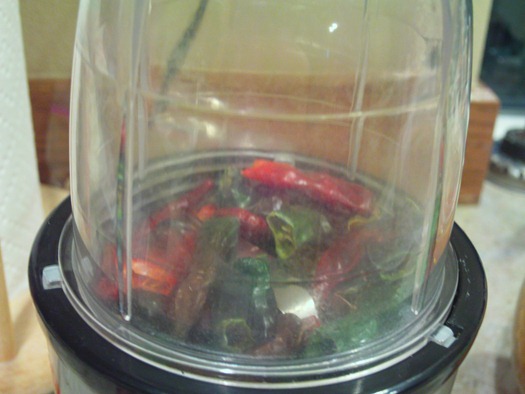
Step 6: Grind the peppers. Use a coffee grinder (or Magic Bullet with grinder blade like me) to a fine powder and store in an air tight container for about 6-8 months for best flavor but still can be used for 1-2 years with decent results.
Tags: pepper
Summer harvest
13.6 years ago peppers, tomato
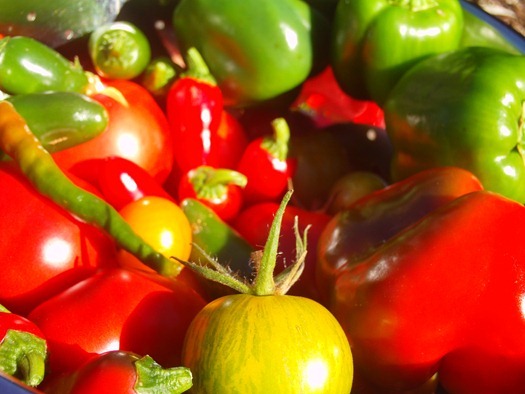
Well it hasn’t been a great year here in the Northwest for summer vegetables but got enough tomatoes and peppers to make some salsa and get stocked up with enough jalapeno pepper powder (been great on omelets) until next year.
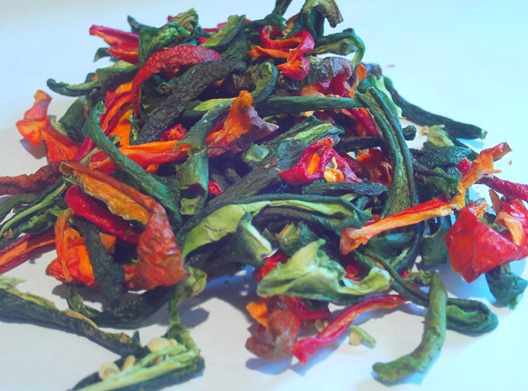
With a larger abundance of ripe jalapeno peppers this batch of peppers have a more festive look to them.
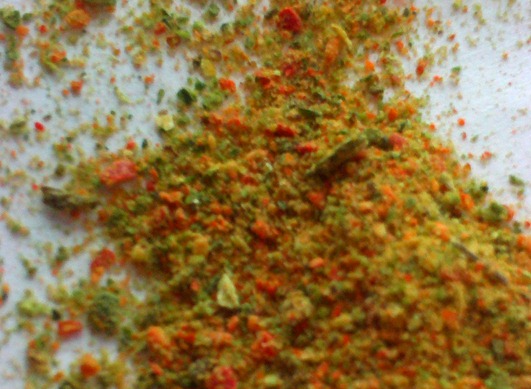
Here are the peppers ground up, as you can see above this time I kept the seeds in for a little extra bite.
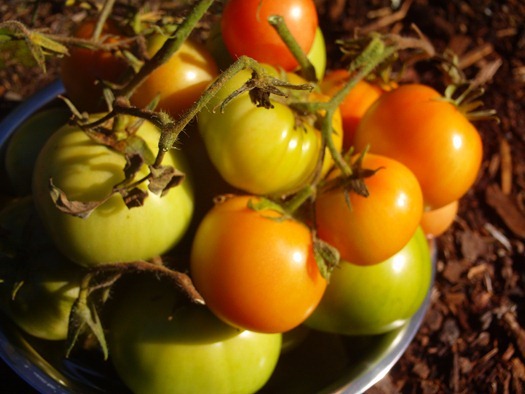
While picking my tomatoes I also picked some less ripe tomatoes which were not quite ripe but vines no longer were green. I will let these tomatoes ripen indoors, though the flavors will not be as good as garden fresh tomatoes still better than what I can get in my local grocery store.
Getting some great deals on gardening supplies
13.6 years ago cheap, jalapeno, peppers, strawberries, upside down planter
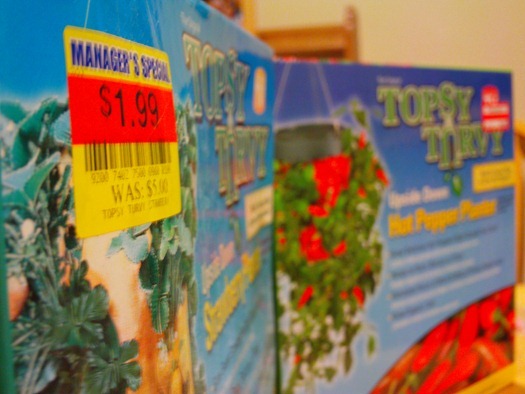
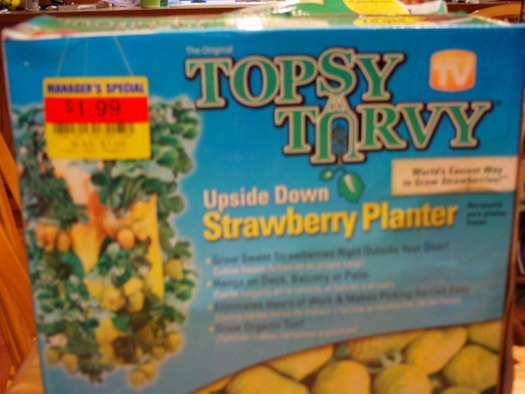
With stores making way for Halloween and Christmas decorations, now is the perfect time to find some great closeout deals at your local grocery store or garden center. I had meant to imitate the Topsy Turvy planters above, but at 60-70% off I was not even cheap enough to pass up on these deals for the Topsy Turvy Strawberry Planter (picked up two at $1.99 each) and the Topsy Turvy Hot Pepper Planter
(picked up one for $4.99)
Given my desire to grow even more peppers next year the pepper planter will work great to try out a few new plants.
And no, there was nothing wrong with camera on the picture above that’s what the boxes actually look like. I combination of too much sun and then getting heavily rained on over the past couple weeks led to an even bigger discount. Hoping to fill these with the strawberry runners that are trying to escape their garden bed.
So head down to your local garden center and check out those items you have thought about but never pulled the trigger, you just might find a deal you are glad you did not miss out one.
If you found any good deals, I would love to hear about it in the comments…
Peppers: Good, Bad, And Ugly
13.7 years ago jalapeno, peppers
The jalapenos are doing great, they are loaded with peppers and I already harvested some to make some jalapeno powder.
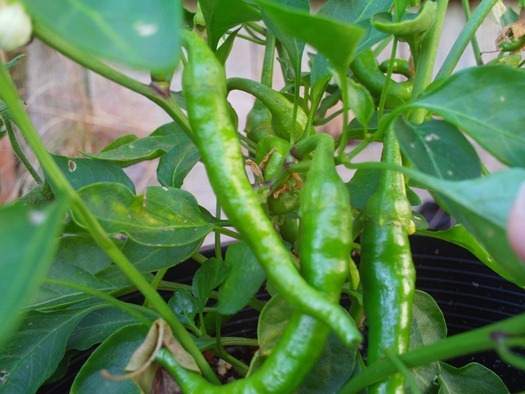
The Cayenne peppers are looking good and though they are a little late, I am just waiting for them to just begin to change color before I dry them and make some cayenne powder.
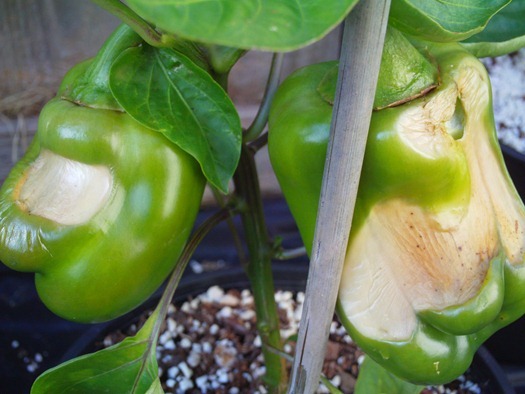
The bell peppers are not doing quite as well the ones above have a pretty bad sunburn.
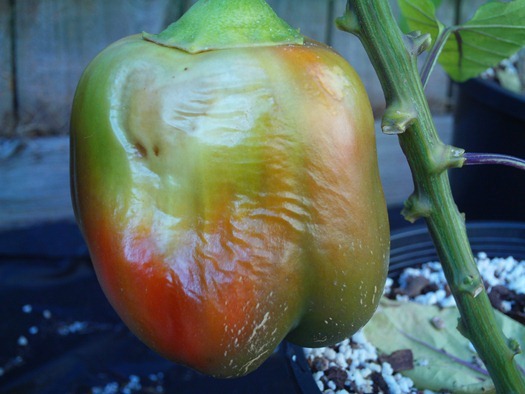
Not quite as bad a sunburn…but still a waste.
Not sure what this one is…any ideas?
Tags: pepper
