Doing recon at the local farmers market
14.8 years ago corn, farmers market, garden planning, garlic bulbs
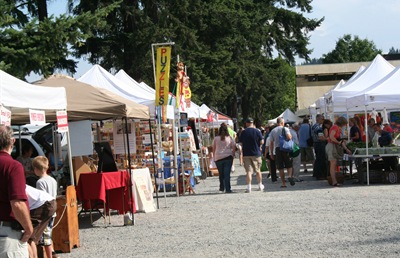
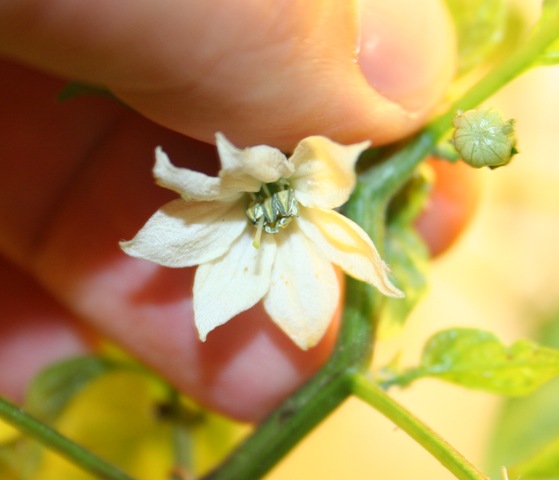
Your mission, should you decide to accept it is to infiltrate a local farmers market to gain intelligence to help aid your personal garden.
Sure, the farmers market is a great place to find some fresh food you can’t or didn’t have time/space to grow in your garden. It is also a great place to get seeds/starts for your garden. It is also a great resource to figure out how various fruits/vegetables grow in your area.
Even if you are growing everything you want/need in your own garden a quick stop at your farmers market can help you check out your competition and see for example in my case, “hey their garlic grew just as bad as mine this year.”
This is also a good time to try out new fruits and vegetables you are thinking of growing next year. There is nothing worse than growing a bed full of arugula and figure out at that point you hate the stuff. If you are lucky enough you might even get a meal and some seeds to plant with next year depending on you seed saving ability.
Now as always you don’t want to blow your cover while doing surveillance, so make sure you have a good cover store. In my case I used a few people known as “my wife and daughters” to appear less conspicuous. You can even use techniques of taking a picture of your “daughter” to get some recon picture of their products for further analysis.
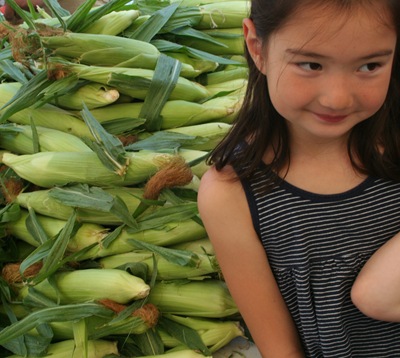
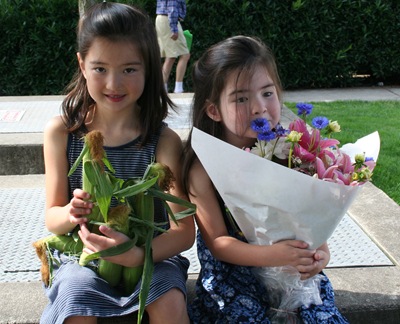
In the end it looks like my little spy helpers had a good time and we even contributed a little to the local farmers economy and got the secret ingredient to CVG Black Bean and Corn Salsa Recipe (ok, it was corn).
This post will self destruct in 10 seconds (sorry had to say it)
Tags: cheap, garden seeds, garlic bulbs, outdoor plants, salsa garden, vegetables
Black Bean and Corn Salsa Recipe
14.8 years ago corn, peppers, recipe, salsa

My jalapeños peppers have been growing like crazy and I have had to start harvest to prevent the plants from stop producing. Given my tomatoes are still green I have been itching to do something with them, I decided to make some corn salsa. Given I couldn’t find a recipe that matched the ingredients I had on hand I decided to make my own.

CVG Black Bean and Corn Salsa Recipe
- 2 ears of corn (1-1/2 cups frozen corn)
- 1 small onion (chopped)
- 1/4 cup chopped cilantro
- 1/4 cup sliced green onions
- 2-3 cloves of garlic (chopped)
- 1/4 cup white vinegar
- 3 T sugar
- 1 chopped seeded jalapeño
- 1 chopped unseeded jalapeño
- 1-1/2 cups black beans (canned)
Directions: Cook corn for 2 minutes in boiling water and submerge in ice cold ice water. This helps stop the corn from cooking any more and also make handling while cutting the kernels a little more pleasant. Cut off kernels and add to bowl. Chop/slice remaining ingredients and add to bowl, stir, and refrigerate and serve chilled.
If you like your salsa a little spicier leave both pepper seeded.
Tags: cilantro, garden seeds, garlic bulbs, led, outdoor plants, pepper plants, salsa garden, tomato plants
Growing sprouts in a Mason jar
14.8 years ago cheap, kids, sprouting
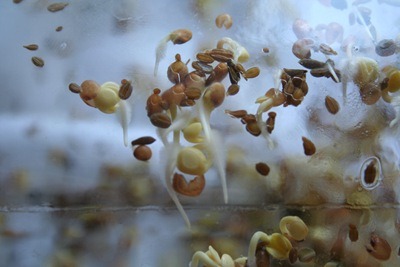
My daughter was required to do a presentation which included an experiment using plants for school and of course her mother directed her to me. Given there was not a lot of time until the presentation I suggested that she grows sprouts, given you can go from seeds to a jar full of sprouts in less than a week.
Construction
You really can grow sprouts in almost anything. We chose a mason jar, though plastic storage containers, trays, or even fabric bags (just drip in water and hang)
The important thing is to provide plenty of airflow, if you don’t your seeds will produce an awful stank that you won’t want in your house let alone eat. We used a piece of an old pair of leggings, which we stretched over the opening of the jar and applied the mason jar ring….well that’s about it.
How to Grow Sprouts
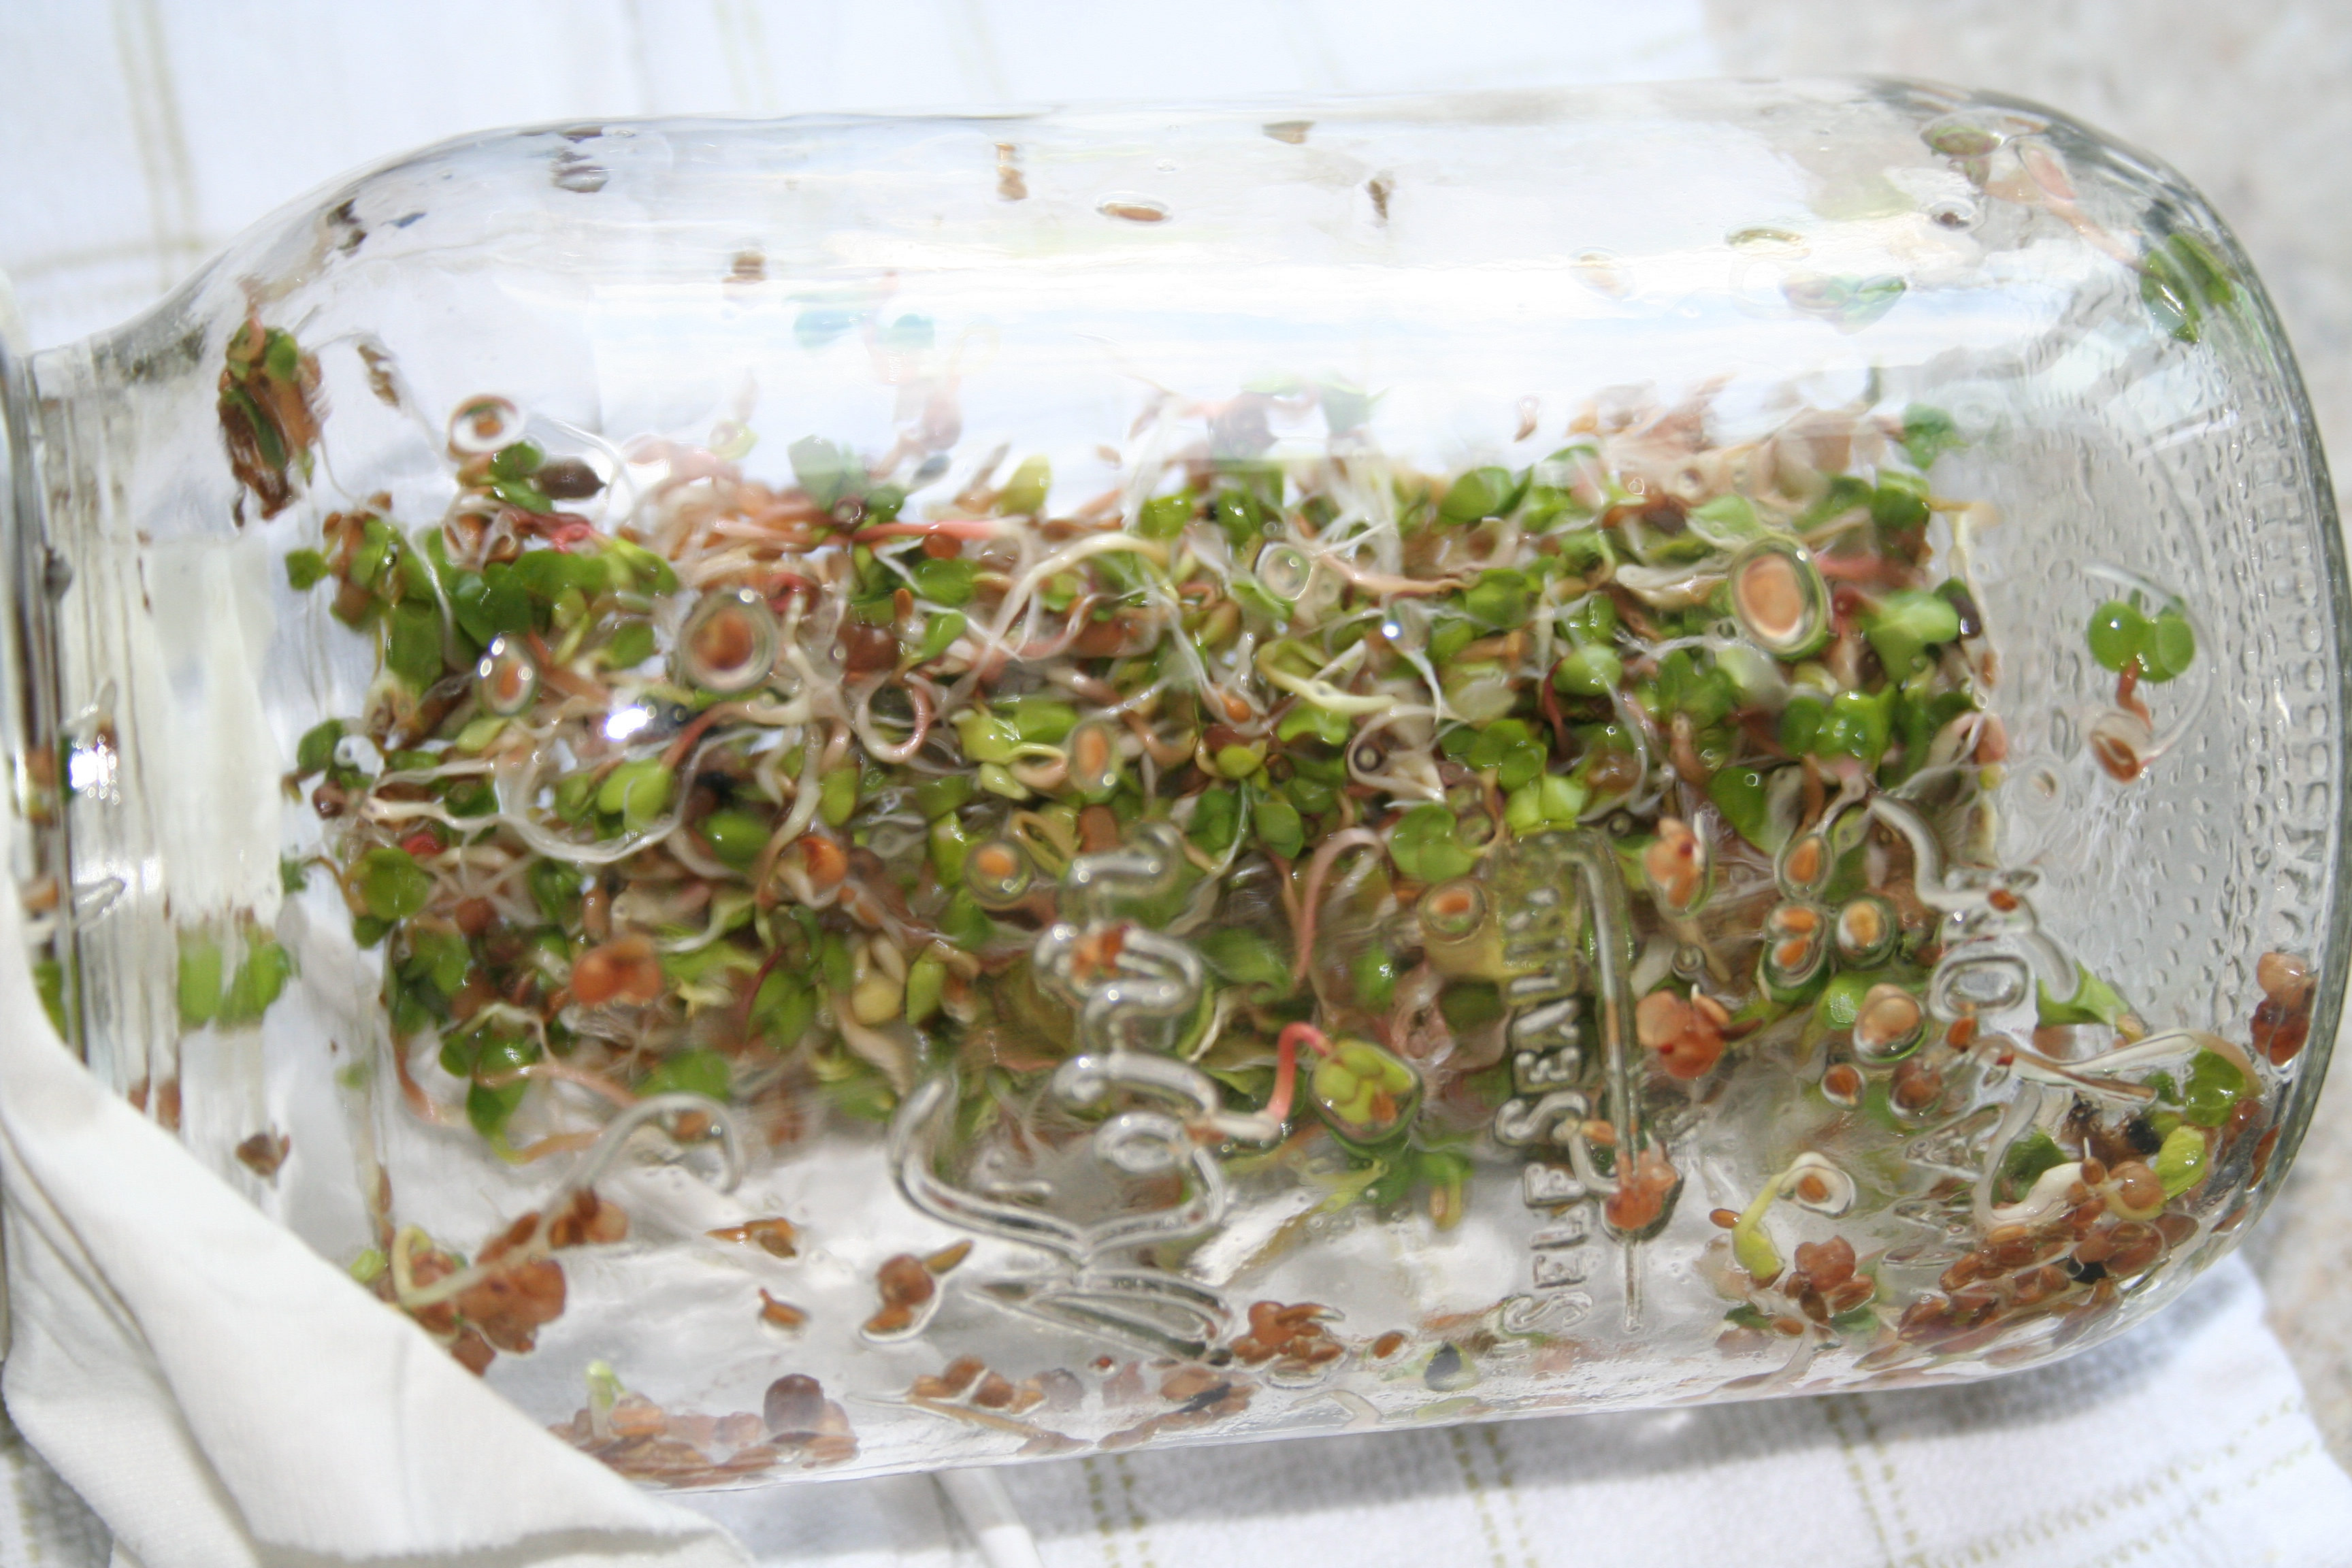
The process starts with seed selection. You can grow any seed as a sprout though you may not want to eat them. Cilantro is a good example it will grow great but the root of a cilantro/yellow mustard sprouts are very potent so use with cooking, not raw. Some good suggestions are alfalfa, broccoli, buckwheat, cabbage, chickpea, garlic, lentil, oats, yellow mustard, peas, onion, radish, sunflower, fennel, arugula, pink kale, fenugreek, wheat, or wheatgrass. In our case my daughter wanted to determine how quickly and big seeds grew depending on the initial size, so I gave her a several different types of seeds for her experiment.
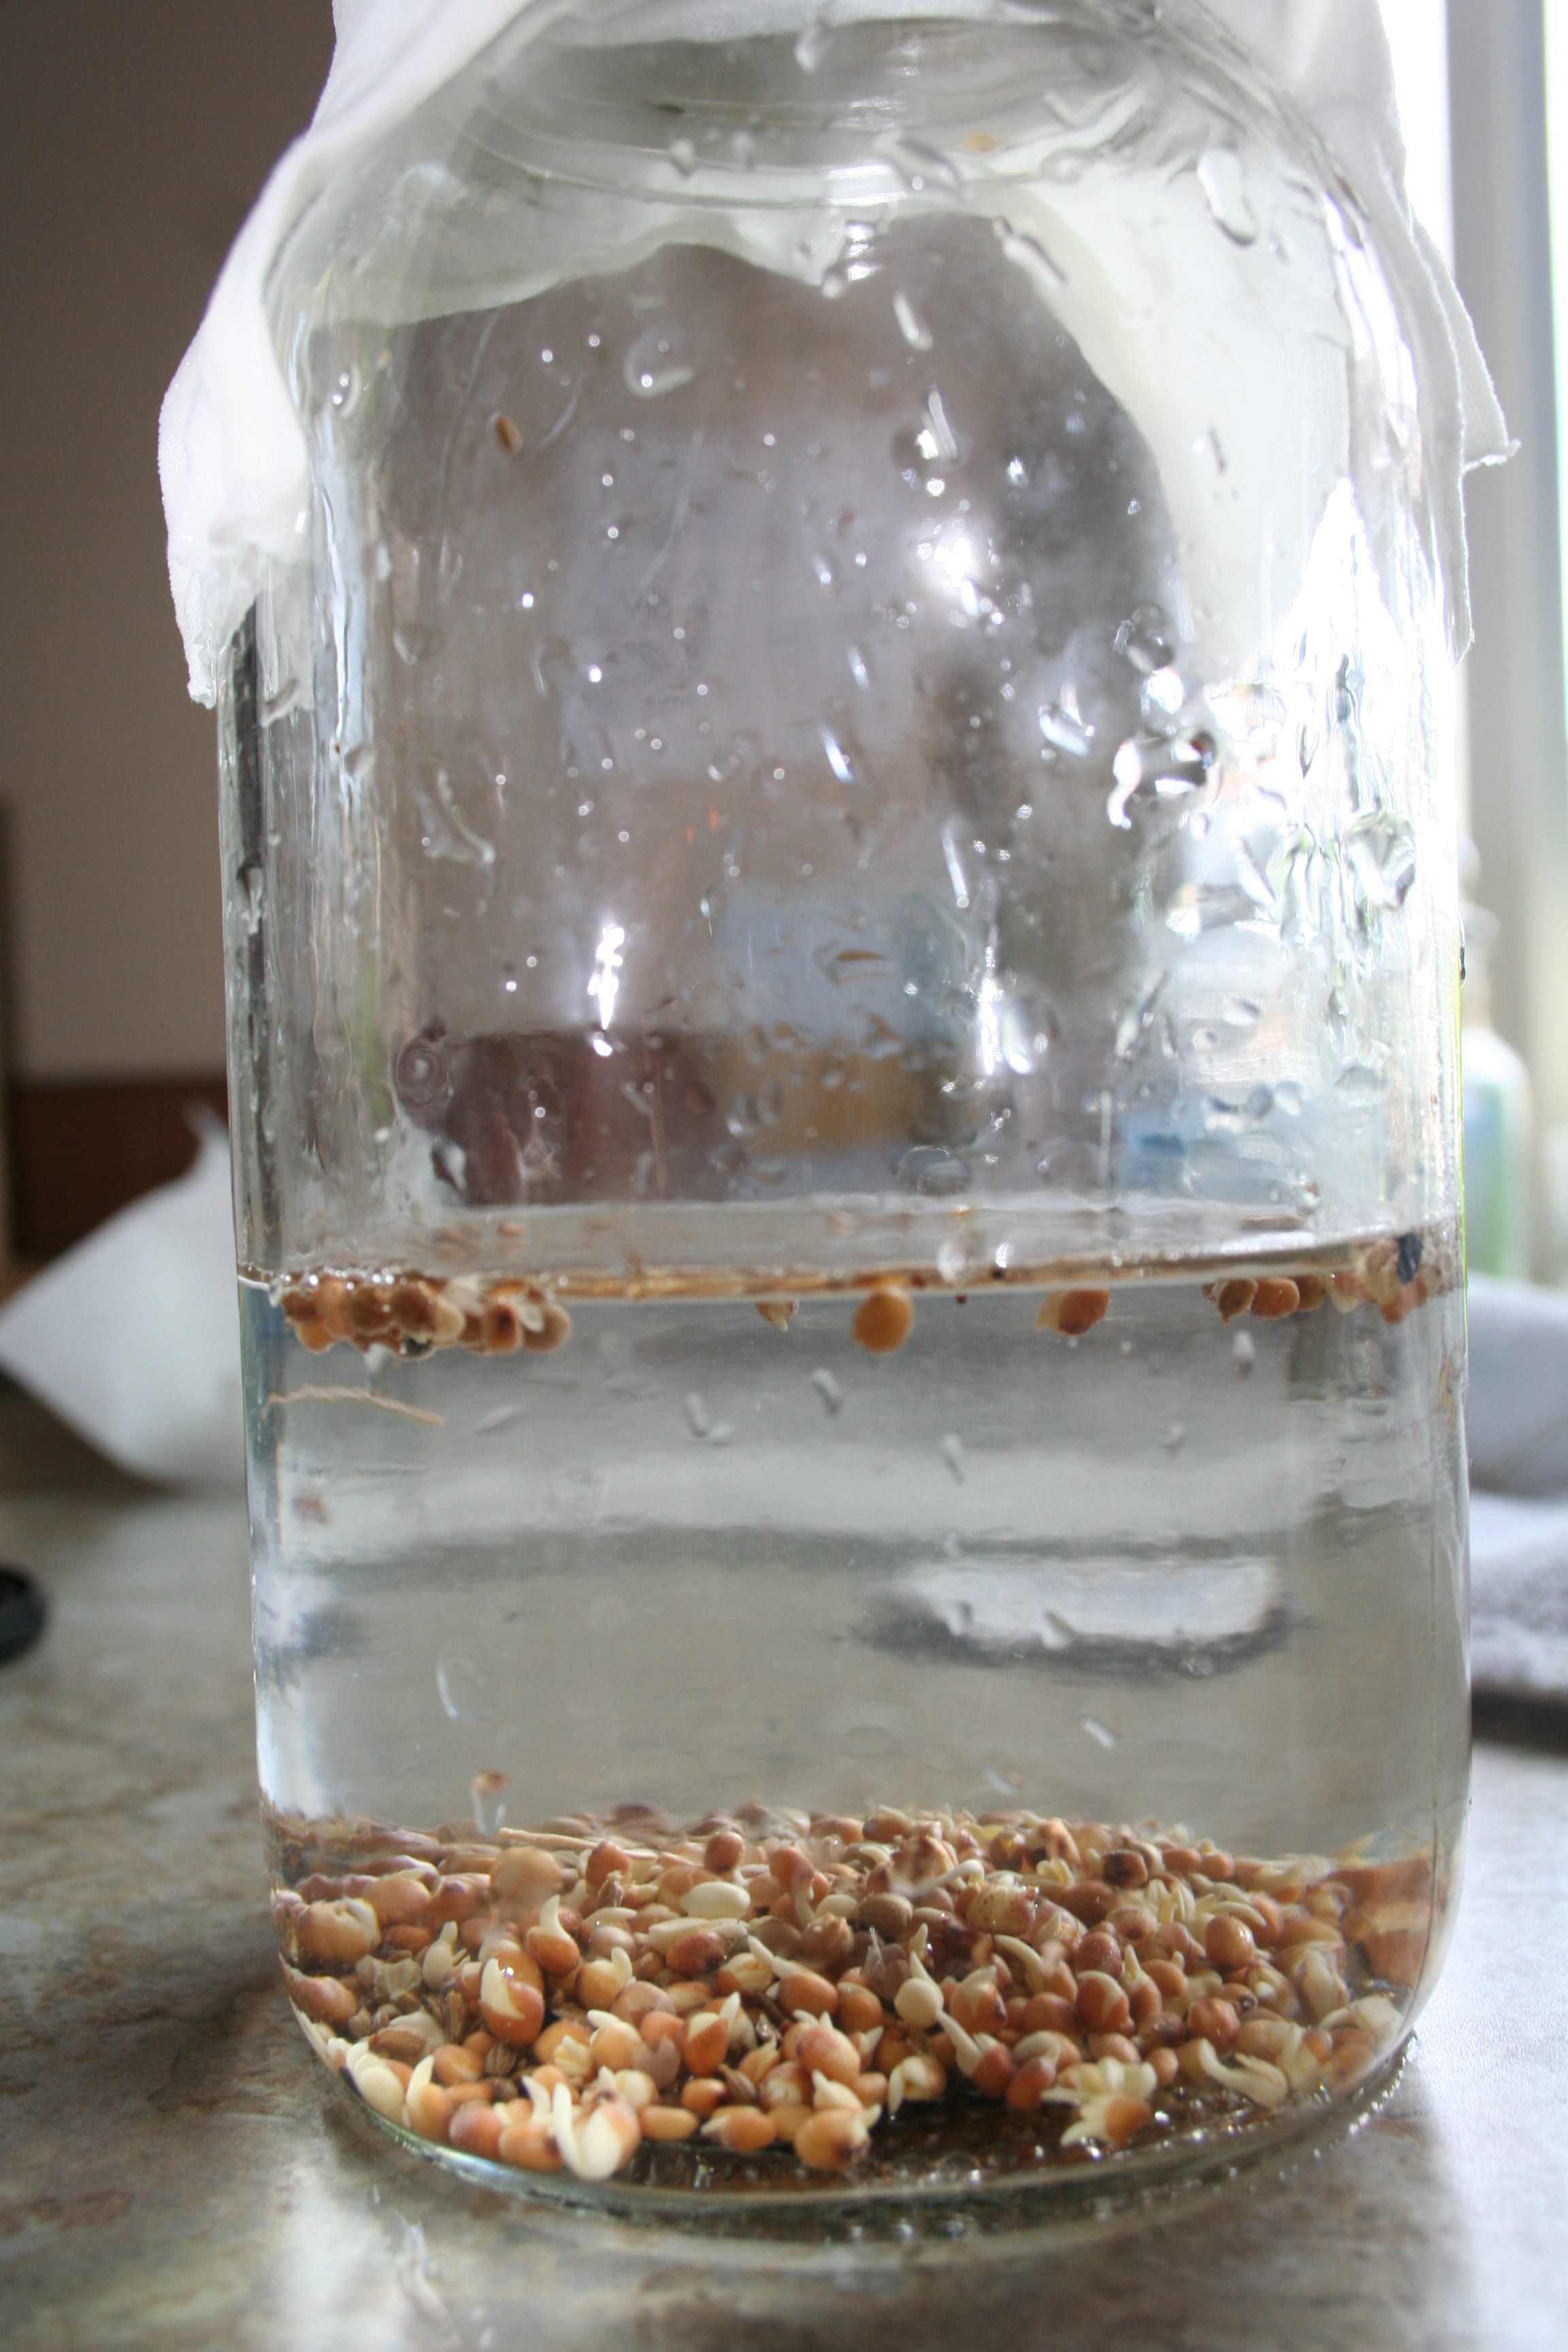
Take about a tablespoon of seeds and soak in room temperature water with a couple drops of liquid fertilizer overnight.

In the morning drain, rinse and let sit out of direct sunlight. Repeat the drain/rinse process once a day (twice a day if your sprouts begin to smell) During the first couple days it is advisable to shake and/or roll the jar on its side to allow the seeds to spread out a little. Doing this simple procedure within about a week you should have a jar full of fresh healthy sprouts.
Why grow sprouts?
Fun: Great for kids with limited attention spans. Within a day or two they can see their seeds sprout growing more and more each day. It is also a great way to keep your sanity during those long winter months.
Cheap: For mere pennies you can grow pounds of greens.
Nutritious: These little sprouts pack a ton of nutrients for their little size.
Easy: The process is pretty fool proof, just rinse with water, set them on your counter, and eat. What could be easier
Tags: cheap, cilantro, garden seeds, garlic bulbs, outdoor plants
Volunteer potatoes
14.9 years ago garlic bulbs, onions, potatoes
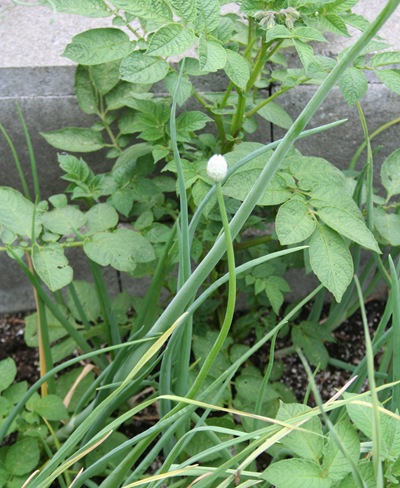
Well I wasn’t planning on growing potatoes this year but looks like I have a couple of volunteers from last year. This could turn out to be a fortunately accident since they are currently growing under my onions and garlic. If they happen to stay low enough might actually get two decent crops in the same square footage.
Any predictions?
Tags: garlic bulbs
Growing peppers at high latitudes
15.1 years ago hydroponics, indoor growbox, peppers

Here in the Seattle area we are, as you say, latitudelly challenged. We are fortunately to have the Pacific Ocean to give us mild winters and summers though our distance from the equator provides our plants with less intense light and a relatively short growing season for summer crops. One in particular difficult summer crop are peppers.
This is important because one of the major exports of my garden are the ingredients to allow me to make homemade garden salsa (tomatoes, garlic, onions, cilantro, jalapeño peppers) Al ingredients come from my garden (except for jalapeño peppers) This year I am determined to fix this.
I have a couple strategies for doing this, the first is to “start early” pepper plants require 80-110 days from seedling to harvest, timing is everything. Given our late winters here over the past couple years, I don’t really have much of a cushion here and would also be nice if the peppers were ripe when the tomatoes are getting red as well. To get a head start many weeks ago I planted several jalapeño pepper seeds and they currently are turning into some great looking pepper plants in my grow box. As they have grown I have potted them up to encourage them to continue to grow vigorously.
Not wanting to put my eggs peppers in one basket, I have decided to try a few different techniques in case one completely fails I hopefully have a couple backups:
- Grow pepper plant in grow box in WonderSoil
- Grow pepper plant hydroponically using a Grodan Gro-Blocks
- Grow pepper plant in the ground beside my tomatoes
- Grow pepper plant in large pot in sunniest location
I honestly can not really predict the outcome of this experiment. The grow box as the advantage of accurate temperature control but the CFLs though work great can’t compare to full sun. On the other hand outdoors has the great light intensity of the actual sun though given the pepper plants can stop growing lacking 60 degree nights and at least 70 degrees during day. Given we don’t have too many nights greater than 60 degrees the grow box might have a chance.
UPDATE — 05/25/2009
Plant grown in WonderSoil in grow box at temperature controlled to remain above 60 degrees at night and a high of 80 during the day. This is amazing results compared to the 2.5 inch plants I started with less than a month ago.

Plant grown hydroponically using a Grodan Gro-Blocks also in temperature controlled grow box.

Plant grow in actual dirt outside in good light

Plant grown in pot outside…well this one is already out after some high winds and cold mornings this one was looking pretty bad to I brought to the infirmary (the grow box) to bring it back to life, which seems to have done wonders.

The obvious winner at this point is the pepper plant in WonderSoil in the grow box, though I have noticed some recent growth in the outdoor plant now the weather has started warming up, so might be some time for Mother Nature to redeem itself. Overall I have been very impressed with the results of the grow box but still need to see if I can get flowers and fruit…until the next update…
UPDATE — 06/20/2009
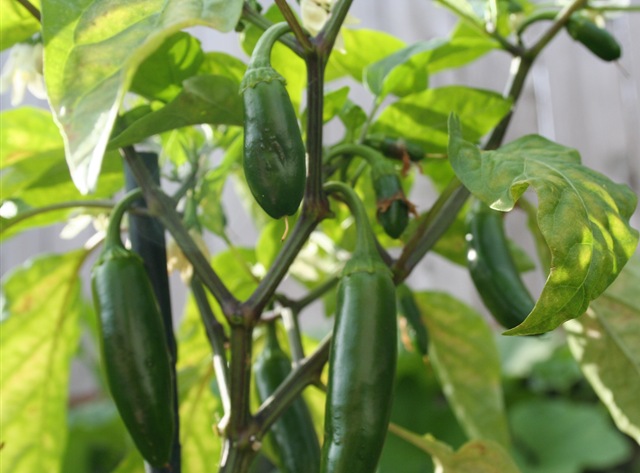
We were blessed with some warm weather so the outdoor potted plant has been doing great blossoming and almost a dozen of good sized peppers growing.
I have seen plenty of blossoms on the pepper plants in the grow box though I have not have and fruit set. I have two theories what is causing this, first is we have hat some hot weather with the garage getting over 85 degrees even with best exhaust and airflow it was hard to keep the temperature from exceeding 90 degrees which causes the blossoms to drop. The second reason is I have been attempting to hand pollinate the flowers with the absence of some nice bees to do the work for me. I have been using a fine paintbrush without much luck. Switching to having better airflow and using a Q-Tip to simulate a bees bottom.
The plant I had in the ground eventually got overtaken by a pumpkin plant which I removed and moved to the grow box given it had not shown any significant signs of growth since I transplanted it there.
Right now seems the best method is grow the pepper plant to about 18 inches and just let mother nature take care of things at that point.
Tags: cheap, cilantro, garden seeds, garlic bulbs, growbox, led, outdoor plants, pepper plants, salsa garden, tomato plants, vegetables
Finish outdoor seed planting with coffee grounds
15.2 years ago garlic bulbs, onions, outdoor seed starting
It has been a blessing that the competition for free coffee grounds at the Starbucks at my work has increased now the weather warmed up and I have freed from the temptation to grab yet another free shiny silver bag of grounds. The reason is, I have put four bags in my compost, worked generous amounts into my vegetable garden and I still have six bags left. Now I am looking at inventive ways to use the rest up. I tried mixing with perlite to make a cheap potting soil (failed still no room for roots) but I believe I have come across one success I thought I would share.
When you are finished planting seeds outdoors apply a thin layer of coffee grounds. This will deter slugs from going after your new seedlings and keep cats from mistaking your nicely loosened and raked soil for their kitty litter.
I have done this for my larger seed plants (peas, garlic, onions, cilantro) but for the small seed plants (carrots, lettuce, spinach) I used the coffee grounds as a seed covering.
So far the results are great. All of my peas/garlic/onions/spinach have sprouted with no signs of pests (four-legged nor zero-legged).
Tags: cheap, cilantro, coffee grounds, compost, garden seeds, garlic bulbs, led, outdoor plants, vegetables


