Growing peppers during a cold Pacific Northwest summer
12.8 years ago cayenne, indoor growbox, jalapeno, peppers
Nearly August and I decided it is finally time to bring the peppers out from the garage, though in some ways they are doing so well in the heated grow box with a killer 120 watt Extreme Flower LED lighting not sure if I should chance it but looking at the upcoming forecast this might be as good as it gets.
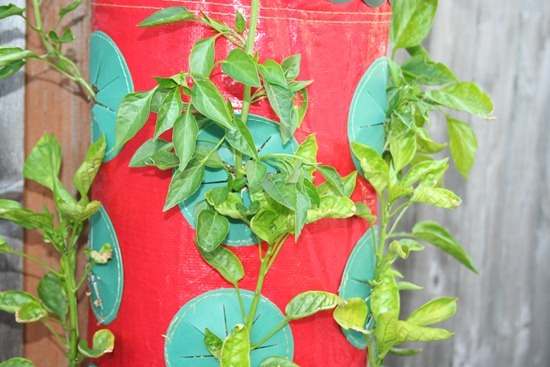
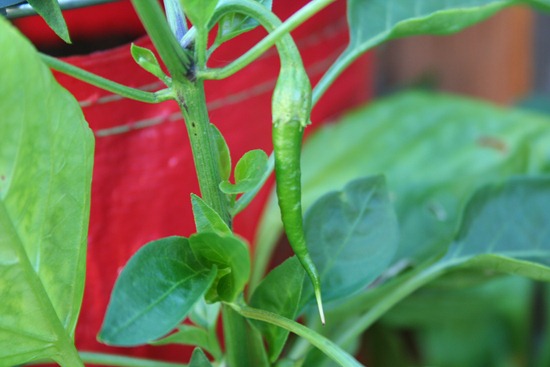
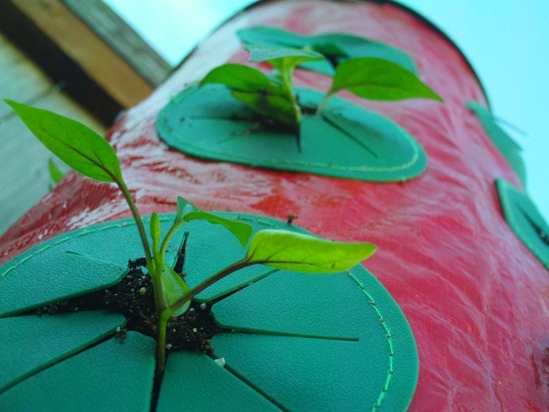
So far my peppers in the Topsy Turvy strawberry planter appears to be a success. Even with the cold wet summer we have been having plants have survived and even has at least one baby cayenne pepper growing on it.
Though they are just now starting to see their first rays of sunshine have a good looking Rossi Italian Pepper growing here.
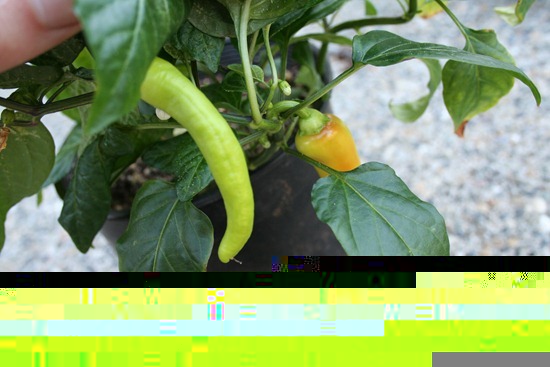
Here I have a couple of banana peppers I can pick anytime.
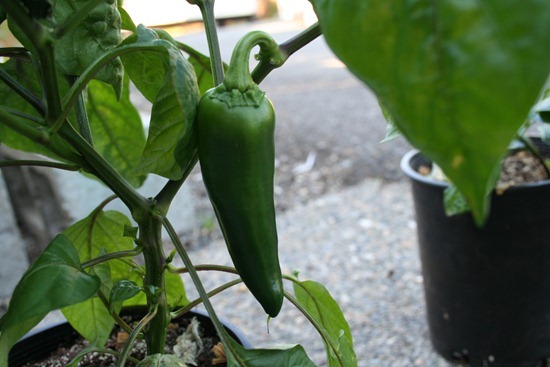
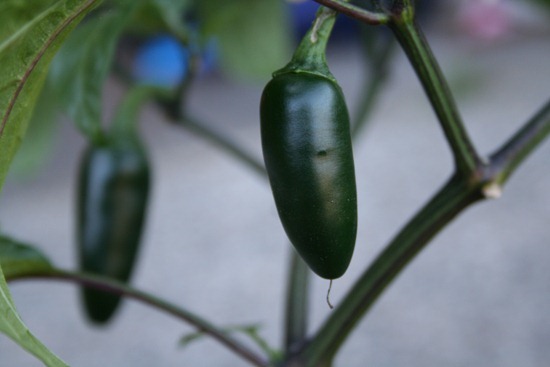
I am also excited to see these jalapeno peppers provided I ran out of jalapeno pepper powder a few months ago and have been missing it in my omelets in the mornings.
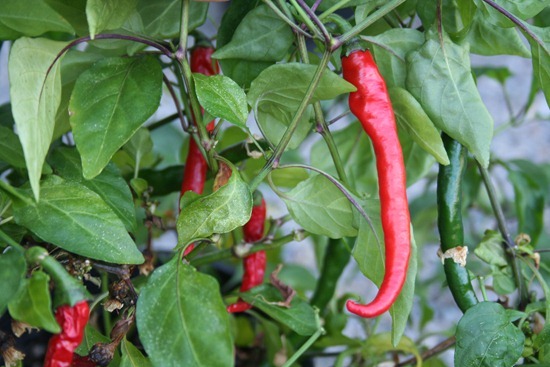
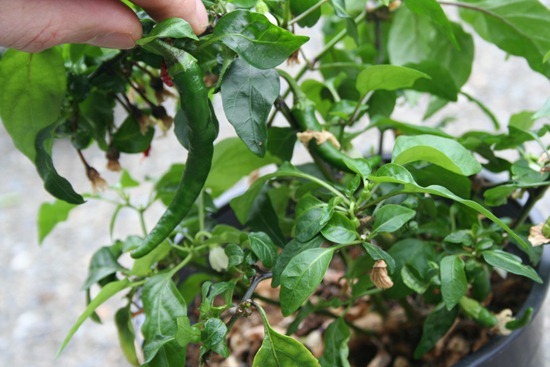
Finally I have my cayenne plants which was a survivor from last year, I pulled it into the garage to let some of the last few peppers ripen up as the temperatures got cool and forgot about it. After a few months I assumed it was dead until I saw some new growth on the plant and quickly put it under the LEDs where it fully recovered and started flowering and producing fruit. Currently drying some of the pods and also saving some of the extra mature ones to save for seeds might have a hearty specimen here.
cayenne peppers growing indoors
12.9 years ago cayenne, indoor growbox, peppers
Well this is the soonest I have gotten peppers growing, but the temperature controlled grow box did help out a lot. I brought this pant indoors last year when it still had a half dozen green peppers on it when the temperatures started to decline. The peppers turned red and a picked and dried them out for cayenne powder and sort of forgot about this plant.
It went dormant and by sheer neglect somehow survived so when I noticed that leaves started growing from it I quickly gave it a good watering and put it back in the grow box where it has come back strong and plan on getting enough peppers from this plant to meet my BBQ needs for a good year.
Growing peppers in a Topsy Turvy strawberry planter
13 years ago cayenne, jalapeno, peppers, strawberries, upside down planter
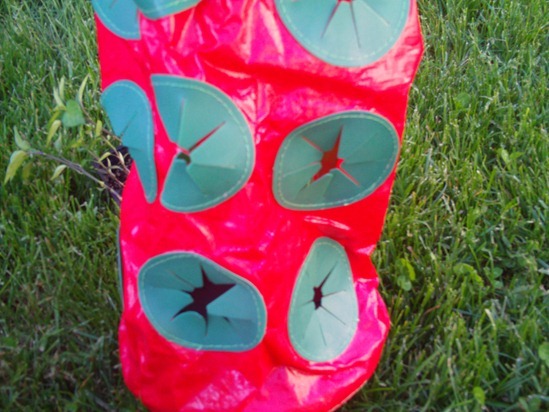
I made a little discovery last year and that is that peppers really don’t need a lot of room to grow, require soil a little warmer than it normally gets around here, and do not mind getting a little dry between watering. This seems like great characteristics to grow peppers in vertical containers. With this in mind at the end of last year I picked up a couple of Topsy Turvey Strawberry Planters at over 50% off when the season was well over. Topsy Turvey does make hanging pepper plant containers but I chose the strawberry planters instead for two main reasons; first they normally sell for a few dollars cheaper. Second, they are much larger and make better use of more vertical space and I can plant at least 18 pepper plants in each one.
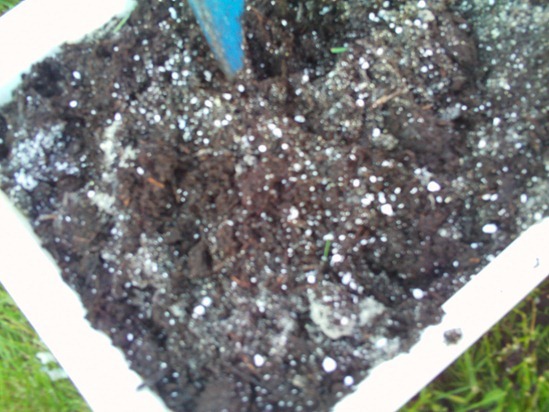
For my mix I started with your typical soil mix and then amended it with perlite at a ratio of 3 parts potting soil and 1 part perlite. I also added a cup of bone meal to since it much easier to add now then in a couple months when they really will need it.
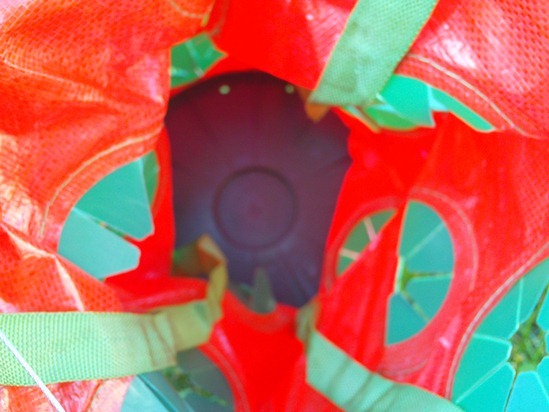
As you can see from this shot there is plenty of room for these peppers to spread out and should have enough root space for some decent yields
I then filled up the hanging container until it was filled up to the bottom most hole.
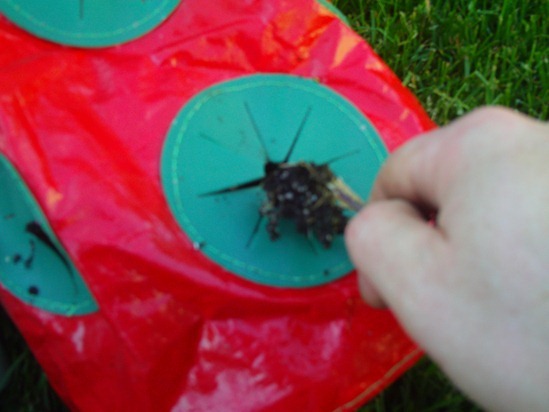
Next I carefully placed my pepper plants into the wholes than reached in from the inside and provided just a little bit of pressure to pack the soil enough to keep the plant secure in place. I repeated this process for the 11 other pepper plants I had ready to plant.
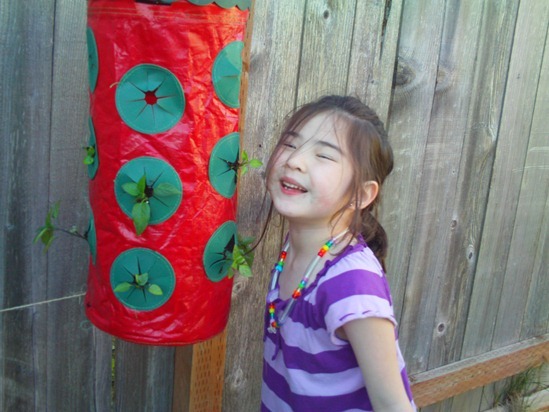
Finally my assistant and I poured in about a liter of water (soil was already a bit wet putting it in) and admired our work. With some strange bit of crazy luck we actually started having some great weather after we planted these and hung them up. So you can thank me Pacific Northwest…
As you can also see from the picture above I still have 6 more holes to add some more pepper plants which I have plenty in my grow box which I am allowing to mature a little longer. I will plan on providing updates on this post as highlights with this experiment develop.
RESULTS
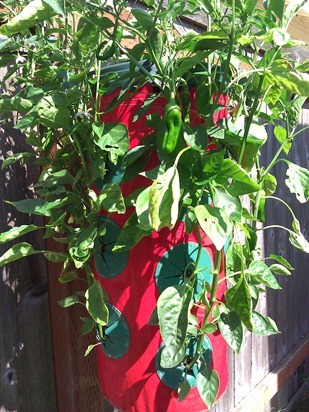
After a cold summer weather we finally have had a good month of good weather with what appears to be at least another week of sunshine coming. This has been great for the peppers in the strawberry planter.
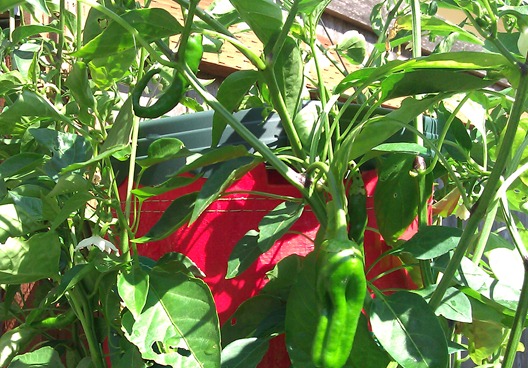
In this planter I have 18 pepper plants, even with the cold spring/summer they all survived and are now thriving on the top part of the plant I have hot peppers (cayenne) and on the lower half I have sweet peppers. All that was required on maintenance was watering every few days where I also rotated about a quarter turn to get even sunlight on all of the plants.
As these pepper on the plants ripen more I plan on making some cayenne pepper and some paprika (possible some smoked paprika as well) from the sweet peppers. Overall I have been very impressed with the results of this little experiment and plant to grow more peppers using this method next year.
How to make cayenne powder
13.5 years ago cayenne, dehydrator, peppers
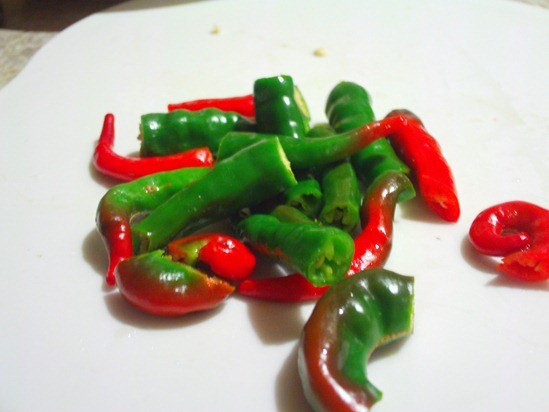
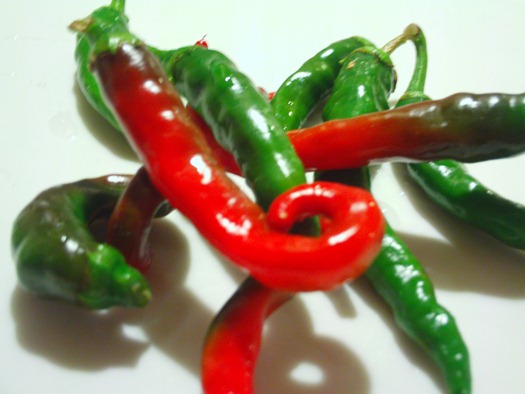
After letting my cayenne peppers ripen some more in the grow box I decided that this was good enough and decided to make some cayenne pepper for winter BBQs. The different stages of ripeness provides slightly different flavors, from what I have read partially ripe can give an excellent heat with a unique flavor. As you can see the color is also a little different than what you would typically think for for cayenne peppers. The process for this is very similar to making jalapeno powder with a few minor differences.
Step 1: Clean the peppers. Simply give them a quick rinse and a towel dry
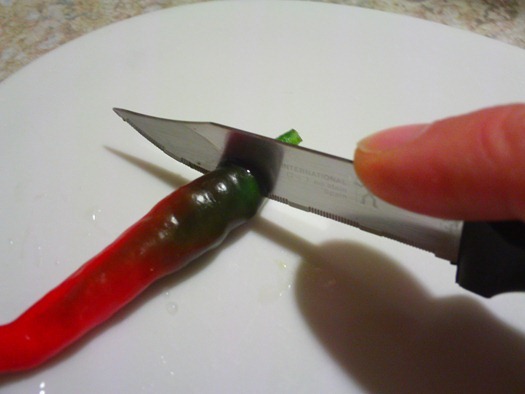
Step 2: Cut off the stems (stocks).
Step 3: Remove seeds. This is an optional I chose not to do this for laziness but also to give my powder a little extra heat. To remove seeds slice lengthwise and scrape out the seeds carefully. Recommend gloves on this step to prevent burning eyes later.
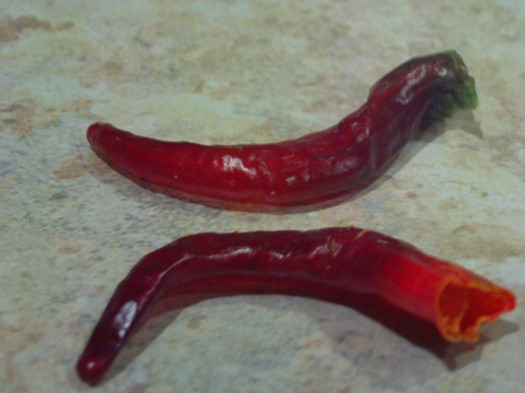
Step 4: Cut the peppers in half. Again this is optional but I did this to speed up the drying time since I didn’t split them to remove the seeds
Step 5: Dry the peppers. These peppers are very tough and can handle almost any temperature for drying. You can go with the slower method by stringing them through the middle using some fishing line and hang them until dry. You can also dry them in your oven at 225-300F checking every couple hours for dryness (about 8 hours). I opted to use my dehydrator (12-14 hours) since I have one and I didn’t want to get up in the middle of the night to check them. Just like the jalapenos you want to dry the peppers until they are crisp and break when you bend them. Just as another warning be careful when handling these peppers even when dry, you still can get burned.
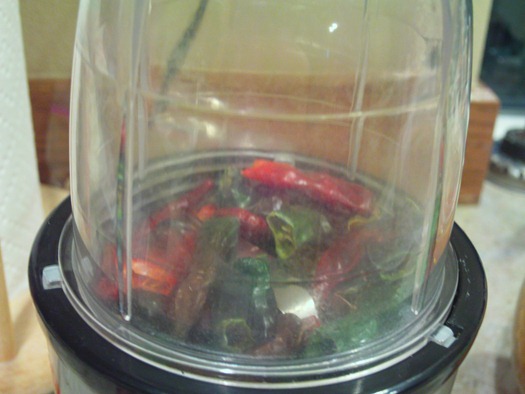
Step 6: Grind the peppers. Use a coffee grinder (or Magic Bullet with grinder blade like me) to a fine powder and store in an air tight container for about 6-8 months for best flavor but still can be used for 1-2 years with decent results.
Tags: pepper
