Teaching children patience with gardening
14.4 years ago germination, hydroponics, kids, seeds
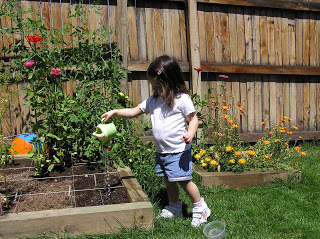
It shouldn’t be a surprise that kids these days are not as patient as previous generations. Personally I feel this is less on a change of parenting but a result of children’s expectations created because of the advance of technology. For example, When my daughter asks to watch a particular show “On Demand” and then 5 minutes later asks me to “pause it” so she can go potty. This makes me think back to the days of having a single TV station we could pick up with our antenna, which seemed to play reruns of MASH 24/7.
The great thing about gardening is with the exception of seed hybridization, synthetic fertilizers, and maybe techniques like hydroponics the hobby hasn’t changed too much in the past few hundred years. It still takes 1-3 weeks for seeds to germinate not matter what technology you throw at them. This is why I feel gardening is a great activity to share with the young ones in your life to help offset the instant gratification they see on a daily basis.
Here are a couple of ideas how to do this any time of year:
Cup of Dirt: Give your young one a cup of dirt and some seeds. To keep them interested give them a spray bottle to water everyday to keep them coming back every day to check how their plant is doing. The spray bottle will provide just enough water on the surface to allow the seeds to germinate and what kid doesn’t like to play with a spray bottle.
Sprouting in a Jar: I have a complete post on this topic, but the process is pretty simple. Get a mason jar and add some seeds. Rinse, drain and repeat. In just a few weeks you will have tasty and healthy sprouts you can add to your salads, sandwiches, stir-frys, etc.
Growing plants in water: Now this can be as complicated as setting up a hydroponic environment or as simple as taking a spider plant start and placing it in some water and letting your young one watch as the roots develop and transplant and care for it as a new plant.
Tags: cheap, garden seeds, outdoor plants, vegetables
How to determine your seed germination rate
14.6 years ago germination, seed saving, seed storing, seeds
Whether you are trying to determine if those seeds you have been stored for 3-4 years are still good or questioning your ability to harvest seeds on your own testing germination is a great way to take away from of the guesswork and avoid disappointment next spring.
The process is very simple, I believe I did the same thing in second grade during our plant section. Though that was to observe how a seed sprouts/roots the concept is exactly the same.
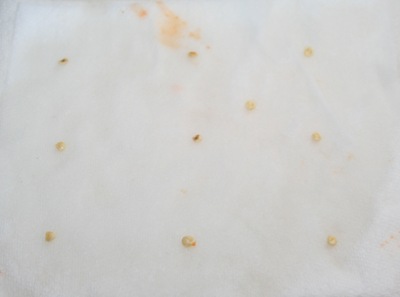
Take a wet paper towel and place 10 seeds on it and place the wet paper towel in a Ziploc bag. After a few days (or weeks depending on the normal germination rate) check back on your seeds and count how many sprouted.

In my case six out of ten of the jalapeno seeds sprouted. So just do the simple math using the following formula:
Germination rate = (# seeds sprouted/# total seeds sprouted) X 100
So in my case:
(6 seeds sprouted/10 seeds total) X 100 = 60% germination rate
Of course the more seeds you use in your “trial” the more accurate the results will be for my purposes the error rate is good enough for me.
If I was a seed seller this would be disastrous since most distributors have germination limits (90-95%), but given these are for my own use and I have about 300 more seeds that I will use no major loss. Though I will need to remember when I plant these out I will want to plant 2 seeds per cell to have good odds one of the seeds will germinate.
Another option is to give your 4 year old a handful of seeds and a pot full of dirt and see if most of them sprout. Much less scientific but my daughter didn’t seem to notice.
Tags: garden seeds, outdoor plants
Gardening products I would buy if I wasn’t so cheap
15.3 years ago cheap, compost, germination, indoor seed starting, tomato
Today I got my Gardener’s Supply Companycatalog, this particular catalog is dedicated to items to assist you with your gardening habit. You should be able to guess from this site I do my best to resist buying anything for the garden I absolutely need, otherwise I make a cheaper alternative. Well the point of this post is to show what I would like to get if I wasn’t as disciplined.
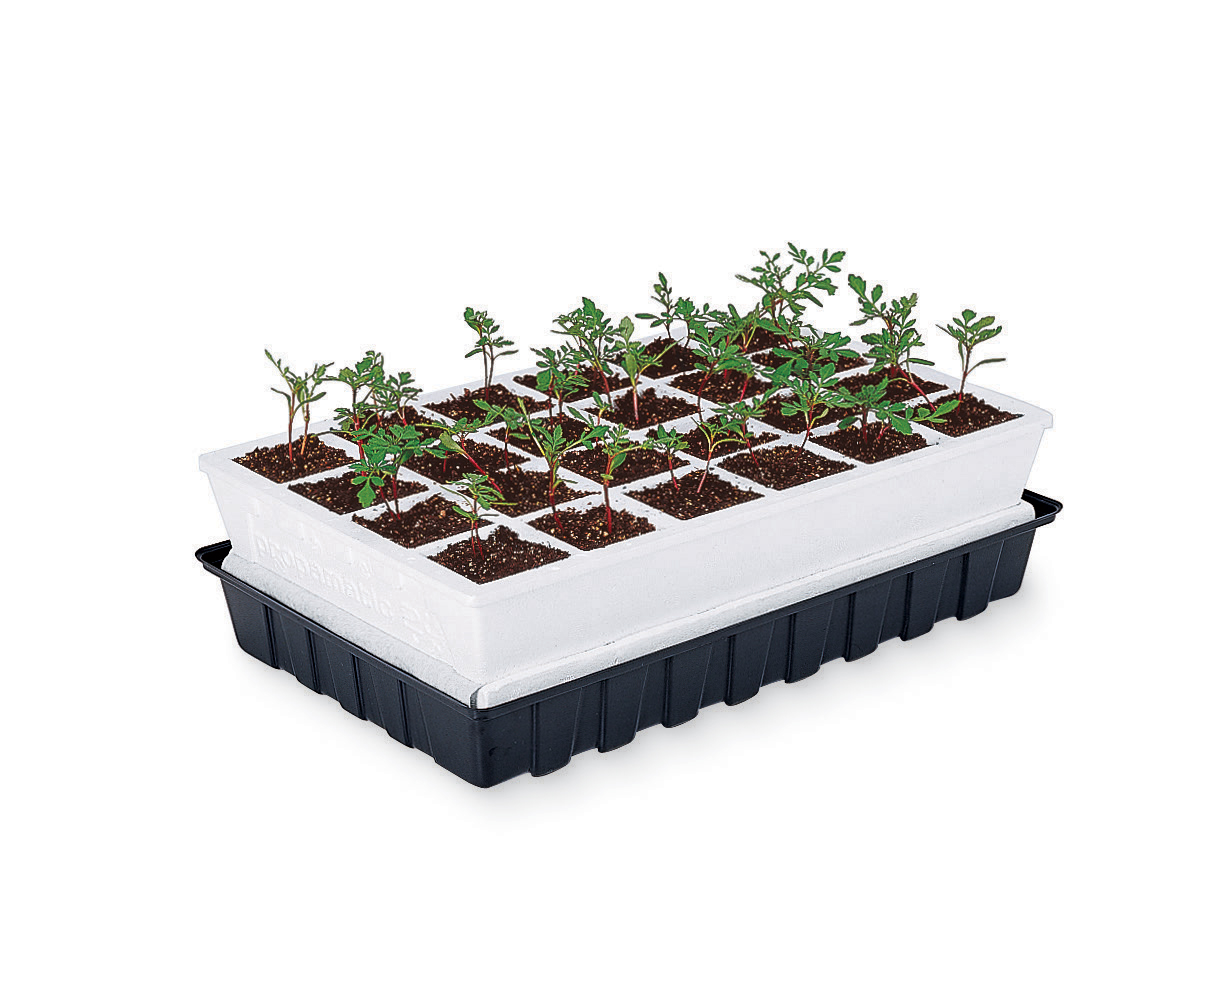 |
They sell these Accelerated Propagation System (APS) seed starting kits which have all the basics you expect from a seed starting kits you would find at your local garden store. They include 6 to 40 cells to plant seedlings and a clear plastic dome to help raise the humidity to provide extra moisture for the tender seedlings. The bonus in this setup is it also contains a reservoir which holds enough water to keep them moist for up to a week. With the help of an elevated platform and capillary matting provides just the right amount of water to your plants. At just $19.95 for the 40 and 24 cells sizes this is one purchase I am still considering, since I never have finished my automatic watering system on my computerized grow box and this makes much better use of space than my plastic tub, newspaper pots, and daily watering method I am doing now. |
 |
Eco-Friendly Cowpots basically planting pots made as a byproduct of processing cow poo. The poo is dried, composted and mixed with natural fibers creating a completely biodegradable pot which holds up well during growth and transplanting but biodegrades in the soil after several weeks. I watched an episode of Dirty Jobs which went through the whole process and it was very interesting and environmentally conscience but, unfortunately due to the price tag (about $1 a pot) these are a little over my budget since my newspaper pots are free. |
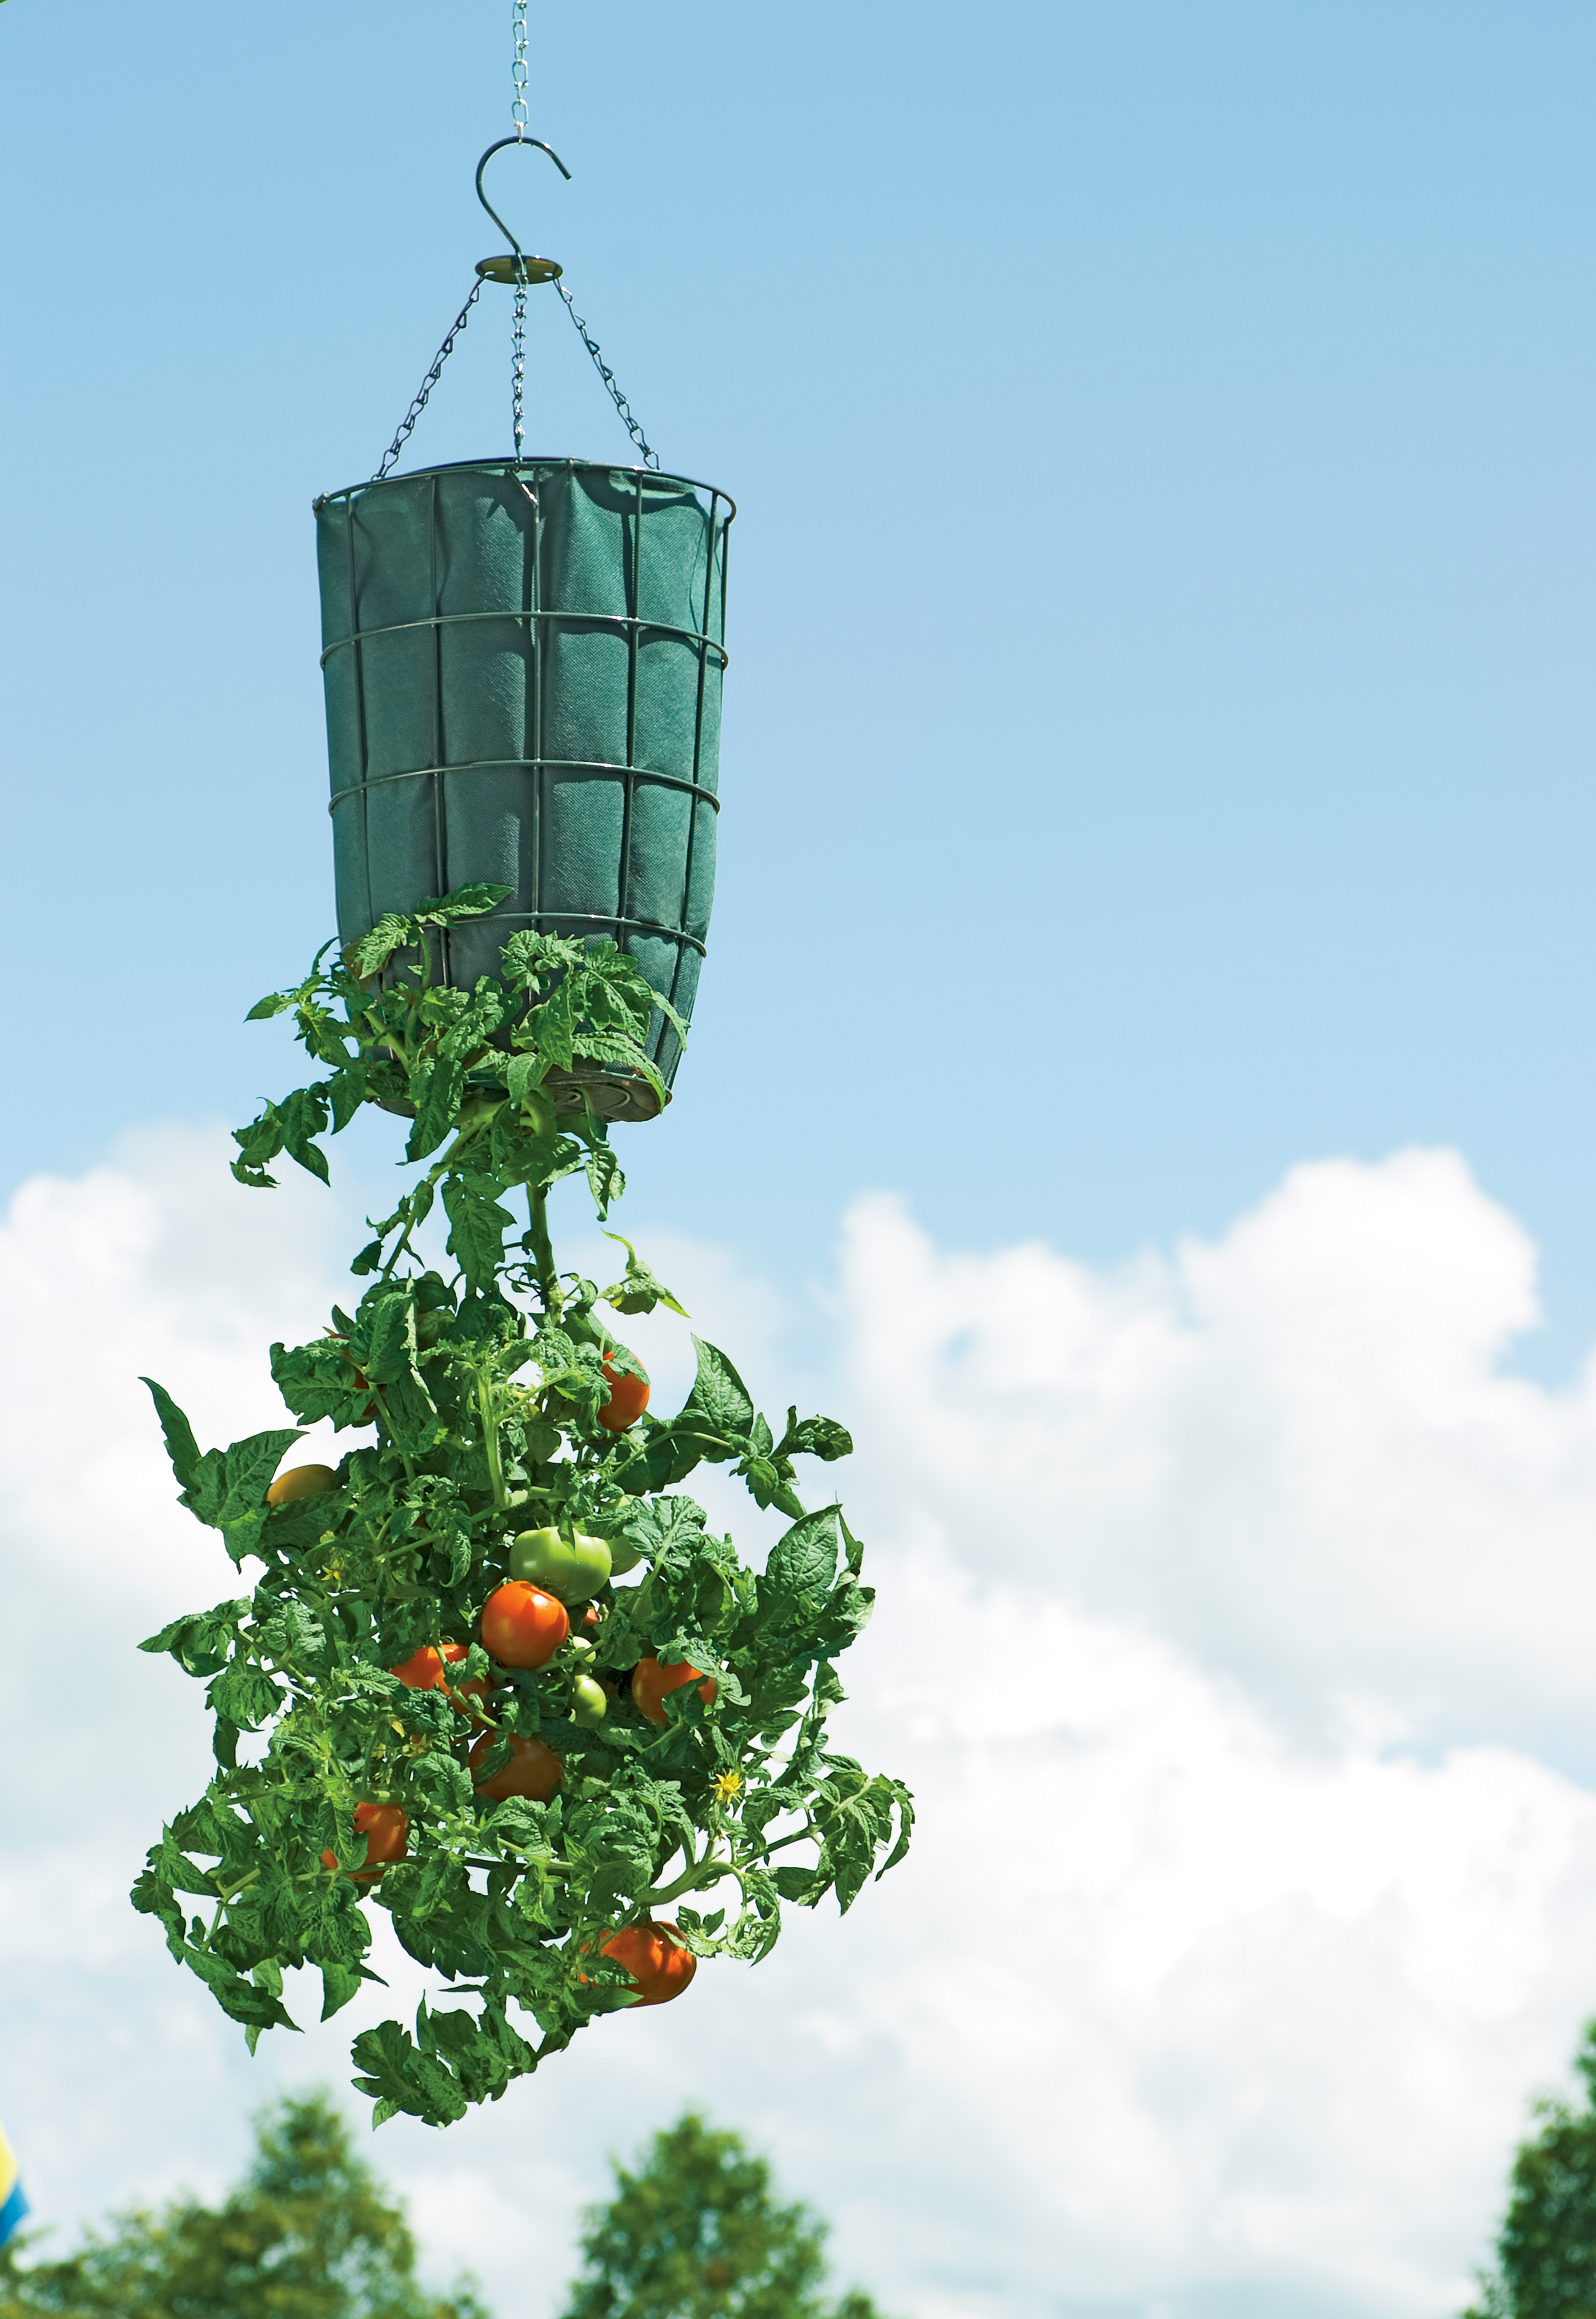 |
Gardener’s Revolution Planter – You have probably seen something similar advertised between gardening shows on HGTV (Topsy Turvy) , I know my daughter has and has been talking about growing tomatoes upside down for some time now. She even on her own came up with a ingenious design to do this (not 5 gallon bucket) which I will write-up when we get around to that project. In case you were wondering the improvement this year (or compared to the TV advertisement) it is the addition of a 1 gallon water reservoir which slowly releases water to the plant as neededSelf watering must be a big seller this year since there are also many other variances of self watering pots in many shapes and sizes with designs similar to the original (to my knowledge) the EarthBox. |
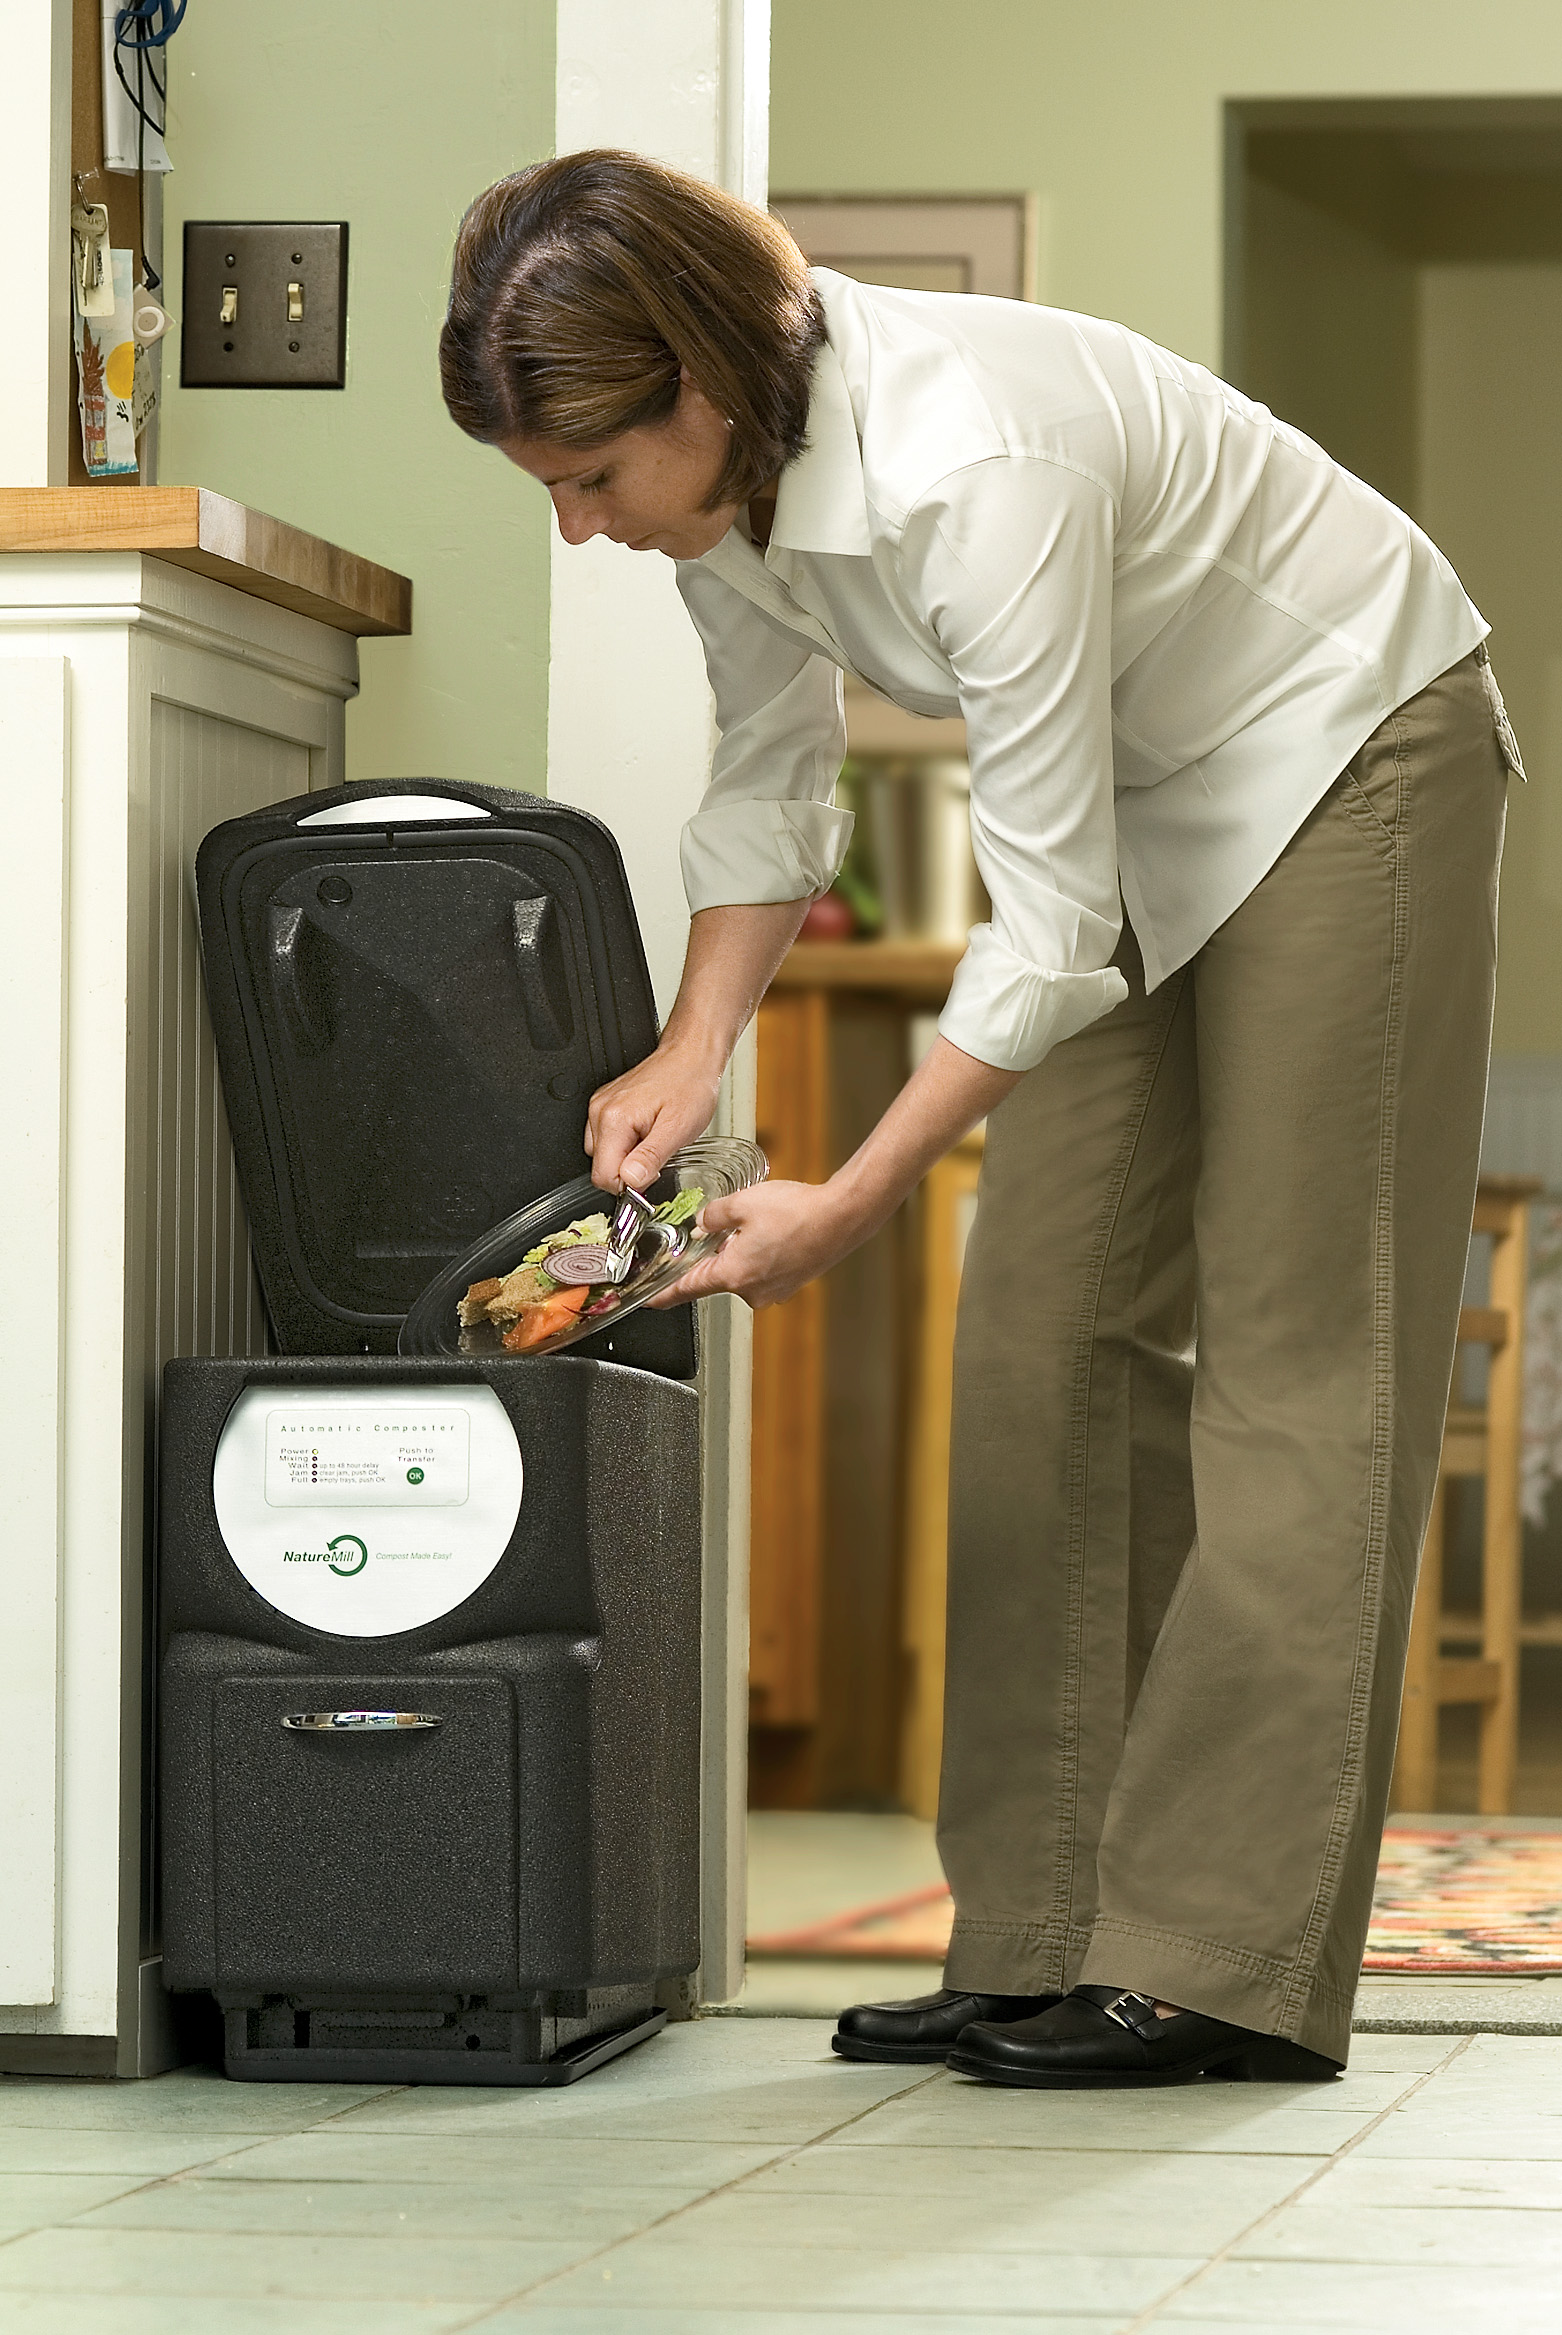 |
Now definitely in the gadget department the Push-Button Kitchen Scrap Composter can take your everyday kitchen scraps and turn them into compost in less than 11 days. The concept on this one is pretty simple:Food + Heat + Spinning = Compost
Of course it crossed my mind of creating something similar myself, but probably would end up burning down the house or if I was lucky just launch partially composted food across the living room at 50 miles per hour. Given the $299 price tag seems like I will be stuck to waiting 3-6 months for my compost to be created. Though it would be much more convenient than walking through the snow to add kitchen scraps to the compost. |
Tags: cheap, compost, garden seeds, growbox, led, outdoor plants, tomato plants, vegetables
Planting seeds outside
16.1 years ago germination, outdoor seed starting, seed storing

I always enjoy any seeds I required to start outdoors since they normally thrive with little effort from myself other than the occasional watering and given I live in the rainy Seattle area that does start until mid-June. Even if you have started many of your seeds indoors to extend your growing season some seeds should always start outdoors since they are sensitive to transplant shock. If you have been to a garden center or nursery lately you can get an idea by what types of plants can be transplanted easily. If you are now looking at your seed packets wondering if you should plant these indoors or outdoors here are my suggestions:
Plants that can be started indoors:
Broccoli, Cabbage, Cauliflower, Celery, Cucumbers, Cukes, Eggplant, Herbs, Kale, Leeks, Lettuce, Muskmelons, Onions (seed), Parsley, Peppers, Swiss Chard, Summer squash, Tomatoes, Zucchini
Plants that should be started outdoors:
Beans, Beets, Carrots, Cilantro, Corn, Cucumbers, Garlic, Muskmelons, Onions (sets), Peas, Potatoes, Radishes, Scallions, Spinach, Turnips, and Winter/Summer squash
You can see from the list there are some plants on both lists which shows that it is definitely possible to transplant some of these sensitive plants, but if you want to avoid the hassle and avoid killing a few plants without requiring surgical precision I would recommend opting for the direct seed planting approach.
Hopefully now you have an idea what you can plant so now comes how to actually do it. Your seed package which will normally give instructions something along the lines of planting the whole package of seeds in a row and thin out to the appropriate spacing. This has been the basic method that many gardeners have been doing for years. This normally leads to thinning 70% of the seedlings or so of the row, which is time consuming and since you can save seeds over a few years this method will definitely be more costly. To avoid this, I plant 1-2 seeds at the proper spacing, if the seeds have been saved for a couple years I add a couple extra seeds since even with proper seed storage the germination rates can decrease over time. After a week or two I simply thin the weakest of the seedlings by chopping them off with a small pair of scissors being careful to not disturb the seedling next to it. If you want to give your larger seeds a little head start, try soaking them in lukewarm water (add inoculants if they are in legume family) overnight before planting them.
Following these steps you should have some great activity in your garden with minimal maintenance and cost.
Tags: cheap, cilantro, garden seeds, garlic bulbs, herb garden, outdoor plants, pepper plants, tomato plants, vegetables
Starting my first seeds of the season
16.3 years ago germination, indoor seed starting
My two daughters and I could not take it anymore and had to get our hands dirty and start some seeds indoors. Cute to hear my 3 year old say in the dead of winter “Can we garden now?” when it is 20 degrees outside and 4 inches of snow.
Given that our last frost date is March 15th and I don’t have a good southern facing window I might regret the early start but I always have my grow box if the steps start to get leggy. I was also thinking that my grow box would be a decent way to start hardening off young seedlings with wind and temperature a little more in my control.
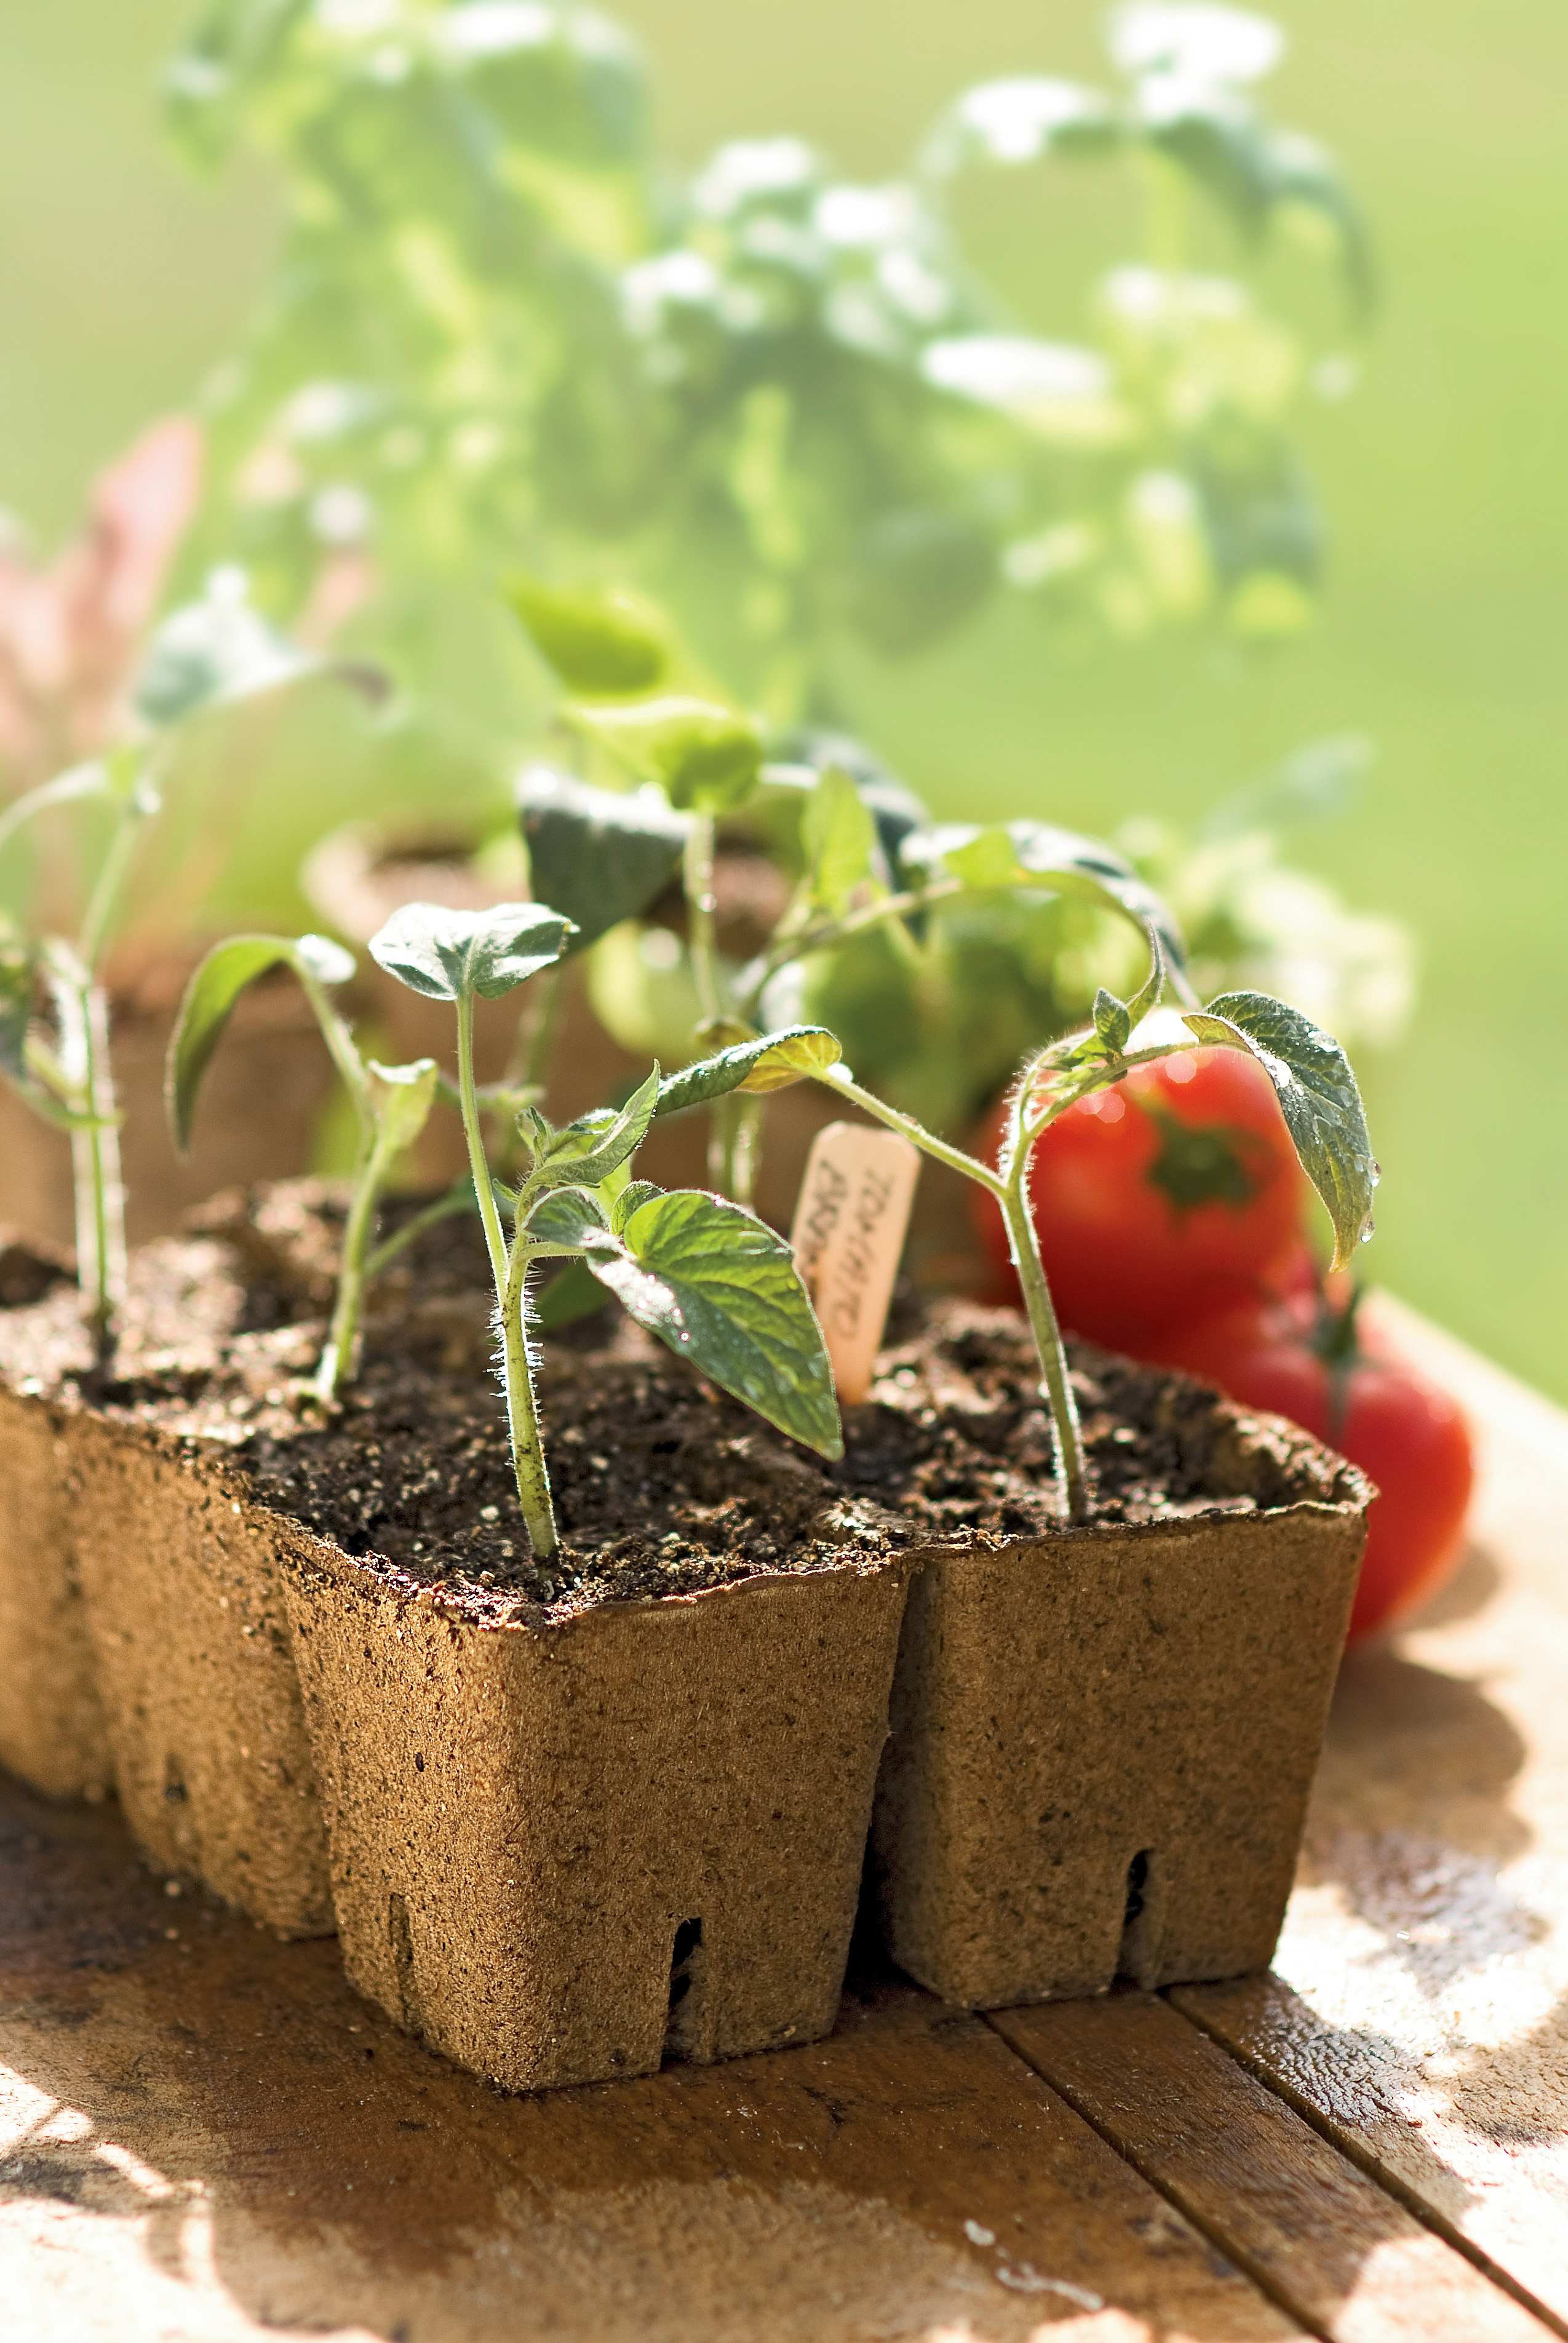
I normally start my seeds with netted peat pellets, but this year for environment concerns and because I am cheap I went with coconut coir. I must say I love this stuff it retains water very well, which is great for those little seedlings. The kids also got a kick out of watching the little brick expand to half fill my 5 gallon bucket after adding the 5 quarts of water. Now one lesson learned is to cut that block up into small pieces especially if you are not doing all of your planting at once.
I was planning on starting some cucumbers, lettuce, and tomatoes but apparently I didn’t save any tomato seeds from last year so looks like I am stuck with the local seed selection this year. I didn’t have any small pots around so grabbed some of my kids’ water cups and cut a hole in the bottom and filled them full of damp coconut coir and let the excess water drain and put them in a strawberry container which may work as a nice little greenhouse. If you look close enough you can see some little sprouts already starting from the lettuce in just one day. I also cut the top off a 2 liter bottle to top off one of my terra cotta pots which I planted lavender.


Tags: cheap, garden seeds, growbox, led, outdoor plants, strawberry plants, tomato plants, vegetables


