GrowVeg vegetable gardening software: Square Foot Gardening and more
11.3 years ago garden planning, spring, sprouting, square foot gardening

Seeing a few rays of sunshine in the gloomy Pacific Northwest, I decided to open up GrowVeg and start planning for my fall crops for the upcoming season. I was pleased to notice a new bit of functionality the Square Foot Gardening feature. I started growing with the square foot method after being inspired with my first gardening book appropriately titles “Square Foot Gardening” by Mel Bartholomew. I consider him the original cheap vegetable gardener where this book provides a great way to produce more food in less space but is also filled with very cost efficient tips for your home garden.
GrowVeg takes advantage of this technique by allowing you to select the plants you want to grow and automatically shows you the amount of “squares” your plant needs as well as how many plants you can add in the square with the number appearing in the top left corner.
One additional benefit of GrowVeg is when you use the service for a couple years, not only can you save time by reusing the template from the previous year, but it also remembers what you planted at the various locations and warns you to not plant that family of vegetables in the same location for effective crop rotation (another recommendation of Square Foot Gardening) by showing a glowing red indicator (see below) where to avoid planting this year.

Another cool feature is revealed by clicking on the info icon it will display a real picture of the plant and all of the basic information you need to know to grow almost any edible plant you can think of.

I will admit last year I did not follow the planting dates that GrowVeg recommended, I was optimistic (ok really just impatient) and started my seed a few weeks too early resulting in some poor yields for my cold spring crops. This year I am going to be a little more pessimistic and use their dates and following the convenient planting guide. Which along with the reminder emails (and a little restraint) hopefully I will been eating a few more spring veggies this year.

If you want to to try GrowVeg.com out for yourself you can sign up for a free 30 day trial and in a 5-10 minutes you can have some detailed plans as well.
Plan your garden with Sprout Robot
12.2 years ago gardening software, indoor seed starting, robot, seeds, sprouting

I came across Sprout Robot in the past week, you simply create an account and provide your zip code and it will give you a complete calendar of planting dates as well as follow ups when to expect sprouts to form, when to bring out, harvest etc.
When a new event is coming up you will get an email similar to the one below letting you know what is new to plant that week.

When you connect to the site you then can “Check-In” and check off the tasks you have completed which get updated with next event for that plant.
They also have an option where they will even send out organic seeds just in time for planting in your area starting at $19.99 a year, though personally I have plenty of seeds saved for at a couple of years in my refrigerator.
Garlic growing in my driveway
13.2 years ago garlic bulbs, spring, sprouting

Just to show our level of rain in the Pacific Northwest, I must have misplaced a couple of garlic cloves when I was braiding my garlic last summer since I noticed 4 garlic plants growing in the gravel next to my driveway.

Even with the less than ideal “soil” they were growing in they have some decent looking root structure. Provided my garden has a no plant left behind policy I dug up each of these garlic plants and found a place for them next to the garlic cloves I intentionally planted in my garden last fall.

Tags: garlic
HomeTown Seeds: 3-Tray Kitchen Seed Sprouter Review and Giveaway
13.6 years ago seeds, sprouting

Last year I played with sprouting seeds in a mason jar to hold me and the kids over during the winter until it was time to start growing for the following spring. The process worked great but I ended up with way more sprouts than I could consume and most of the sprouts were wasted. One option was to use smaller jars and stagger the starting of the seeds, but this would leave me to fill and drain 3-4 jars a couple of days.
Fortunately Hometown Seeds has a product (3-Tray Kitchen Sprouter) that solves these problems for me and when they asked it I would want to review this product I jumped at the chance.
The kit comes with 3 trays and a packet of 2 oz of organic alfalfa seeds, which you can fill each with a half of tablespoon of seeds to get a full tray full of sprouts in 2-3 days. Each tray is easily removable so you can choose to create 3 trays worth of sprouts at a time or create start a new tray every day to always have a fresh supply of sprouts.

After you have added the seeds you put the pieces together and simply fill the top reservoir with water and the sprouter does the rest. The sprouter uses a syphon technique to allow the tray to partially fill with water before draining to the tray below it, to repeat the process for any other trays you have.

Here you can see the syphoning in action.
I have not tried it myself but I don’t see any reason if you bought multiple kits and stack them as high as you want and have a sprouting factory on your kitchen counter.
Overall I was very impressed with the sprouter it was easy to use and entertaining for my 6-year-old to watch the water drain through the various levels. Also produced clean quality sprouts without making a mess all over the kitchen counter. The only negative observation is sometimes the seeds/sprouts can clog the syphon if too many get packed together. Fortunately when this happened to me, I simply removed the plastic syphon cap and pushed away a few of the seed/sprouts blocking the drain and didn’t have any problems after that, but something to keep an eye on.
Here are some sprouts I after growing for 2 days…tomorrow they will go on some sandwiches.

Hometown Seeds has also graciously offered one of these sprouting systems to readers of CVG, so if you are in the continental United States, just enter a comment below and I will pick a winner at random in one week (9/18/2010 Midnight PST)
Tags: seed
Planning garden using GrowVeg (Year #2)
14.2 years ago garden planning, spring, sprouting
Though GrowVeg worked great for planning my garden last year, this year it became even more useful. By creating a garden plan using my template from my previous year not only did it save time but also showed where I should not plant certain vegetables because I planted the same family of plants in that area last year. Here is my plan for my larger plot:

I am growing much of the same as I have in past years with the addition of broccoli and Swiss chard.
For my longer fence plot here is what I am going with the following:

New in this area I am going to plan on growing some dry beans for storage as well as some green beans along with our regular cucumbers, tomatoes, and sunflowers.
I also have an area I am planning on growing herbs, though for that I am just going to wing it.
In the end it took me about 3-4 minutes to create this plan thanks to GrowVeg which I can print out and keep by the garden so I don’t have to wonder, “Now where did I plant that spinach again.”
They do have a free 30 day trial if you want to try it out this year.
Tags: cheap, herb garden, outdoor plants, tomato plants, vegetables
Growing sprouts in a Mason jar
14.8 years ago cheap, kids, sprouting
My daughter was required to do a presentation which included an experiment using plants for school and of course her mother directed her to me. Given there was not a lot of time until the presentation I suggested that she grows sprouts, given you can go from seeds to a jar full of sprouts in less than a week.
Construction
You really can grow sprouts in almost anything. We chose a mason jar, though plastic storage containers, trays, or even fabric bags (just drip in water and hang)
The important thing is to provide plenty of airflow, if you don’t your seeds will produce an awful stank that you won’t want in your house let alone eat. We used a piece of an old pair of leggings, which we stretched over the opening of the jar and applied the mason jar ring….well that’s about it.
How to Grow Sprouts
The process starts with seed selection. You can grow any seed as a sprout though you may not want to eat them. Cilantro is a good example it will grow great but the root of a cilantro/yellow mustard sprouts are very potent so use with cooking, not raw. Some good suggestions are alfalfa, broccoli, buckwheat, cabbage, chickpea, garlic, lentil, oats, yellow mustard, peas, onion, radish, sunflower, fennel, arugula, pink kale, fenugreek, wheat, or wheatgrass. In our case my daughter wanted to determine how quickly and big seeds grew depending on the initial size, so I gave her a several different types of seeds for her experiment.
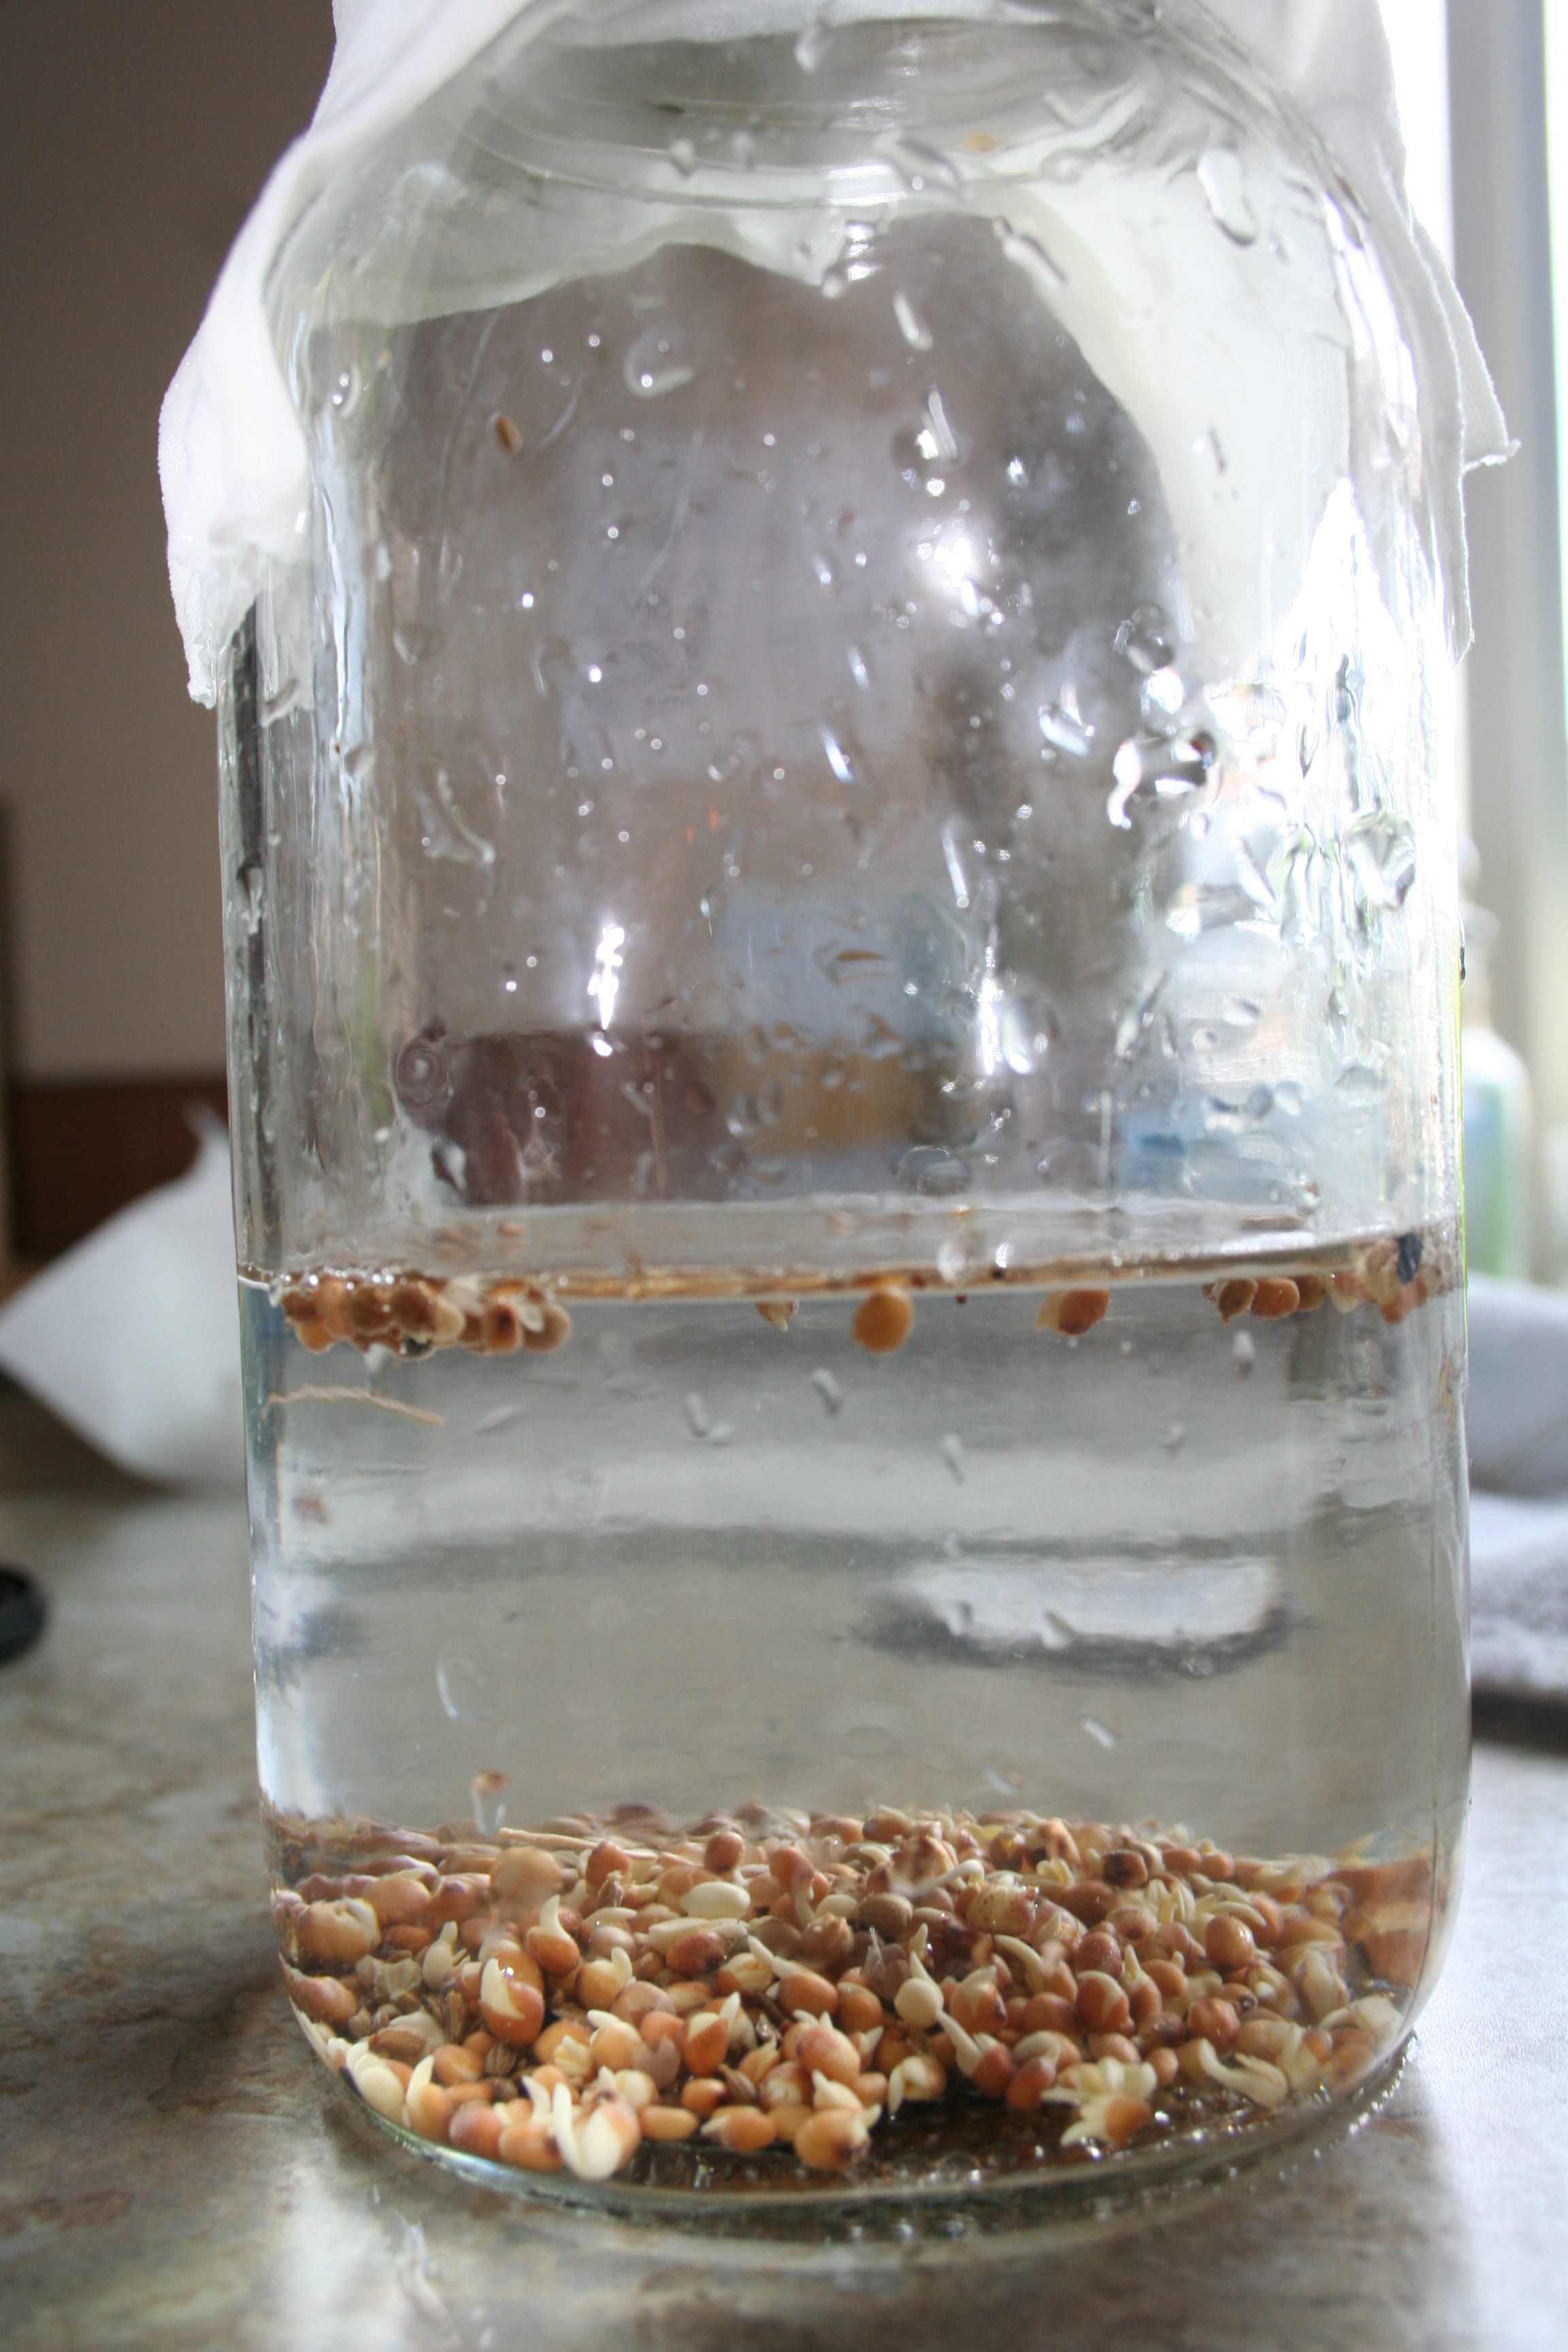
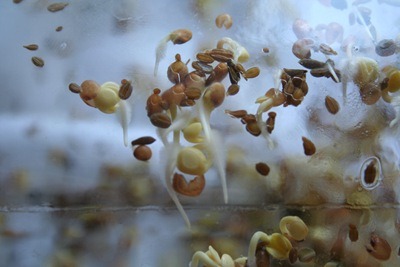
Take about a tablespoon of seeds and soak in room temperature water with a couple drops of liquid fertilizer overnight.

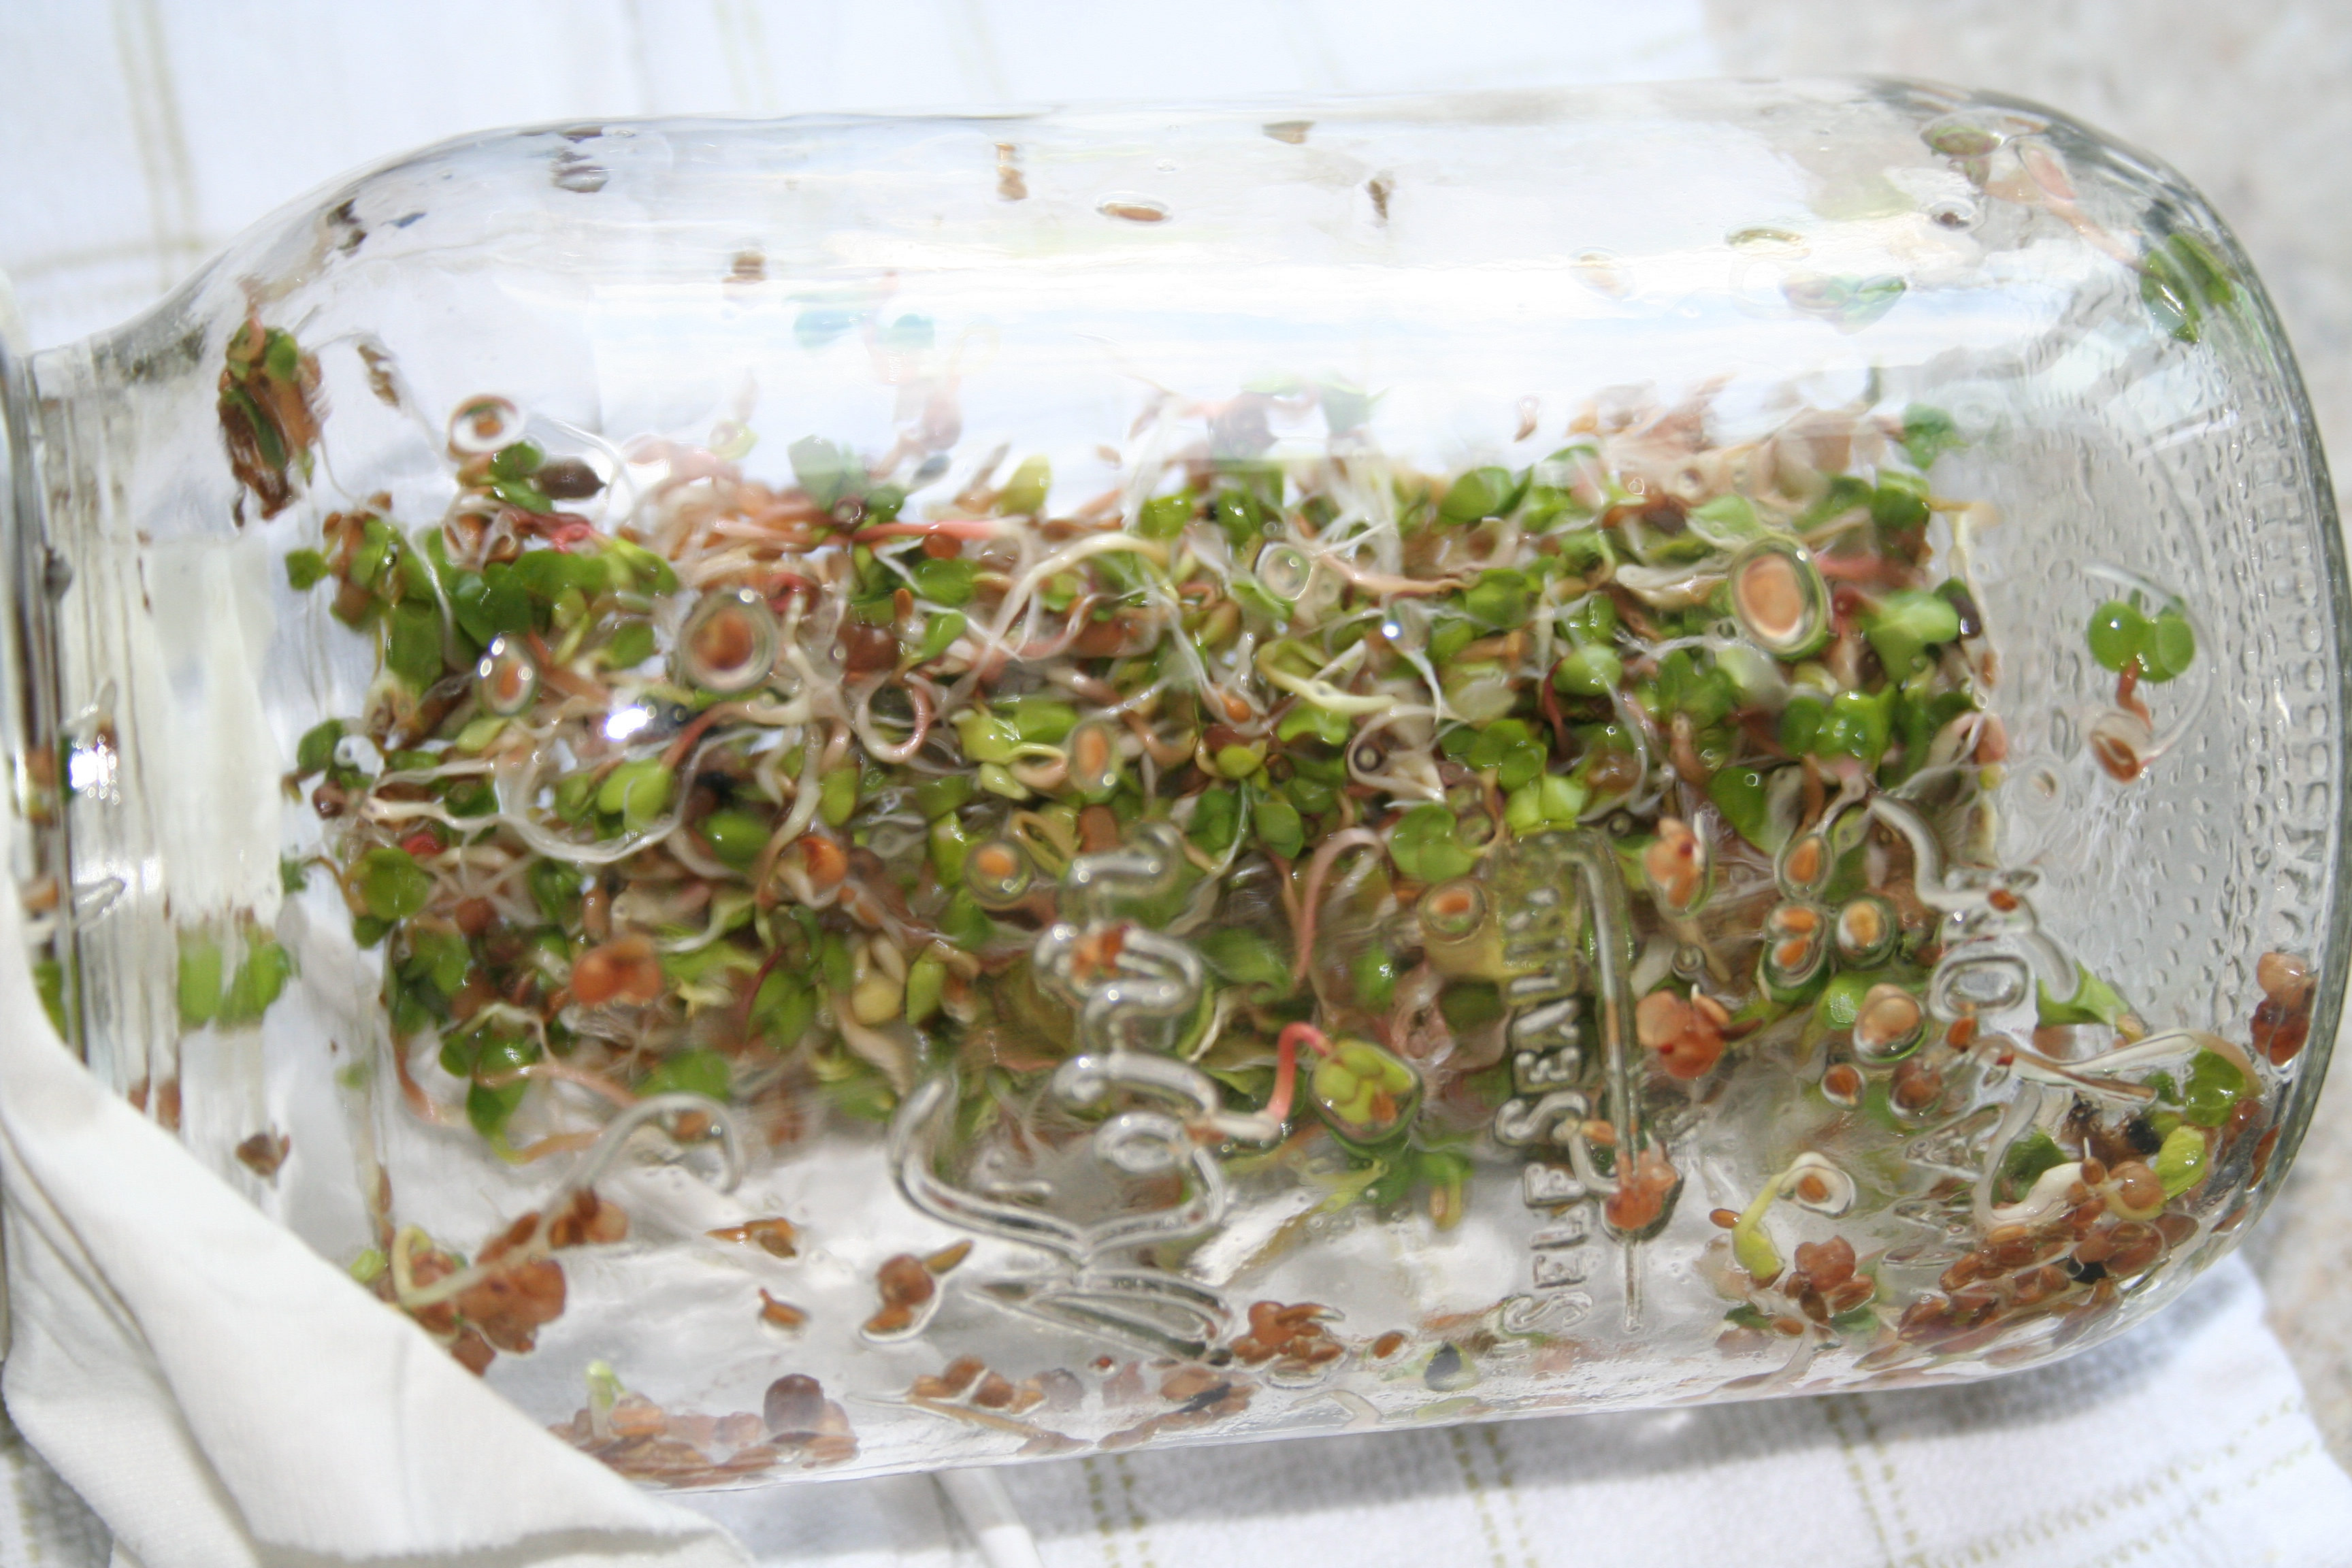
In the morning drain, rinse and let sit out of direct sunlight. Repeat the drain/rinse process once a day (twice a day if your sprouts begin to smell) During the first couple days it is advisable to shake and/or roll the jar on its side to allow the seeds to spread out a little. Doing this simple procedure within about a week you should have a jar full of fresh healthy sprouts.
Why grow sprouts?
Fun: Great for kids with limited attention spans. Within a day or two they can see their seeds sprout growing more and more each day. It is also a great way to keep your sanity during those long winter months.
Cheap: For mere pennies you can grow pounds of greens.
Nutritious: These little sprouts pack a ton of nutrients for their little size.
Easy: The process is pretty fool proof, just rinse with water, set them on your counter, and eat. What could be easier
Tags: cheap, cilantro, garden seeds, garlic bulbs, outdoor plants


