Growing Fruits in Small Spaces
11 years ago blackberries, fruit, guest post, raspberries, strawberries
Are you planning a garden this year? If so, you are in good company. Over 50 million American households will be growing some or all of their own fruits, vegetables, herbs, or berries. Plant nurseries, garden centers, farm supply and home improvement centers have all noticed an uptick on sales of seeds, plants, seedlings, Fruit Plants, fertilizers and gardening tools this month.
So many people have taken an interest in gardening that even people who live in apartments, condos and houses with small yards can satisfy their urge for a green thumb. You do not need large plots of land to be a gardener. Patios, balconies and tiny back yards can be decorated with flowers, herbs, vegetables and fruits – thanks to container gardening and new types or varieties of plants. Community gardens are another way to find the space needed to grow your own fruit and vegetables.
Benefits of growing your own produce include:
- improved quality,
- better taste,
- guaranteed freshness,
- bigger variety of choices,
- control over the use of pesticides and chemicals, and
- average cost savings of about $500 per year!
If you have the urge to try your hand at growing your own produce, consider starting out with some inexpensive container plants. Everyone has seen the TV commercials for kits that hang from the roof or a shepherd’s hook to produce fresh strawberries and cherry tomatoes. But container gardening can go much farther than that.
Suburban and urban households – even many retirement village and nursing home residents – can join in the fun of watching fruit plants and vegetables grow, and then harvest them at home. You can buy seed packets or young seedlings that were started commercially for harvesting in late summer and early fall, or try for years of production and harvesting by planting dwarf fruit trees.
Small spaces can use:
- Window boxes
- Trellises
- Hanging baskets
- Raised beds in a variety of sizes and shapes, and
- Thousands of types and sizes of pots
to help grow a variety of fruits and vegetables on patios, balconies and in small yards.
Fruit trees designated as appropriate for your growing region will be disease resistant and tolerant of the climate in your area. Citrus trees do well in Florida, along the Gulf Coast and throughout California. Blueberries and cherries do well along the East Coast and mild climate zones. Apples come in dozens of varieties. Both apple trees and pear trees can be found in every state of the continental U.S. For container gardening, there are dwarf versions of dozens of types of fruit trees.
To start your successful container gardening, community garden or home vegetable garden project, find good internet resources to research want you hope to grow, and talk to local nurseries and orchards about the types of plants and trees that will work for your climate and site. There are many decisions to make early, including:
- preparation of area: tilling, testing and adjusting the pH balance, and spacing
- type of fruits and vegetables: bush plants versus pole or trailing plants
- variety/rootstock combination: dwarf trees, hybrids, grafted twigs, crossbreeds, etc.
- recommended planting techniques and timing,
- pruning, thinning, training,
- nutrition
- disease and pest control
Check back later this summer for pictures of my own container plants!
Most profitable fruits to grow in your home garden
13.1 years ago blackberries, peach, raspberries, strawberries, summer

I previously did some analysis on the profitability of vegetables in your garden and there have been requests as well as my own curiosity of how fruits would stack up against fruit trees/bushes.
To keep things simple I made the assumption of fruit trees/bushes are fully mature with maximum yields. So please take into account that you will see some variance throughout the years. I have also used the fair market retail value of fruit when purchased by the pound, obviously all of these could be purchased cheaper by the bushel…but many of us you live in urban areas it can be difficult to make these discounted large purchases nor consume 48 lbs. of apples before they go bad.
After a crunched the numbers I was a bit surprised and happy to see blueberries at the top of the list. I have four blueberry plants already in the ground and two more waiting to be planted. Though one asterisk for this plant is that is take 3-4 years to really start producing but you get several years of good production and by buying a variety of plants with different harvest times, so unlike many other fruits you do not get a huge supply of fruit all at the same time.
Overall fruit compared to vegetables provides a similar range of harvest value depending on the variety. There are a couple of differences that should be taken in to consideration:
- Space: Fruit trees/plants range from a little over a square foot to over 60 square feet per planting
- Time to Maturity: It can take several years for some trees to become mature and start producing high yields.
- Size of Harvest: You could see hundreds of lbs. of produce within a couple weeks. You will need to determine a means to actually use this (canning, pies, forcing on neighbors)
- Commitment: Unlike annual vegetables if you decide you really don’t care for the produce it can be time intensive and expensive to switch out an apple tree for a difference variety.
| Fruit | Harvest Value/ Square Foot |
| Blueberries | $ 18.71 |
| Pomegranate | $ 13.38 |
| Nectarine | $ 8.64 |
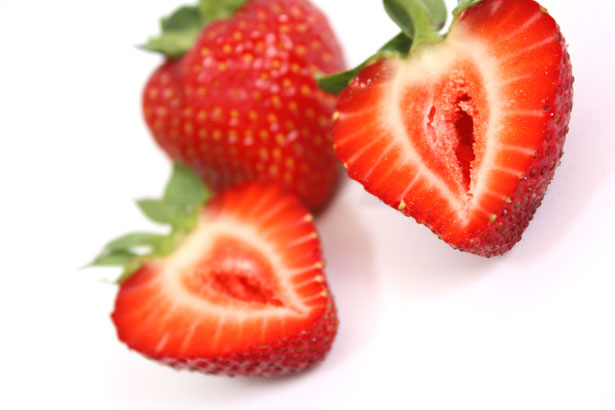
| Strawberries | $ 8.13 |
| Peach | $ 7.90 |
| Apple (Standard) | $ 6.64 |
| Apple (Semi-Dwarf) | $ 6.40 |
| Raspberries | $ 6.23 |
| Apricot | $ 3.54 |
| Plum | $ 3.18 |
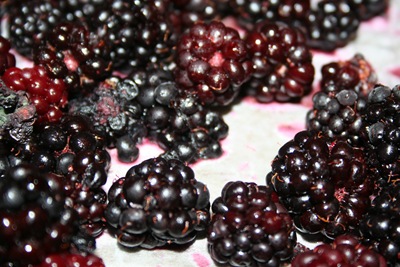
| Blackberries | $ 3.05 |
| Pear (Standard) | $ 2.90 |
| Fig | $ 2.66 |
| Almond | $ 2.56 |
| Apple (Dwarf) | $ 2.35 |
| Walnut | $ 2.28 |
| Pear (Dwarf) | $ 2.10 |
| Cherry (Sour) | $ 1.13 |
| Cherry (Sweet) | $ 0.84 |
As always the common sense principles apply:
- Grow what you like to eat
- Cost is only one factor to consider, you can’t beat real fresh produce
Blackberry Picking Tip: Hands free berry picking
14.7 years ago blackberries, blueberry, raspberries
I love to pick blackberries, they grow literally like weeds in my area and very easy to find a trail with more berries than I ever could pick. The fresh air is nice I am always looking for new ways to pick berries in less time. This tip from my brother-in-law will be sure to help step your berry picking up a notch.
Simply take an old milk carton and cut a hole in the top.

Then take your belt and loop it through the handle and now you have both hands free to pick those berries even faster. Of course this would work for anything else that could be beneficial to have both hands free.
I also cut a small notch lower than the top and used the same container to rinse the berries are allow easy separation of stems, leaves and/or insects that decided to join my bucket during my rapid picking.
As always if you have a gardening tip you would like to share please feel free to let us know using the Contact link.
How to freeze berries
14.8 years ago blackberries, freezing, raspberries, strawberries

A well proven way to save money on your food budget is to stock up on produce while they are in season. Not only do they taste better but they also can be significantly cheaper. Now these “purchases” can be from your local grocery store, U-Pick farm, fruit stand, farmers market, free roadside berries, or even from your own garden.
Given the attractive prices of these fruits it may be tempting to buy more than you need. Which I would say go ahead and buy to your hearts content. After you have made all the jam you can eat in a year (don’t make 15 jars of jam when you only consume 4 per year) one effective and easy way to store your extra berries for winter is freezing.
For the impatient one you can simply dump the berries into a Tupperware or freezer bag and toss them in the freezer. Though in the end this will give a solid clump of berries which you would need to pull out an ice pick to separate the berries if you only require a few.
The more preferred technique is the following:
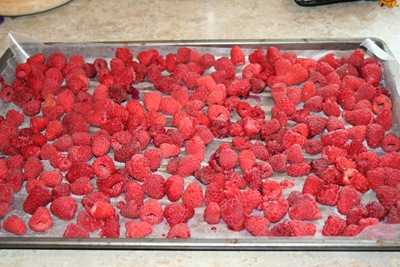
- Wash your berries: Give your berries a quick rinse and let them dry in a colander for about 10-15 minutes
- Spread your berries: Lay down some wax or parchment paper on a cookie sheet and spread your berries on a single layer just ensuring that the berries are not touching. If a couple touch it is not the end of the world they will just be close friends in the freezer.
- Freeze your berries: Carefully put the berries in the coldest part of your freezer overnight.
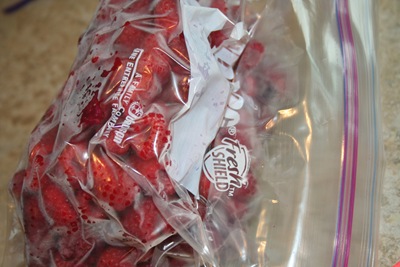
- Pack your berries for the winter: When it comes to freezer storage and fruit air is always the enemy. If you have a vacuum sealer that would be your best option but if you are like me and don’t here is a cheap alternative. Take a regular old Ziploc freezer bag and insert a straw on one end, close the bag as tight as possible around the straw, suck air until you get dizzy, and quickly seal the bag. Just to be extra cautious I will then throw that bag in another bag for an extra layer of protection. Note: You have a little time to complete this step but don’t want to allow enough time for your berries to begin to defrost and refreeze stuck together.

- Label the bag(s) and throw them in the freezer

Now to avoid getting too scientific (size/speed of water molecule formation) the faster you can get your berries frozen the better the quality your berries will be when you pull them out. If you have enough berries (or not enough cookie sheets) you can also add your berries and some broken up dry ice to a metal bowl (be sure to wear gloves) and stir to replace step 3. This will get you the fastest freeze and best quality though unless you are freezing many flats of berries I would recommend the cookie sheet method.
Following these steps you should have some tasty berries you can pull out individually from the freezer all winter long.
Tags: cheap, vegetables
Picking wild blackberries – the sequel
15.7 years ago blackberries

I enjoyed the blackberry pie so much I decided we needed some blackberry jam as well. I picked so sparsely at my first public berry picking location that I could have gone back and easily found enough berries to make jam, but it was a nice day and decided to take a walk in the woods with my youngest daughter. After exploring (getting lost for two hours) and picking various species of blackberries, I finally found civilization and called my wife to pick us, since walking along a busy road with no shoulder with a jogging stroller didn’t seem like a good idea (and I was tired).
I picked enough berries during our adventure for my wife to make 8 jars of jam (7 put in jars, 1 put in Tupperware for immediate consumption) I would provide our secret jam recipe but the nice people already put it on the package of SURE-JELL pectin.

| 7 cups of sugar | $ 1.50 |
| 8 pints of blackberries | $ 0.00 |
| Pectin | $ 2.00 |
| Cost per jar | $ 0.44 |
Tags: cheap, led, vegetables
Picking wild blackberries (Blackberry pie recipe)
15.7 years ago blackberries

Given the price of produce these days and how blackberries cannot be killed here in the Pacific Northwest there are not too many trails that don’t have these bushes attempting to overtake them I decided to take my 4-year old with me blackberry picking. In just about 15 minutes (also length of time 4-year old has for blackberry picking) we were able to pick exactly 4 cups of blackberries. Since my 4-year old wants to “grow up to be baker like daddy” (obviously has no idea what I do for a living) we decided to use our fresh berries to make a blackberry pie.
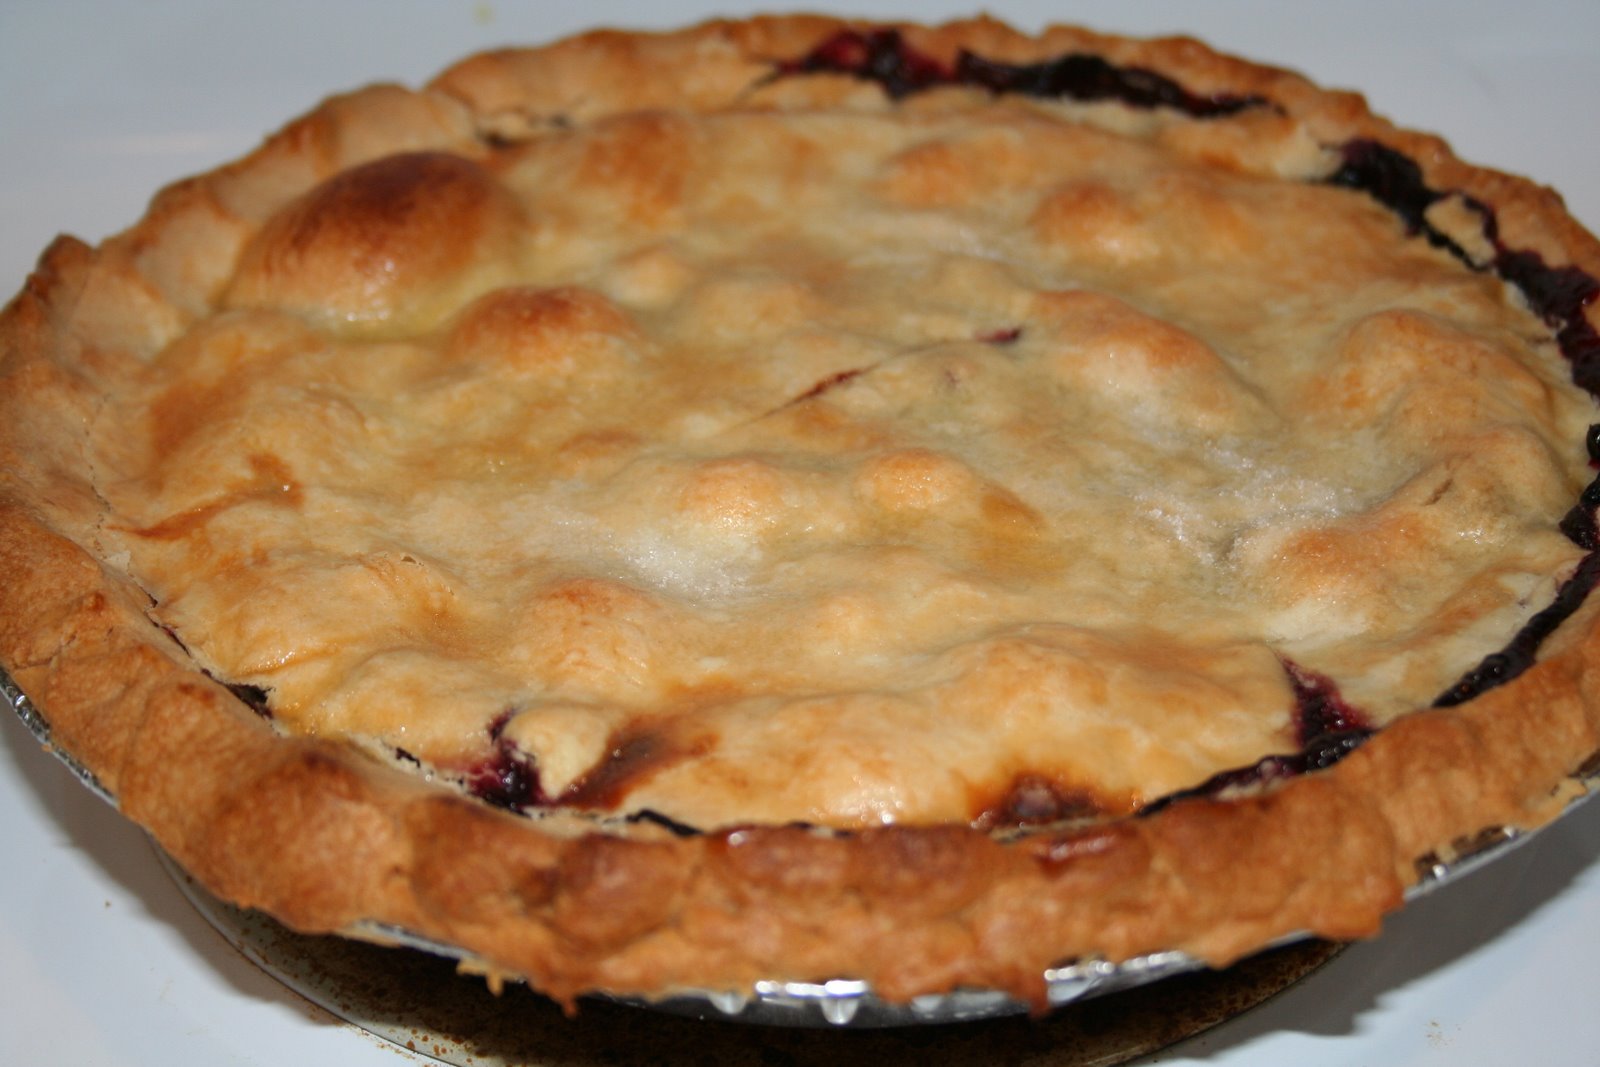
Blackberry pie recipe
- 4 cups fresh blackberries
- 1/2 cup white sugar
- 1/2 cup flour
- 2 frozen pie crusts
- 1 tsp lemon juice
- Egg wash (1 egg + 1 tsp water)
Directions: Take 3-1/2 cups of blackberries and add with 1/2 cup of sugar, 1/2 cup flour, and 1/2 tsp of lemon juice and mix. Pour contents of bowl into pie crust and top with remaining 1/2 cup of blackberries.

Cover with top crust and pinch edges closed. Brush the top with egg wash and sprinkle with a few pinches of white sugar. Bake at 425 degrees F for 15 minutes, then at 375 degrees F for 20 minutes or until crust is golden brown.
Tags: cheap, led, vegetables


