Cheap Hydroponic Bean sprouter
14.3 years ago cheap, ebb and flow, hydroponics
Maybe not the most hygienic solution but definitely cheap, innovative, and low maintenance. I’ll stick to my ebb and flow design, but thought I would share for those feeling adventurous.
Tags: cheap, outdoor plants, vegetables
Simple and cheap homemade ebb and flow hydroponics system
14.3 years ago cheap, ebb and flow, hydroponics

Though not my first hydroponic system this is is definitely a little more complicated than my last attempt of an fogger system created last year. This time I decided to go with an Ebb and Flow system, where the concept it pretty simple, flood the planting area with water nutrients and let it drain, wait a defined amount of time and then repeat. For this build I had a few requirements:
- Must be inexpensive: Hey this is the cheap vegetable gardener site
- Must be small: I have a limited space to grow and nutrients can be expensive and given what I am growing is legal don’t really need $20 basil
- Must be safe from flooding: Though this is running in my garage, I really don’t want to come in with 10/20 gallons of water/nutrients on my floor.
- Could be adapted for alternate hydroponic system.
Given these requirements, this is what I came up with and how I built it:
Materials
- 18 gallon opaque Rubbermaid container (happened to have one of these around
- 5 gallon basin — SLUGIS box from Ikea ($5.99)
- vinyl tape (plumbers tape)
- 1 inch hole saw
- 1 inch threaded (diameter) to 3/4 PVC adapter
- 3/4 inch threaded (diameter) to 1/2 in hose adapter
- 2 3/4 inch PVC caps
- Cheap pond/fountain pump (100 GPH)
- 1 foot of 1/2 inch plastic tubing
- 2 foot 3/4 inch PVC pipe (only need couple inches but smallest length I could buy)
- aquarium/food grade silicon (optional I used this to ensure very watertight seal but found not necessary)
Construction
Take the 5 gallon basin and drill two 1 inch holes in the middle of each side. One whole should be drilled from the top and the other should be drilled from the bottom.�

Take both threaded adapters and apply liberal amount of vinyl tape.

Screw in the 1/2 inch hose adapter from the bottom with just barely enough clearance to pop through. When the pump stops the water will drain through this same hole.

For the overflow pipe, screw in the 3/4 inch PVC adapter in from the top until hand tight.

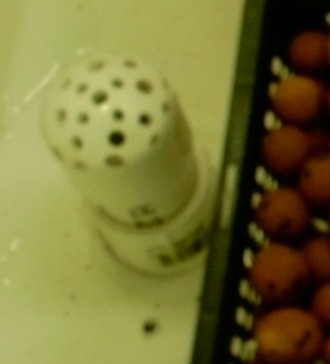
Take both caps and drill in a bunch of holes slightly smaller than your media. The basic idea is you don’t want some Hydroton clay balls falling into your pump or reservoir.
Cut about 2 inches of 3/4 PVC pipe and attach to overflow and top with PVC cap with dozen or so holes in it.
Lastly attach the 1/2 plastic tube to your pump and place everything on top of your 18 gallon Rubbermaid tub (which fits perfectly and is very sturdy) Fill with water nutrients and hook up your water pump to a 24 hour timer (or grow box controller)


Here is the Ebb & Flow system in action, as you can see very simple but very cheap and versatile.
Tags: cheap, growbox, led, outdoor plants, vegetables


