Computer controlled grow box – Part 2
14.6 years ago indoor growbox, water

Though I have made some significant changes to the grow box controller, the actual grow box has undergone some minor but important changes over the past few months.
Automated watering
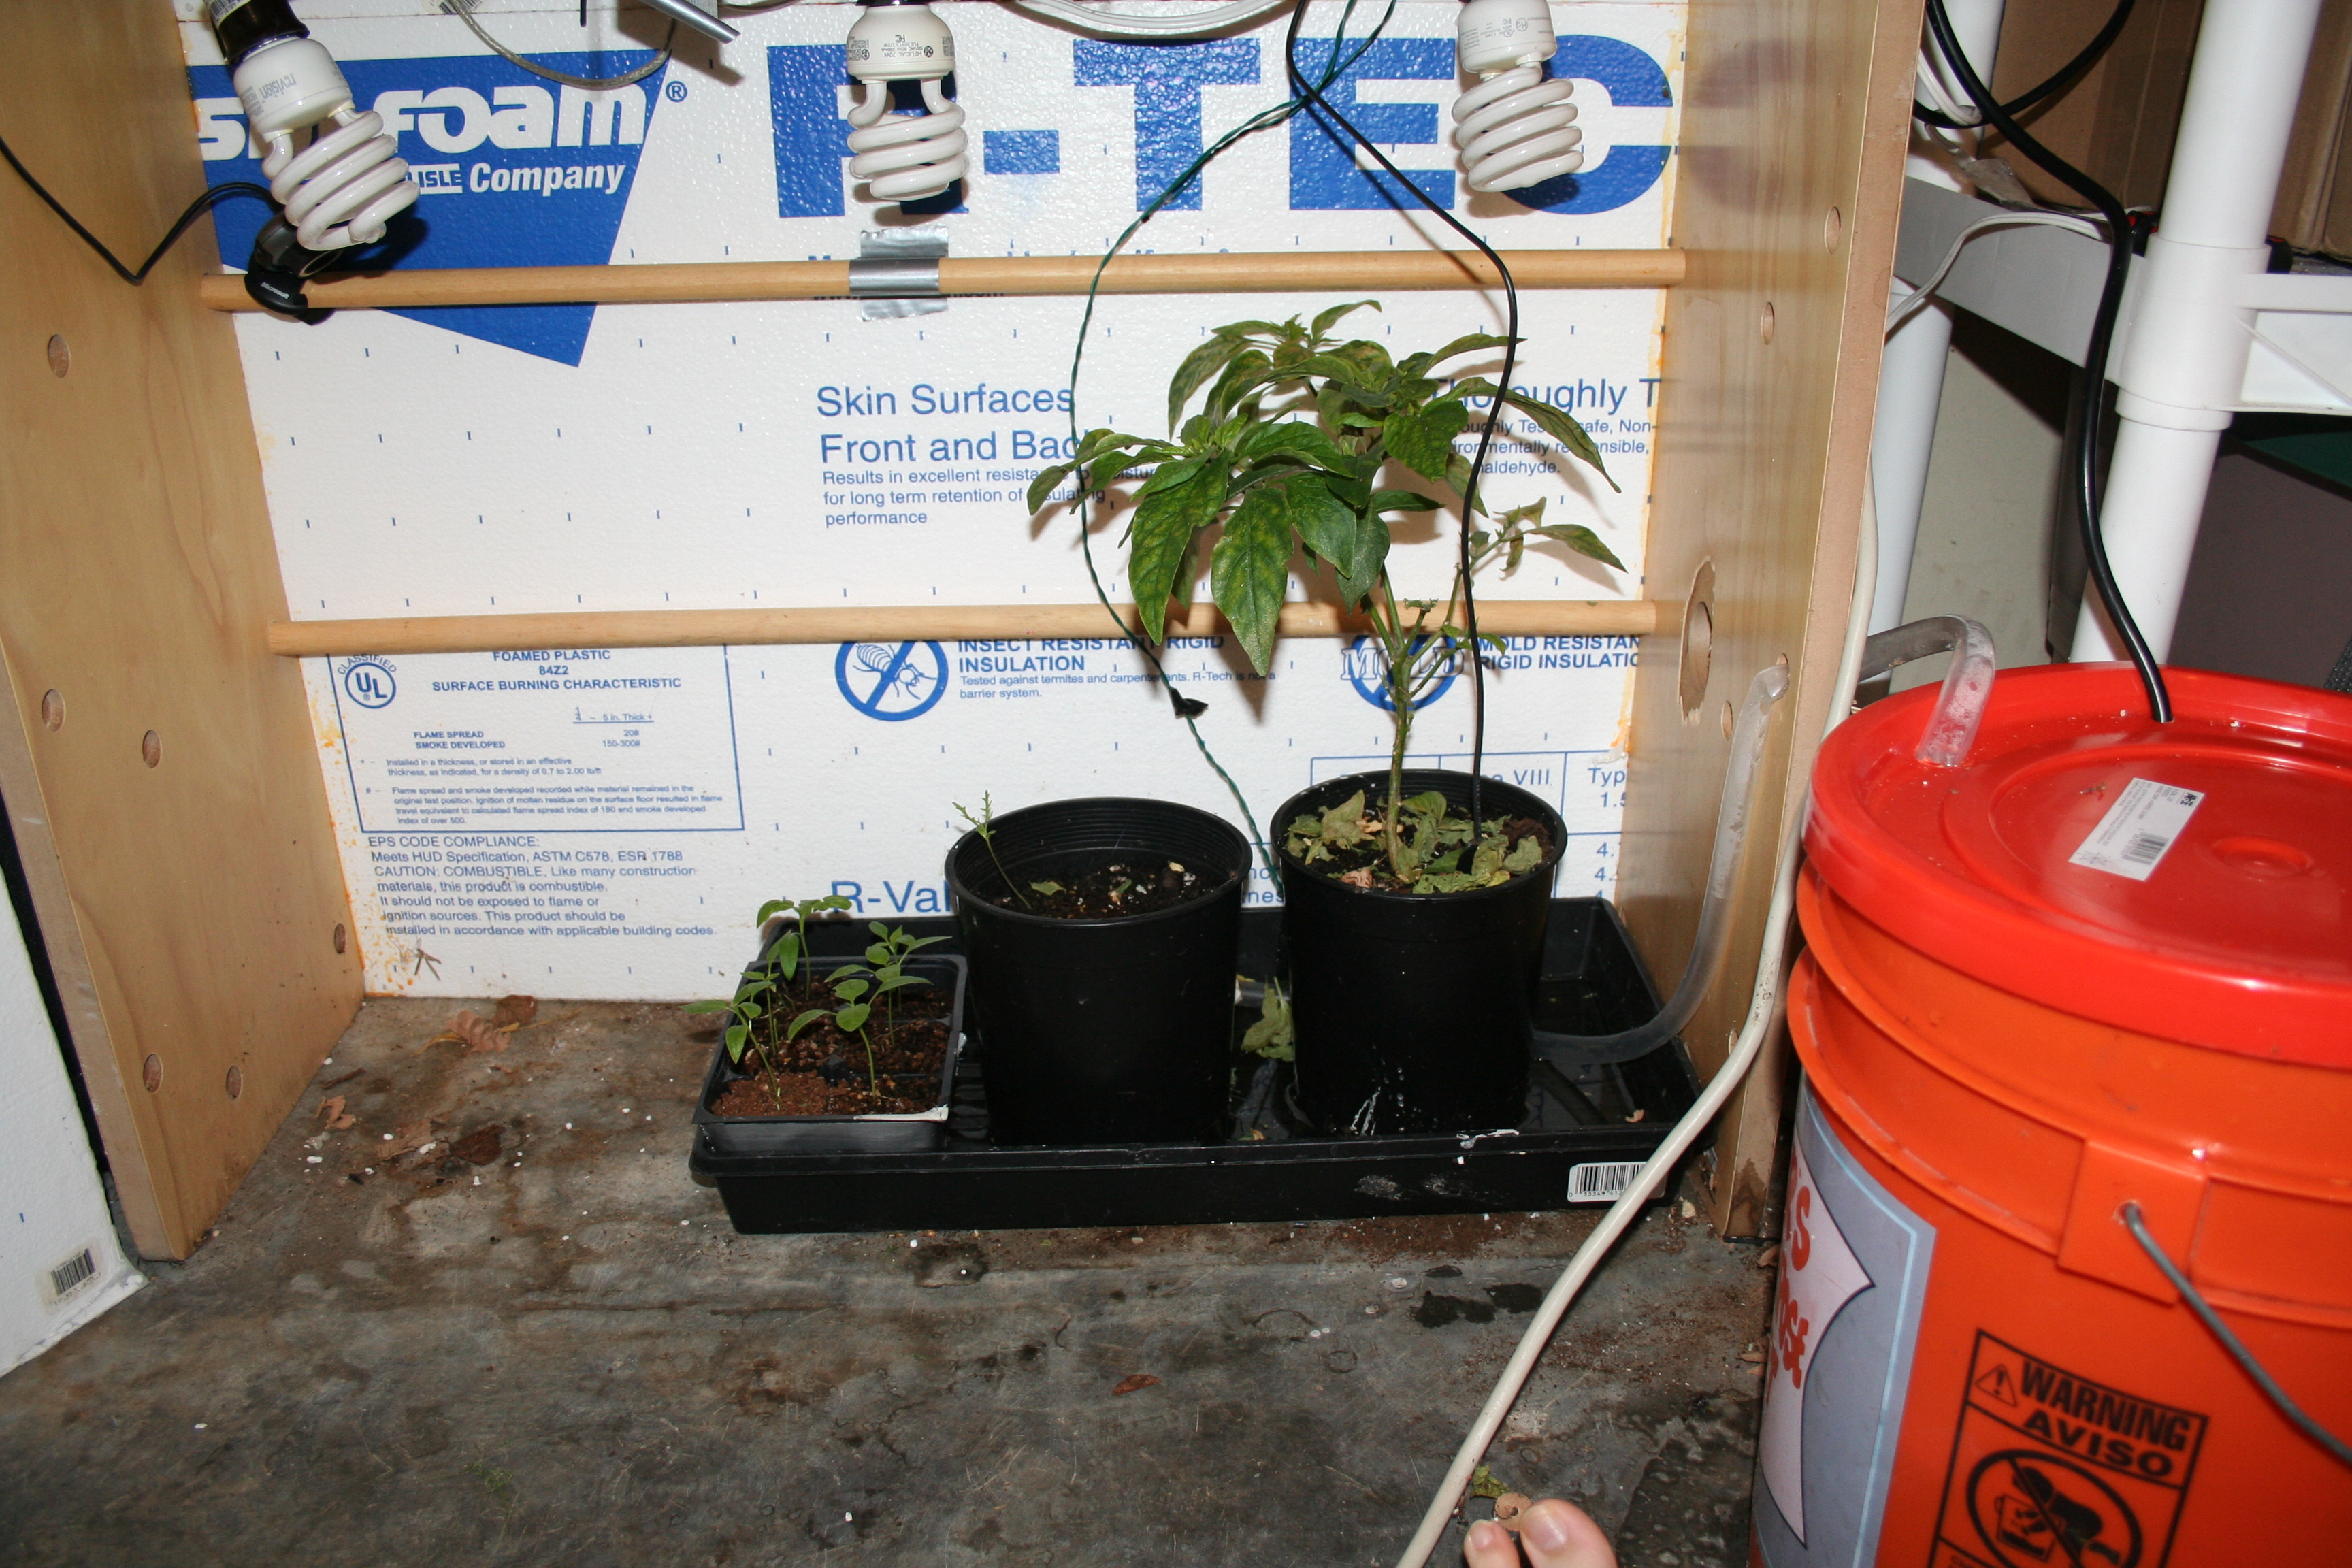
Now I must say this one is pretty darn simple. Though I will be planning on a slightly more complicated hydroponic setup later I decided to start with a very easy bottom watering technique. Just take a regular old fountain pump (I went with the cheapest I could find) drop it in a 5 gallon bucket of water and attach a hose long enough to reach your planting tray and plug in the power to the pump to your grow box controller and that’s about it.

To prevent evaporation and algae and little bugs making a home in my nice bucket of water, I added a lid with two holes for the water output and power input. The power input required me to make a straight cut with a utility knife to ensure a snug fit while not requiring me to cur the AC line to feed the wire through.

I also cut a hole of the same size as the water output on the bucket lid to the grow box to allow the line to enter while still keeping the box closed.
Exhaust fan control

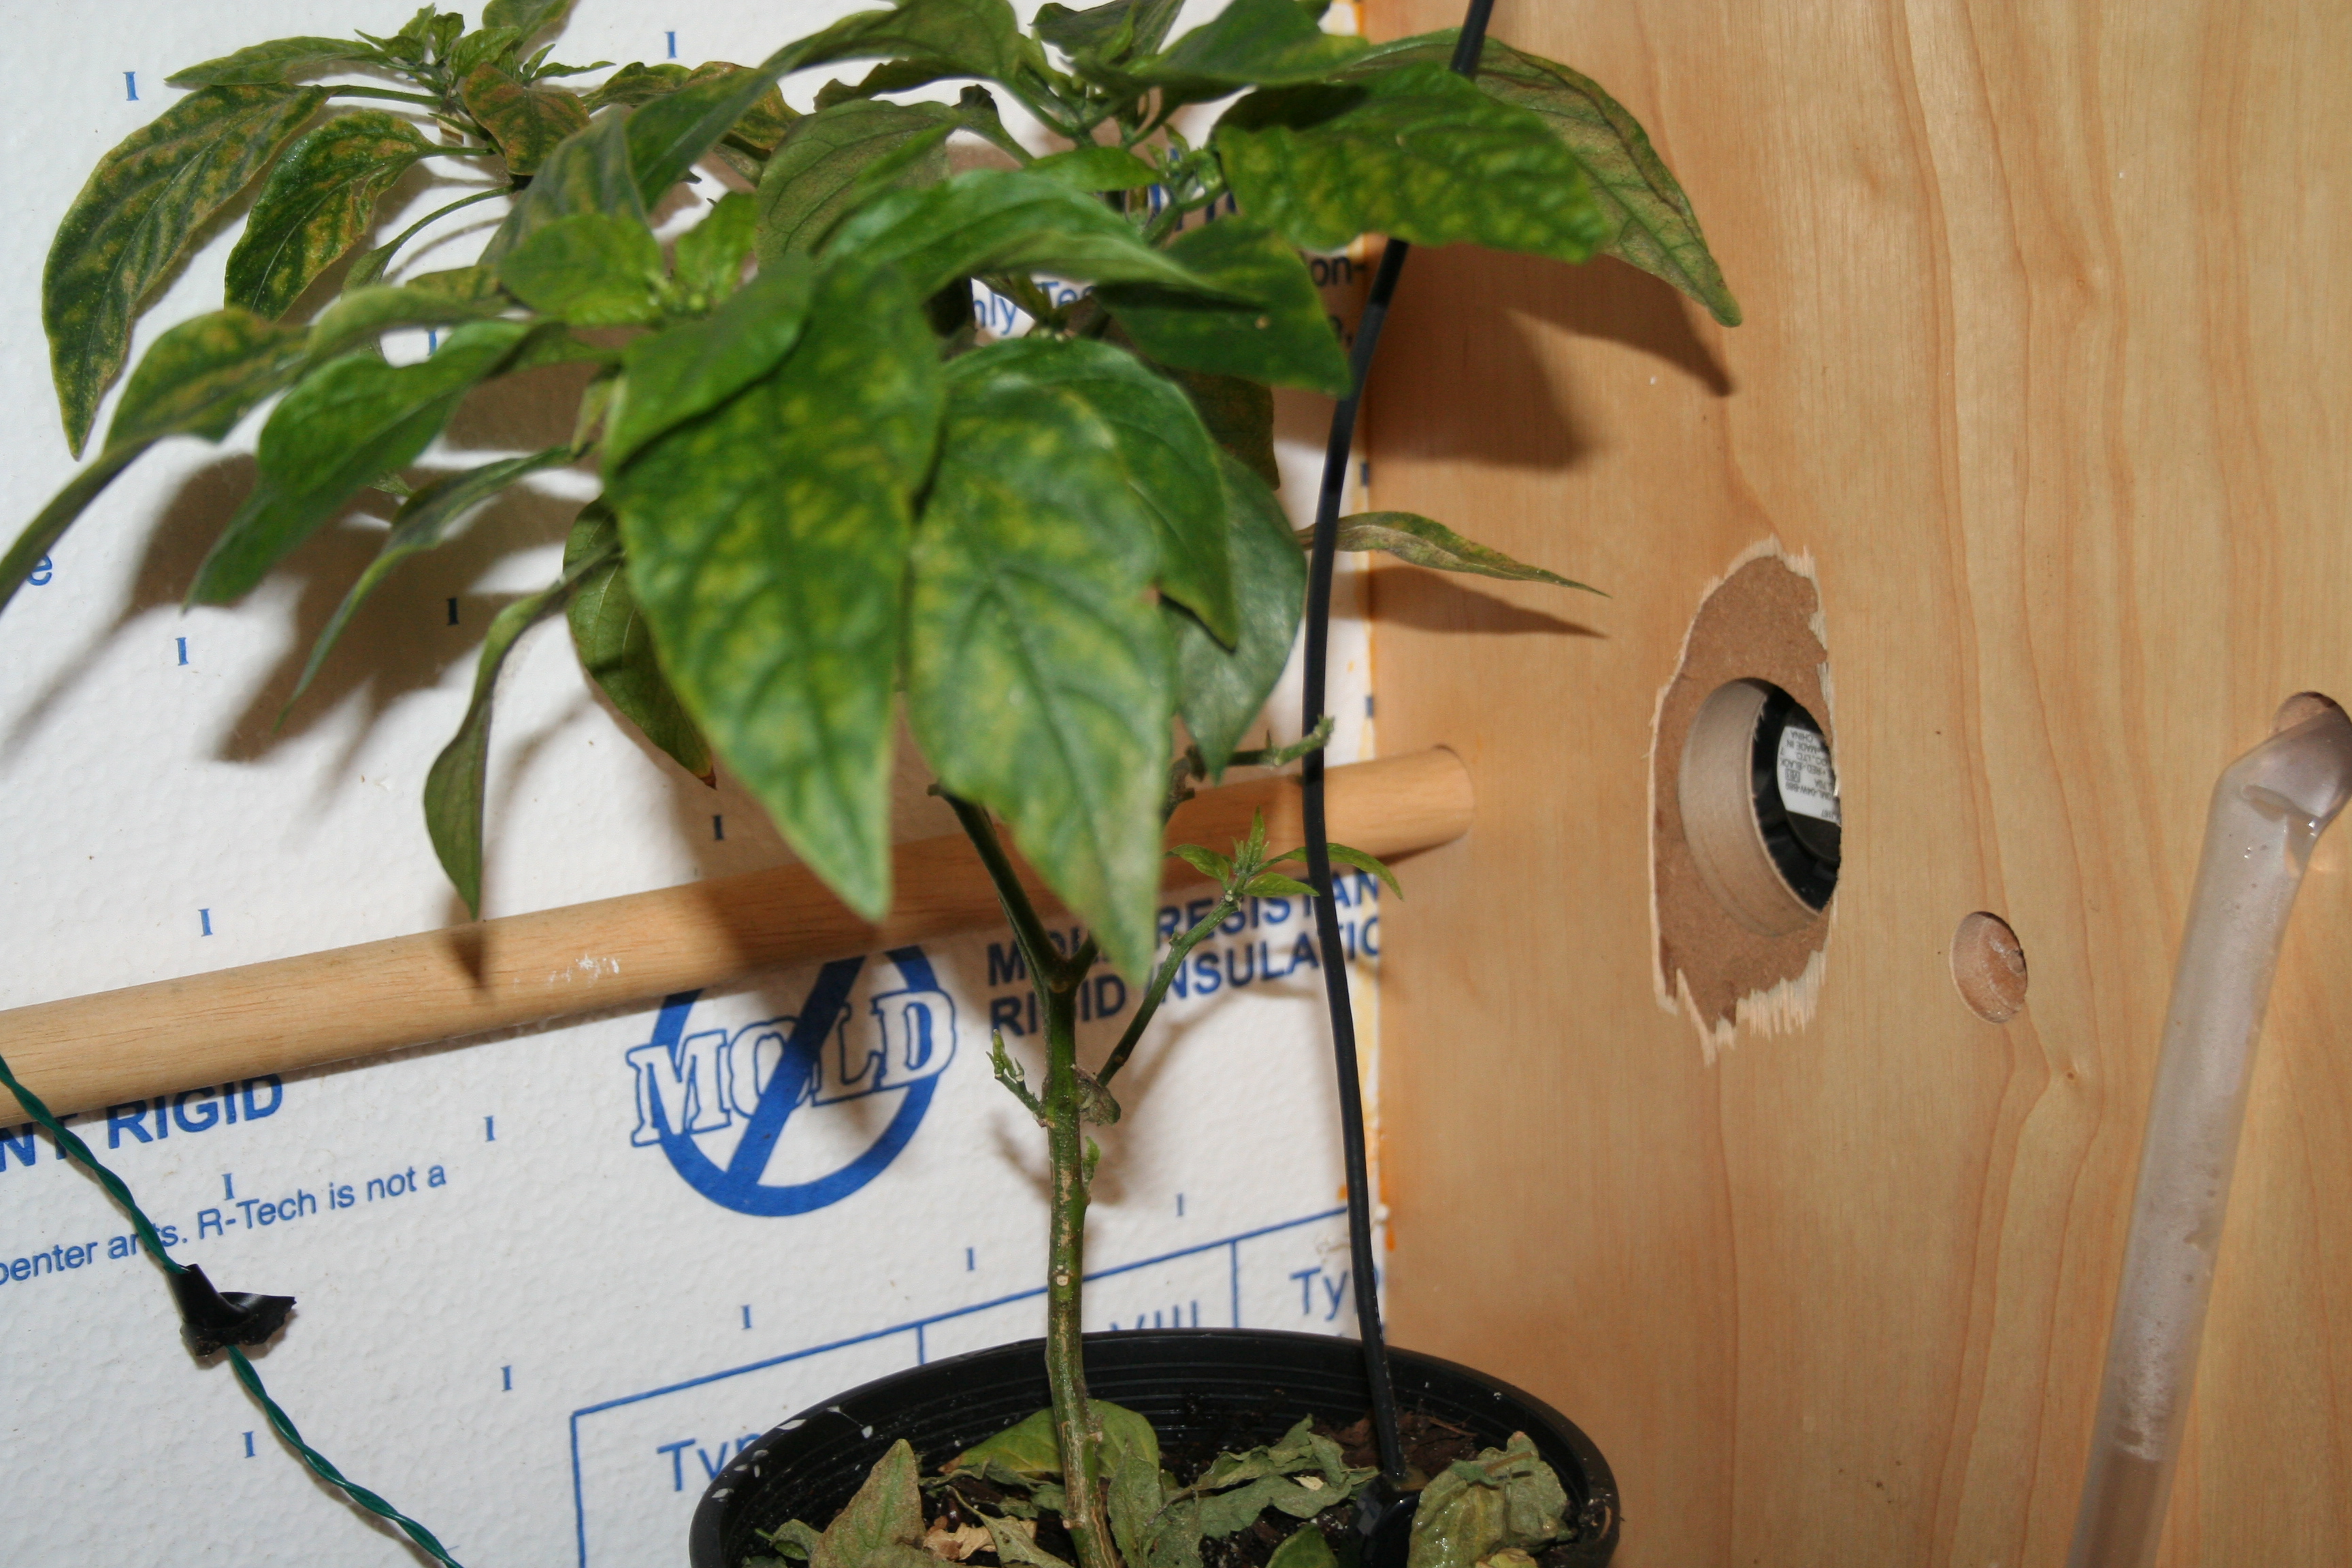
Air circulation is important for plants to be healthy but when the box gets warmer than expected I installed two controlled CPU fans to help regulate temperate as well as one static fan that constantly pushes air from the top to bottom.
I added a 12 volt exhaust fan to the top of the box (pictured above) to help push hot air out of the grow box with another (pictured below) at the lower part of the grow box to push in cold air as needed. Both of these fans are powered by a 12 volt power wall adapter plugged into the grow box controller.
Heating
Though the computer and lights allow the box to create a comfortable internal temperature, sometimes it needs a little help. For this I installed a regular old seedling heater to hopefully take a little sting out of the cold floor the seed tray is sitting one. Like other components this was simply plugged into the grow box controller.
Putting it all together
My previous version was a little sloppily put together with duct/packing tape (lets just call it prototyping). Though this added some hackiness appear it wasn’t too functional so I added a little strip of wood to support a couple hinges which I created a top which holds the LCD panel.

Upon opening the top you can see the grow box controller and the state of the art 600 MHz PC in all their glory.
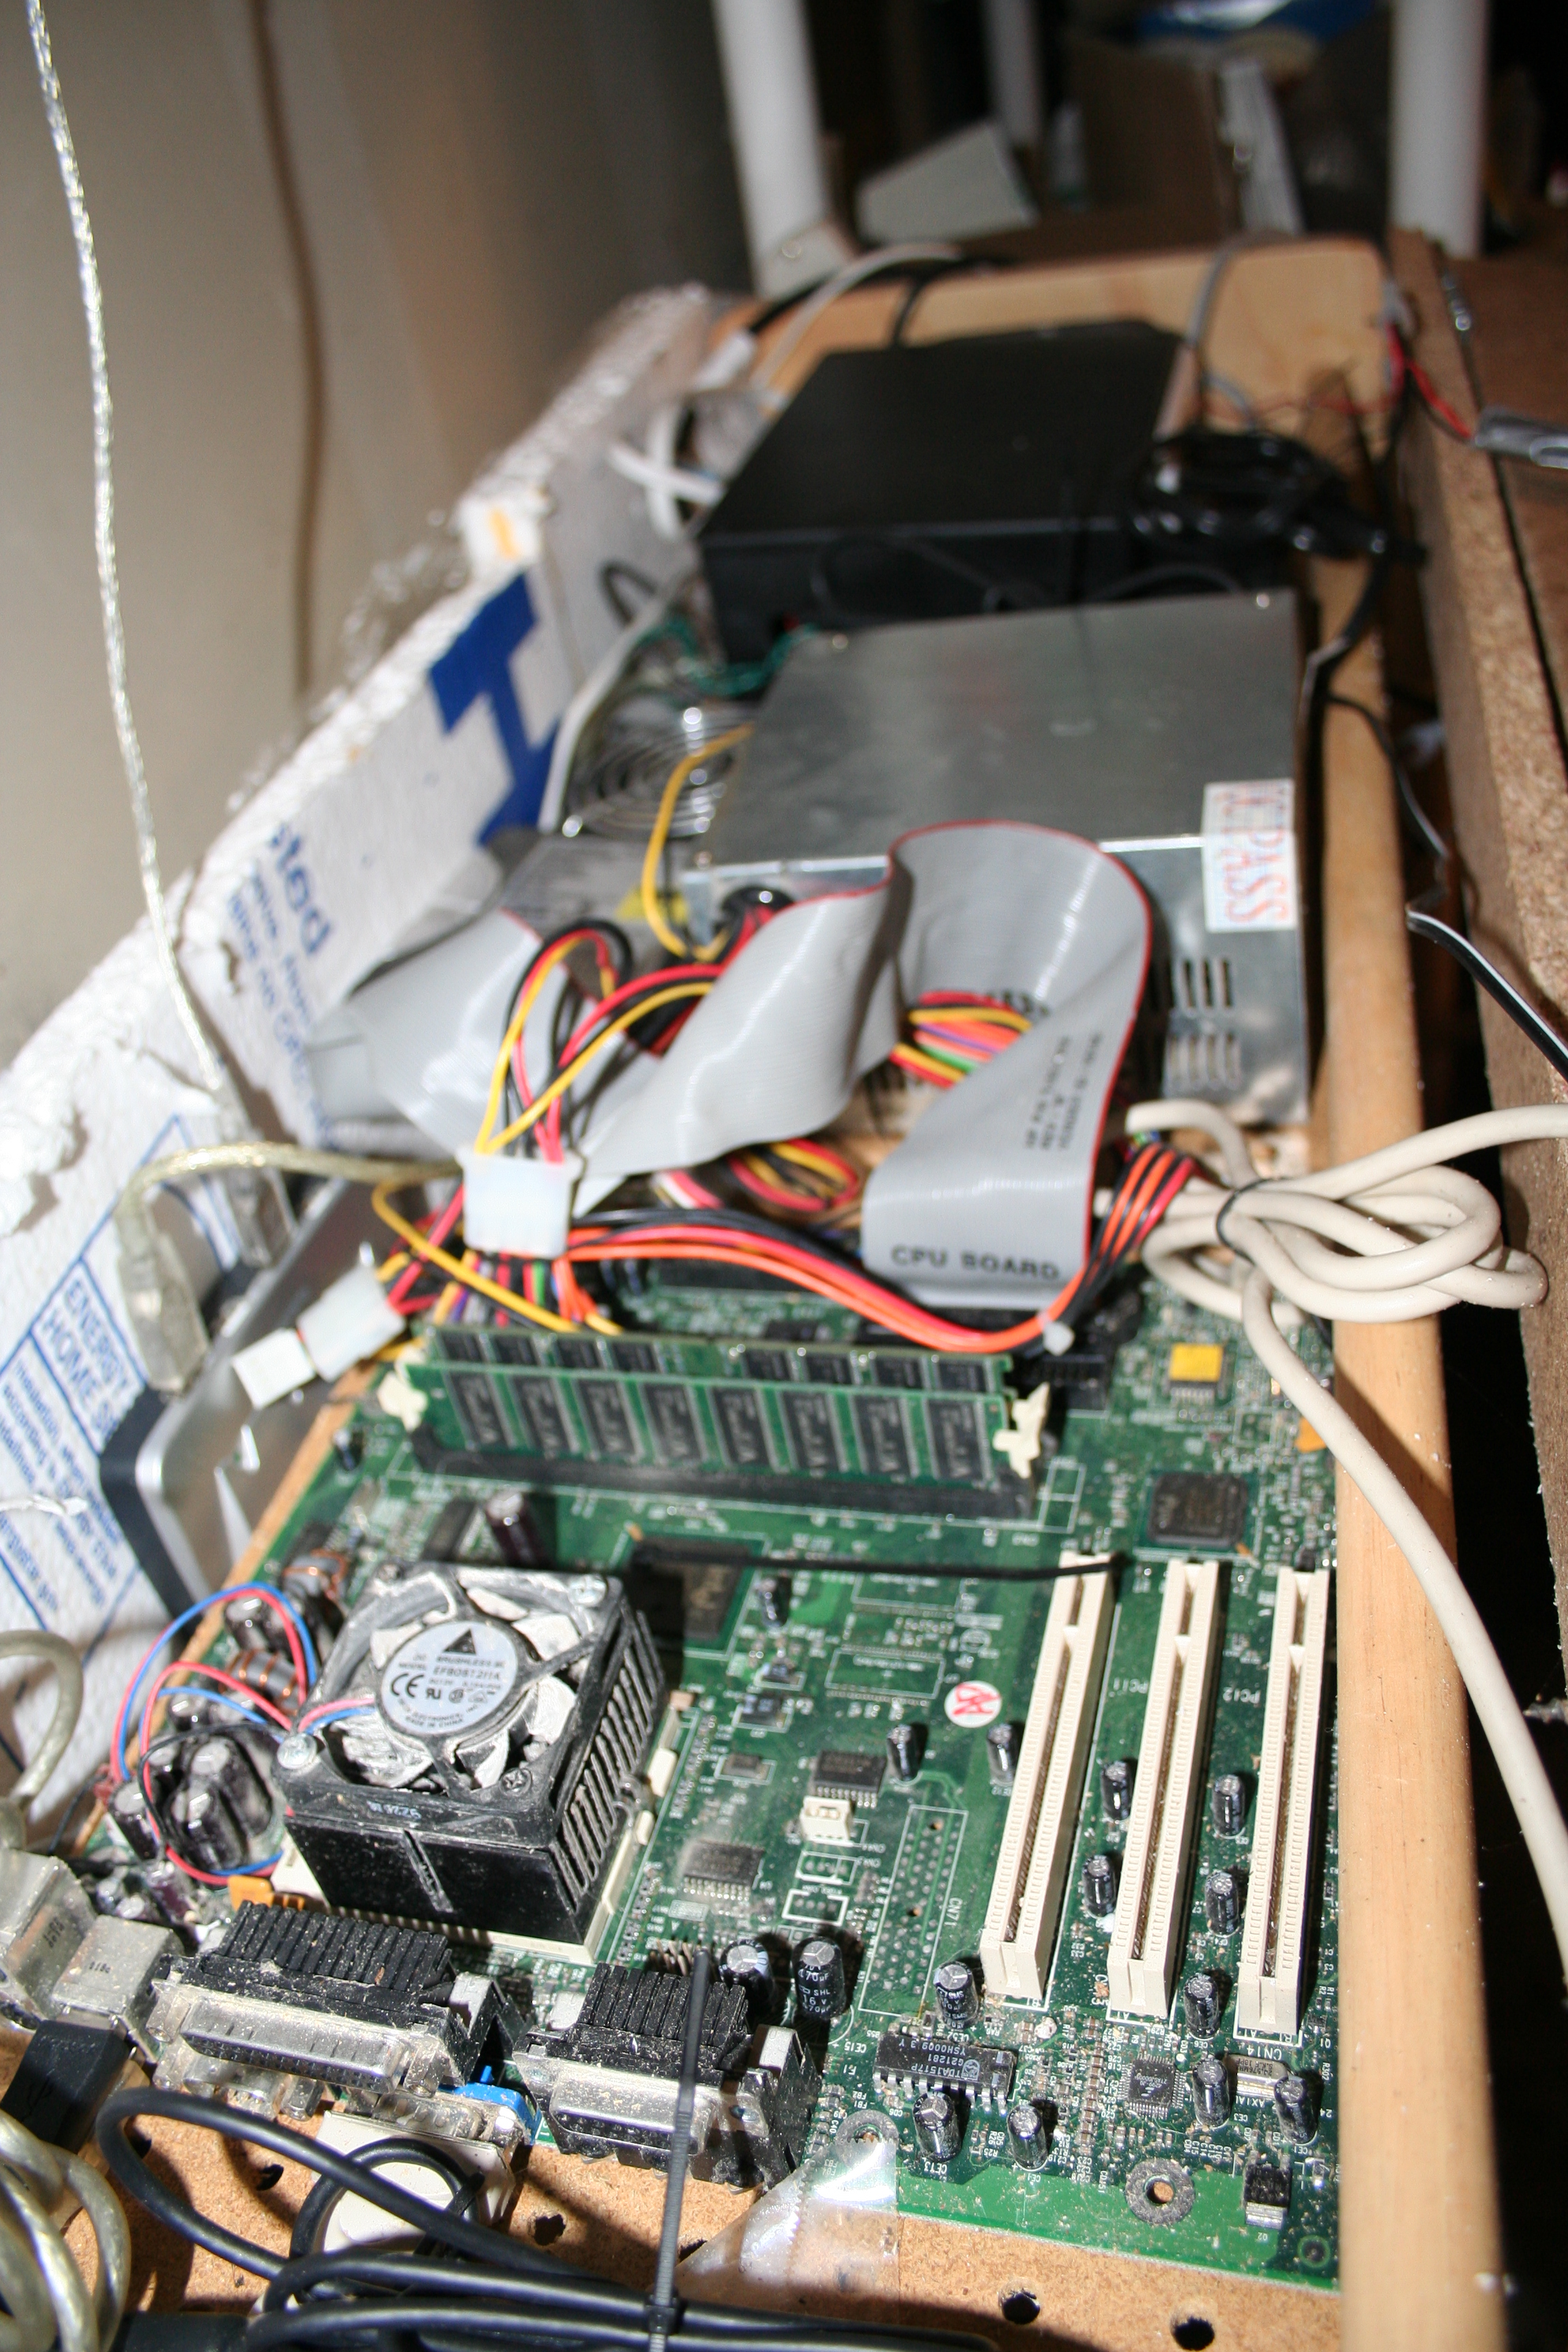
As you can see I have still have some cleaning up to do with compress air and maybe a few more zip ties but all in all everything seems to have come together nicely.
Tags: cheap, garden seeds, grow lights, growbox, led, outdoor plants, vegetables
Late bloomers
14.6 years ago fall crops


Last February my 7-year-old daughter and I attended the Northwest Flower and Garden show for the first time, which is back on next year if you haven’t yet heard the good news. During our visit my daughter purchased a single dahlia tuber from Swan Island Dahlias.
We carefully followed the detailed planting instructions and it grew to about 5 feet by the end of the summer, though there were no blooms emerging. With Fall coming upon us we both were getting a little worried we wouldn’t see anything this year. Fortunately the plant finally started sharing some late blooms while the rest of our garden is more in the dying off state.
Tags: led, outdoor plants
How to determine your seed germination rate
14.6 years ago germination, seed saving, seed storing, seeds
Whether you are trying to determine if those seeds you have been stored for 3-4 years are still good or questioning your ability to harvest seeds on your own testing germination is a great way to take away from of the guesswork and avoid disappointment next spring.
The process is very simple, I believe I did the same thing in second grade during our plant section. Though that was to observe how a seed sprouts/roots the concept is exactly the same.
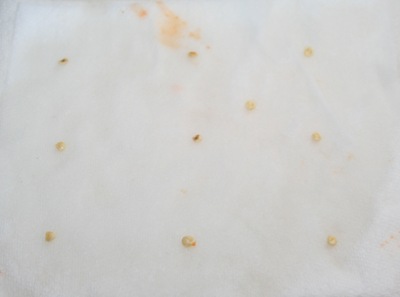
Take a wet paper towel and place 10 seeds on it and place the wet paper towel in a Ziploc bag. After a few days (or weeks depending on the normal germination rate) check back on your seeds and count how many sprouted.

In my case six out of ten of the jalapeno seeds sprouted. So just do the simple math using the following formula:
Germination rate = (# seeds sprouted/# total seeds sprouted) X 100
So in my case:
(6 seeds sprouted/10 seeds total) X 100 = 60% germination rate
Of course the more seeds you use in your “trial” the more accurate the results will be for my purposes the error rate is good enough for me.
If I was a seed seller this would be disastrous since most distributors have germination limits (90-95%), but given these are for my own use and I have about 300 more seeds that I will use no major loss. Though I will need to remember when I plant these out I will want to plant 2 seeds per cell to have good odds one of the seeds will germinate.
Another option is to give your 4 year old a handful of seeds and a pot full of dirt and see if most of them sprout. Much less scientific but my daughter didn’t seem to notice.
Tags: garden seeds, outdoor plants
Peppers sprouting in grow box (time lapse)
14.6 years ago indoor growbox, peppers
Well slightly more exciting than watching grass grow but for something that takes several weeks to complete is definitely worth a watch. If you watch carefully you can even see the automatic watering in action.
Joining the sprouts is a mature pepper plant which has been flowering and daisy seedling my 7 year old planted hoping it will flower as well.
Tags: garden seeds, growbox, outdoor plants, pepper plants
Do have have to follow the directions on the back of my seed packet?
14.6 years ago garden planning, seeds

Though the advice on the back of a seed packet gives some great information, they are recommendations and their advice may not exactly apply to your garden.
First is row spacing, many times you read something like “plant seeds 3 inches apart in rows 1 foot apart” This brings up some immediate logic of why can the plants be 3 inches apart one way but 12 inches in another. This sort of thinking the premise for intensive gardening techniques such as square foot gardening. This is where instead of growing your plants in rows you plant them in a grid pattern making best use of your growing space.
Now even these spacing requirements are actually optional. All plants compete for resources to survive. This can be sunlight (or even shade from sunlight), nutrients, water, airflow, etc. Depending on the quality of your soil and frequency of watering you can push the limits of your growing space. Assuming you add some fresh compost easy season and possibly do some side dressing with an organic fertilizer like fish emulsion or alfalfa pellets you can easily reduce this space and still have high yields. I did just that with my cherry tomato plants whose seed packet is above. I planted these about a foot apart and got great growth and yields.
One other factor is how you grow. If I was growing my tomatoes in cages my foot space probably wouldn’t even be technically possible but since I grew them on a netting this allowed for spread out much more naturally and provide adequate sunlight and airflow. Keep this in mind when growing sprawling plants such as cucumbers and squash using some vertical space can free up the valuable growing space on the ground.
The last factor depends on when you are going to pick them. If you are growing onions to simply pick as green onions you don’t have to give then the 3-4 inches needed for their bulbs to grow. You could easily plant an inch apart since you are going to pick them before they are competing for resources. A similar idea is growing for micro greens, plant picked when just a few inches tall.
Though I wouldn’t say to completely ignore the back of your seed packets, just make sure to use it as a guide not a requirement.
Tags: compost, garden seeds, organic vegetables, outdoor plants, tomato plants
Harnessing power from trees
14.6 years ago electronics

Some UW researchers have determined that if you add a couple of similar metals in a tree it produces electricity. Though only 200 mV so we won’t be moving to tree power anytime soon. Though the articles mentions some applications such as detecting environmental conditions or forest fires.
To me the most interesting part is they don’t exactly know the cause of this voltage, though they theorize that “there seems to be some signaling in trees, similar to what happens in the human body but with slower speed.”


