Ladybugs in the garden
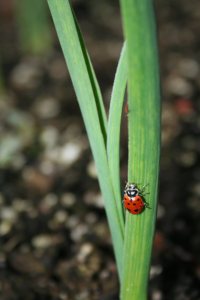
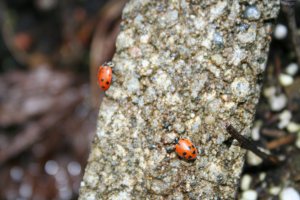
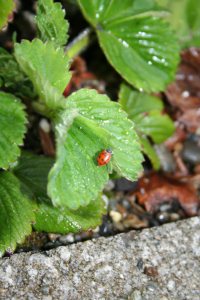
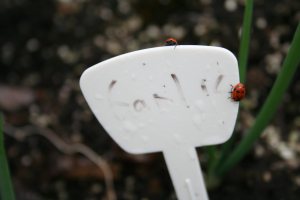
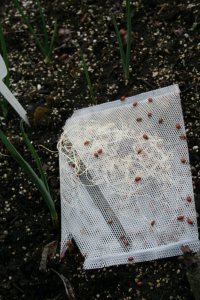
The girls finally noticed the ladybugs had arrived at Home Depot, so today we had our second annual garden ladybug release. I did a bit of research and followed some advice of commenters on my previous post by spraying the garden with sugar water to give them a little extra reason to stick around after being released.
The conditions today were perfect for the release, cool, overcast evening with some light rain. Would have been advisable to wait until the sun went down for better results, but kids would probably be upset if I released them without them and pictures are worth a few escapees.
Tags: cheap, vegetables
Make your Garden/Lawn into a gigantic worm bin
16 years ago alfalfa pellets, vermicomposting, worms
My soil is consisted of a high percentage of clay, as a result I am required to aerate my lawn twice a year to avoid my soil getting too compacted. I am cheap so I purchased a $10 aerator from Home Depot which I walk around the lawn giving it a nice look of a goose bathroom until the next good rain or mowing. Of course nature has an answer which is the garden earthworm. As a finished limping behind my aerator I thought how can I get more earthworms to do some of this work for me, which brought me to the conclusion to turn my lawn and garden to a gigantic worm bin.
As worms wiggle through the ground they break up the soil and provide pathways for water and air to flow and while they are at it drop their nutrient castings along their way. Now looking at my tips on how to care for a worm bin, the same principles apply to doing the same on a larger scale. Our course my wife and HOA would appreciate me just throwing our kitchen waste out in our front yard so I have to be a little more creative. For organic matter to feed the worms (and the lawn) I will be using alfalfa pellets and grass clippings (mulch) As for moisture, given I live in the Seattle, WA area our frequent rains take care of this until mid summer where short frequent watering will keep the grass and the worms happy. I will avoid chemical fertilizers, herbicides, and pesticides using organic options to control weeds and pests and occasional application of alfalfa pellets to fertilize the lawn.
At this time the results look good the lawn looks great and I have definitely seen an increased number of worms in my garden and yard. The birds have also noticed and are taking advantage of my increased population and taking care of some of the excess in my lawn (guess it is better than them eating my seeds planted in the garden)
Just as a warning like everything in life too much of anything is normally not a good idea which can apply to worms as well. Worms can move enough soil and leave piles of castings on the surface which can create a lumpy lawn, which as long as you don’t have a putting green for a lawn this will probably not be unsightly and on the next rain will give some extra nutrients to your soil/lawn. Given the current state of my soil I have quite a while until I am burdened with having too loamy soil and need to be concerned on how to drive the worms away.
Tags: alfalfa pellets, birds, cheap, compost, garden seeds, organic vegetables, outdoor plants, vegetables, worms
Fall bulb planting surprise revealed
16 years ago fall bulb planting
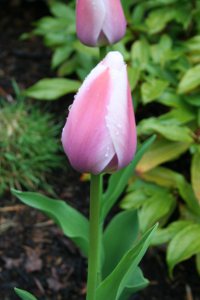
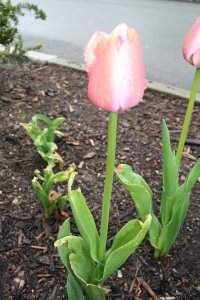
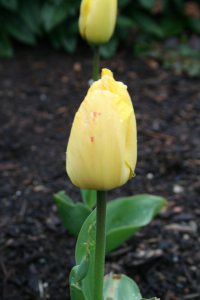
Well turns out the bulbs I planted last fall were tulips which came up this week, hopefully the snow we got yesterday/today (not supposed to happen here) does not kill them off.
Tags: cheap, led, outdoor plants, vegetables
Planting seeds outside
16.1 years ago germination, outdoor seed starting, seed storing
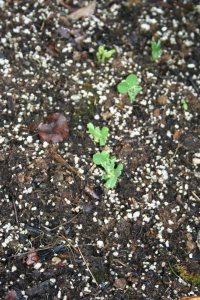
I always enjoy any seeds I required to start outdoors since they normally thrive with little effort from myself other than the occasional watering and given I live in the rainy Seattle area that does start until mid-June. Even if you have started many of your seeds indoors to extend your growing season some seeds should always start outdoors since they are sensitive to transplant shock. If you have been to a garden center or nursery lately you can get an idea by what types of plants can be transplanted easily. If you are now looking at your seed packets wondering if you should plant these indoors or outdoors here are my suggestions:
Plants that can be started indoors:
Broccoli, Cabbage, Cauliflower, Celery, Cucumbers, Cukes, Eggplant, Herbs, Kale, Leeks, Lettuce, Muskmelons, Onions (seed), Parsley, Peppers, Swiss Chard, Summer squash, Tomatoes, Zucchini
Plants that should be started outdoors:
Beans, Beets, Carrots, Cilantro, Corn, Cucumbers, Garlic, Muskmelons, Onions (sets), Peas, Potatoes, Radishes, Scallions, Spinach, Turnips, and Winter/Summer squash
You can see from the list there are some plants on both lists which shows that it is definitely possible to transplant some of these sensitive plants, but if you want to avoid the hassle and avoid killing a few plants without requiring surgical precision I would recommend opting for the direct seed planting approach.
Hopefully now you have an idea what you can plant so now comes how to actually do it. Your seed package which will normally give instructions something along the lines of planting the whole package of seeds in a row and thin out to the appropriate spacing. This has been the basic method that many gardeners have been doing for years. This normally leads to thinning 70% of the seedlings or so of the row, which is time consuming and since you can save seeds over a few years this method will definitely be more costly. To avoid this, I plant 1-2 seeds at the proper spacing, if the seeds have been saved for a couple years I add a couple extra seeds since even with proper seed storage the germination rates can decrease over time. After a week or two I simply thin the weakest of the seedlings by chopping them off with a small pair of scissors being careful to not disturb the seedling next to it. If you want to give your larger seeds a little head start, try soaking them in lukewarm water (add inoculants if they are in legume family) overnight before planting them.
Following these steps you should have some great activity in your garden with minimal maintenance and cost.
Tags: cheap, cilantro, garden seeds, garlic bulbs, herb garden, outdoor plants, pepper plants, tomato plants, vegetables
How to grow garlic in your garden
16.1 years ago garlic bulbs, growing challenge
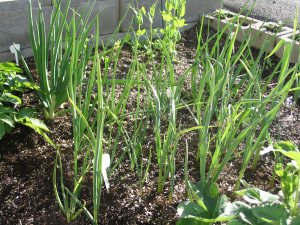
My experiment of planting organic garlic which I bought from my local produce section of my grocery store seems to be working well. If you want to try this yourself here are some hopefully easy to follow steps:
- Buy some good looking garlic at your grocery store (I chose organic since I made an assumption there was a decreased chance that it was treated to prevent growth)
- When you are ready to plant, carefully break open the garlic and separate the tear shaped cloves.
- Take the largest cloves and plant in well cultivated soil 2 inches deep and 4 inches apart with pointed end up, these will be for your full garlic bulbs.
- Take the smaller cloves and either use in some spaghetti sauce or plant them in your garden 1-2 inches apart to harvest as baby garlic (think green onions, but strong garlic flavor)
- Fertilize with a balanced fertilizer (or bone meal) during planting but avoid fertilizing after that point since you don’t want to encourage too much foliage growth by having an abundance of nitrogen in the soil and allow the plant to use its energy to grow a big bulb.
- When the foliage on the “scapes” began to completely uncurl you can cut them off and use them on salads, scrambled eggs, or even garlic scape pesto. I would recommend leaving a couple of your garlic plants with scape attached since it also works a natural indicator of when your garlic is ready to harvest. When the lower third of the scape is light brown (the color your expect for garlic) it is ready to dig out.
- Take any cracked bulbs and use them immediately, take the remaining bulbs and wash off any dirt and let them dry for 2-3 weeks depending on how dry your climate is.
- Once cured hang in a mesh bag or braid the garlic and given proper airflow and temperature (50-70 degrees) your garlic should last for 6 months (if not eaten by then)
As you can see growing garlic is pretty low maintenance and I am definitely looking forward to using it to my salsa this fall.
Tags: cheap, garden seeds, garlic bulbs, led, organic vegetables, outdoor plants, salsa garden, vegetables
Oh the carnage…
16.1 years ago indoor seed starting, tomato
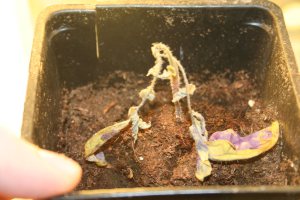
I am sorry to inform you that we have had a death in the garden. By entering this world a just a little sprout started from a packet of seeds just a couple of months ago. They spent most of their life being nurtured in the comfortable surroundings of the PC grow box our poor tomoto plants did not survive the harshness freakish winter storm we which occurred weeks after our supposed last frost date. On the positive side all of our cold season crops (garlic, onions, cilantro, lettuce, peas) as well as the corn and butterfly garden flowers have endured and enjoyed cozying up with the snow and are doing just fine.
Tags: butterfly garden, cheap, cilantro, garden seeds, garlic bulbs, growbox, outdoor plants, tomato plants, vegetables
