Life in the growbox
14.1 years ago indoor growbox, peppers, tomato

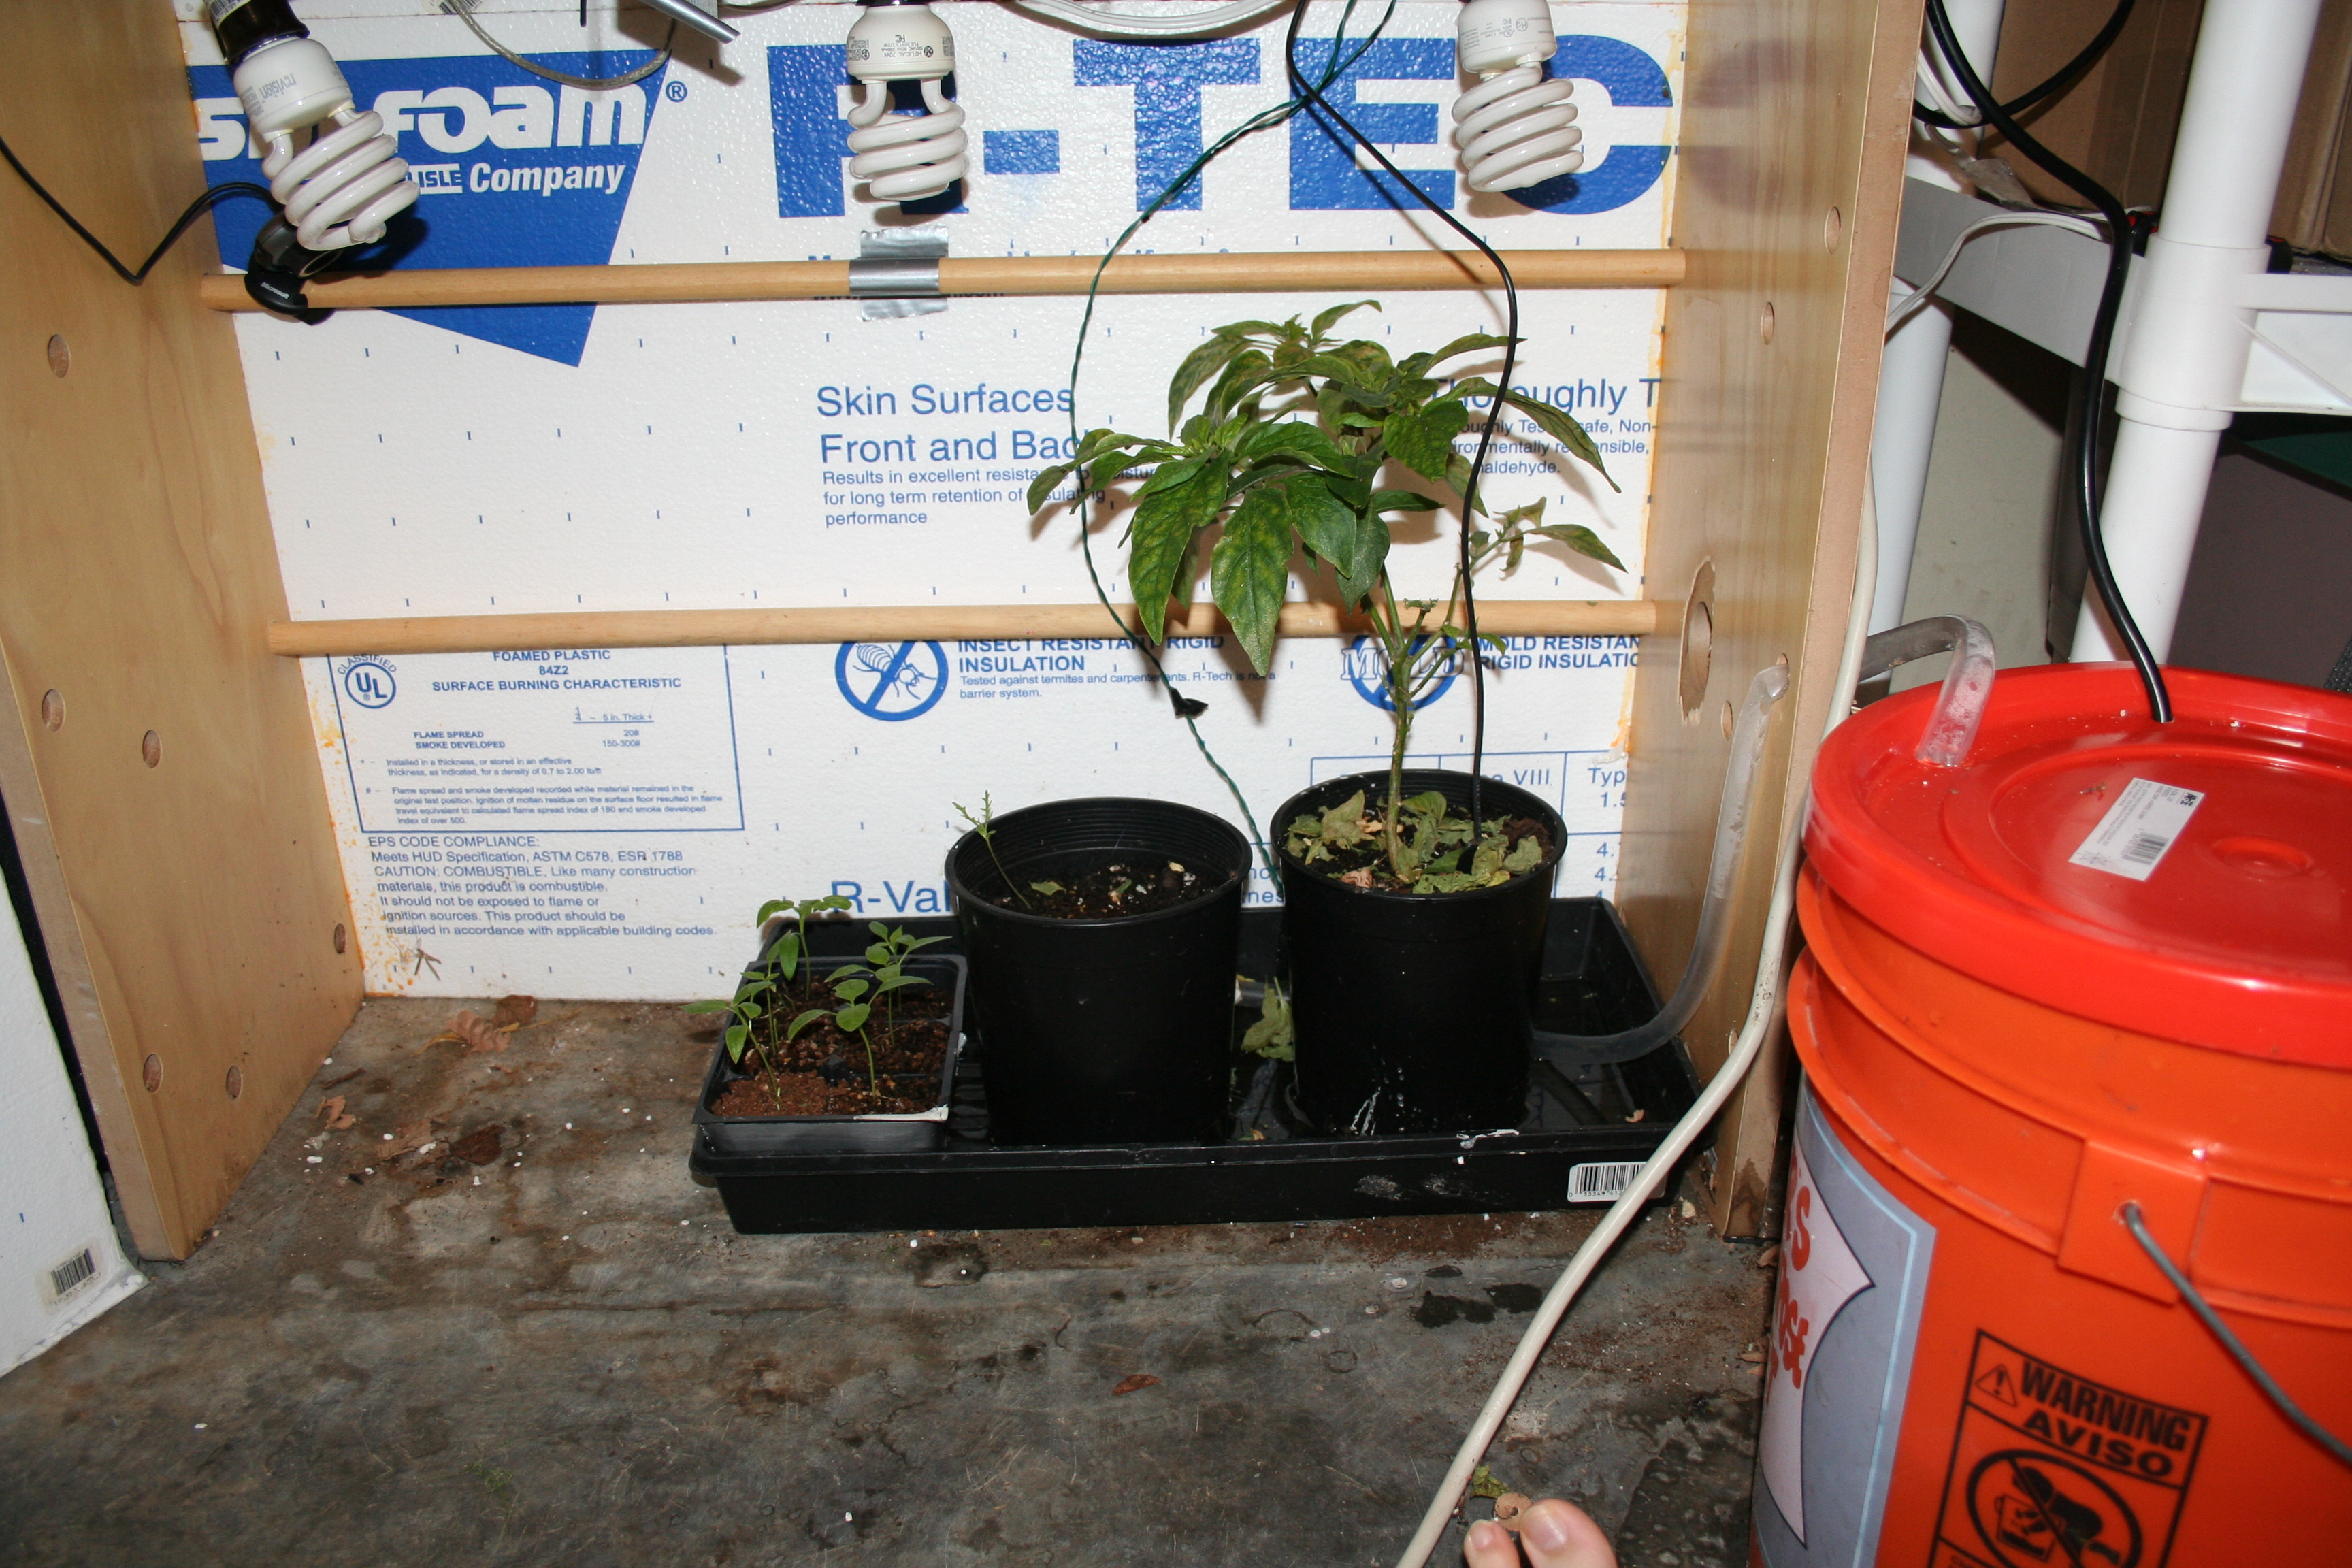
Right about now the temperatures outside should be increasing and I should be thinking about start hardening off my summer plants over the next few weeks.
Unfortunately we seeing hail the past few days along with some pretty cold nights. Looks like even though I was fairly pessimistic about my last frost date I may have another battle of tomatoes/peppers over taking the growbox or bring them out into the elements a little too early…
To make a little room I did move my herbs (oregano/parsley) out to the cold frame with the basil struggling to survive in the growbox I will give it a little time to bounce back.
Tags: cheap, growbox, herb garden, outdoor plants, pepper plants, tomato plants, vegetables
LED grow box gets an upgrade
14.3 years ago cheap, indoor growbox, indoor seed starting, LEDs, seeds

In our family we are not just cheap in the garden we also keep our house pretty cool to save on heating costs. Unfortunately since the LEDs in my grow box do not put out very much heat the inside is only about 68 F degrees even placing it on top of my refrigerator. For most seeds 77 F degrees is a great ball bark number to shoot for to get the best germination percentage as well as quicker germination times. This was the number I was shooting for, so I decided to add a string of mini incandescent bulbs to help bring up the temperature.
To do this I did exactly what I did for the LEDs just drill a hundred or so holes into the side of the box just slightly smaller than the bulb. Then had the fun job of pushing them all through.
I first tried having all the lights on but that brought the temperature up to 85 degrees, next I tried only half the lights on…70 F degrees. Then I got the idea of adding the blinker bulbs and tada 77 F degrees on the nose (ok technically 77.1 F).
So far everything is looking good have some onions, peppers, basil, and Swiss chard already sprouted and expecting more shortly.
Tags: cheap, garden seeds, grow lights, growbox, led, pepper plants, vegetables
Heating row tunnels and grow box with Christmas lights
14.5 years ago cheap, indoor growbox

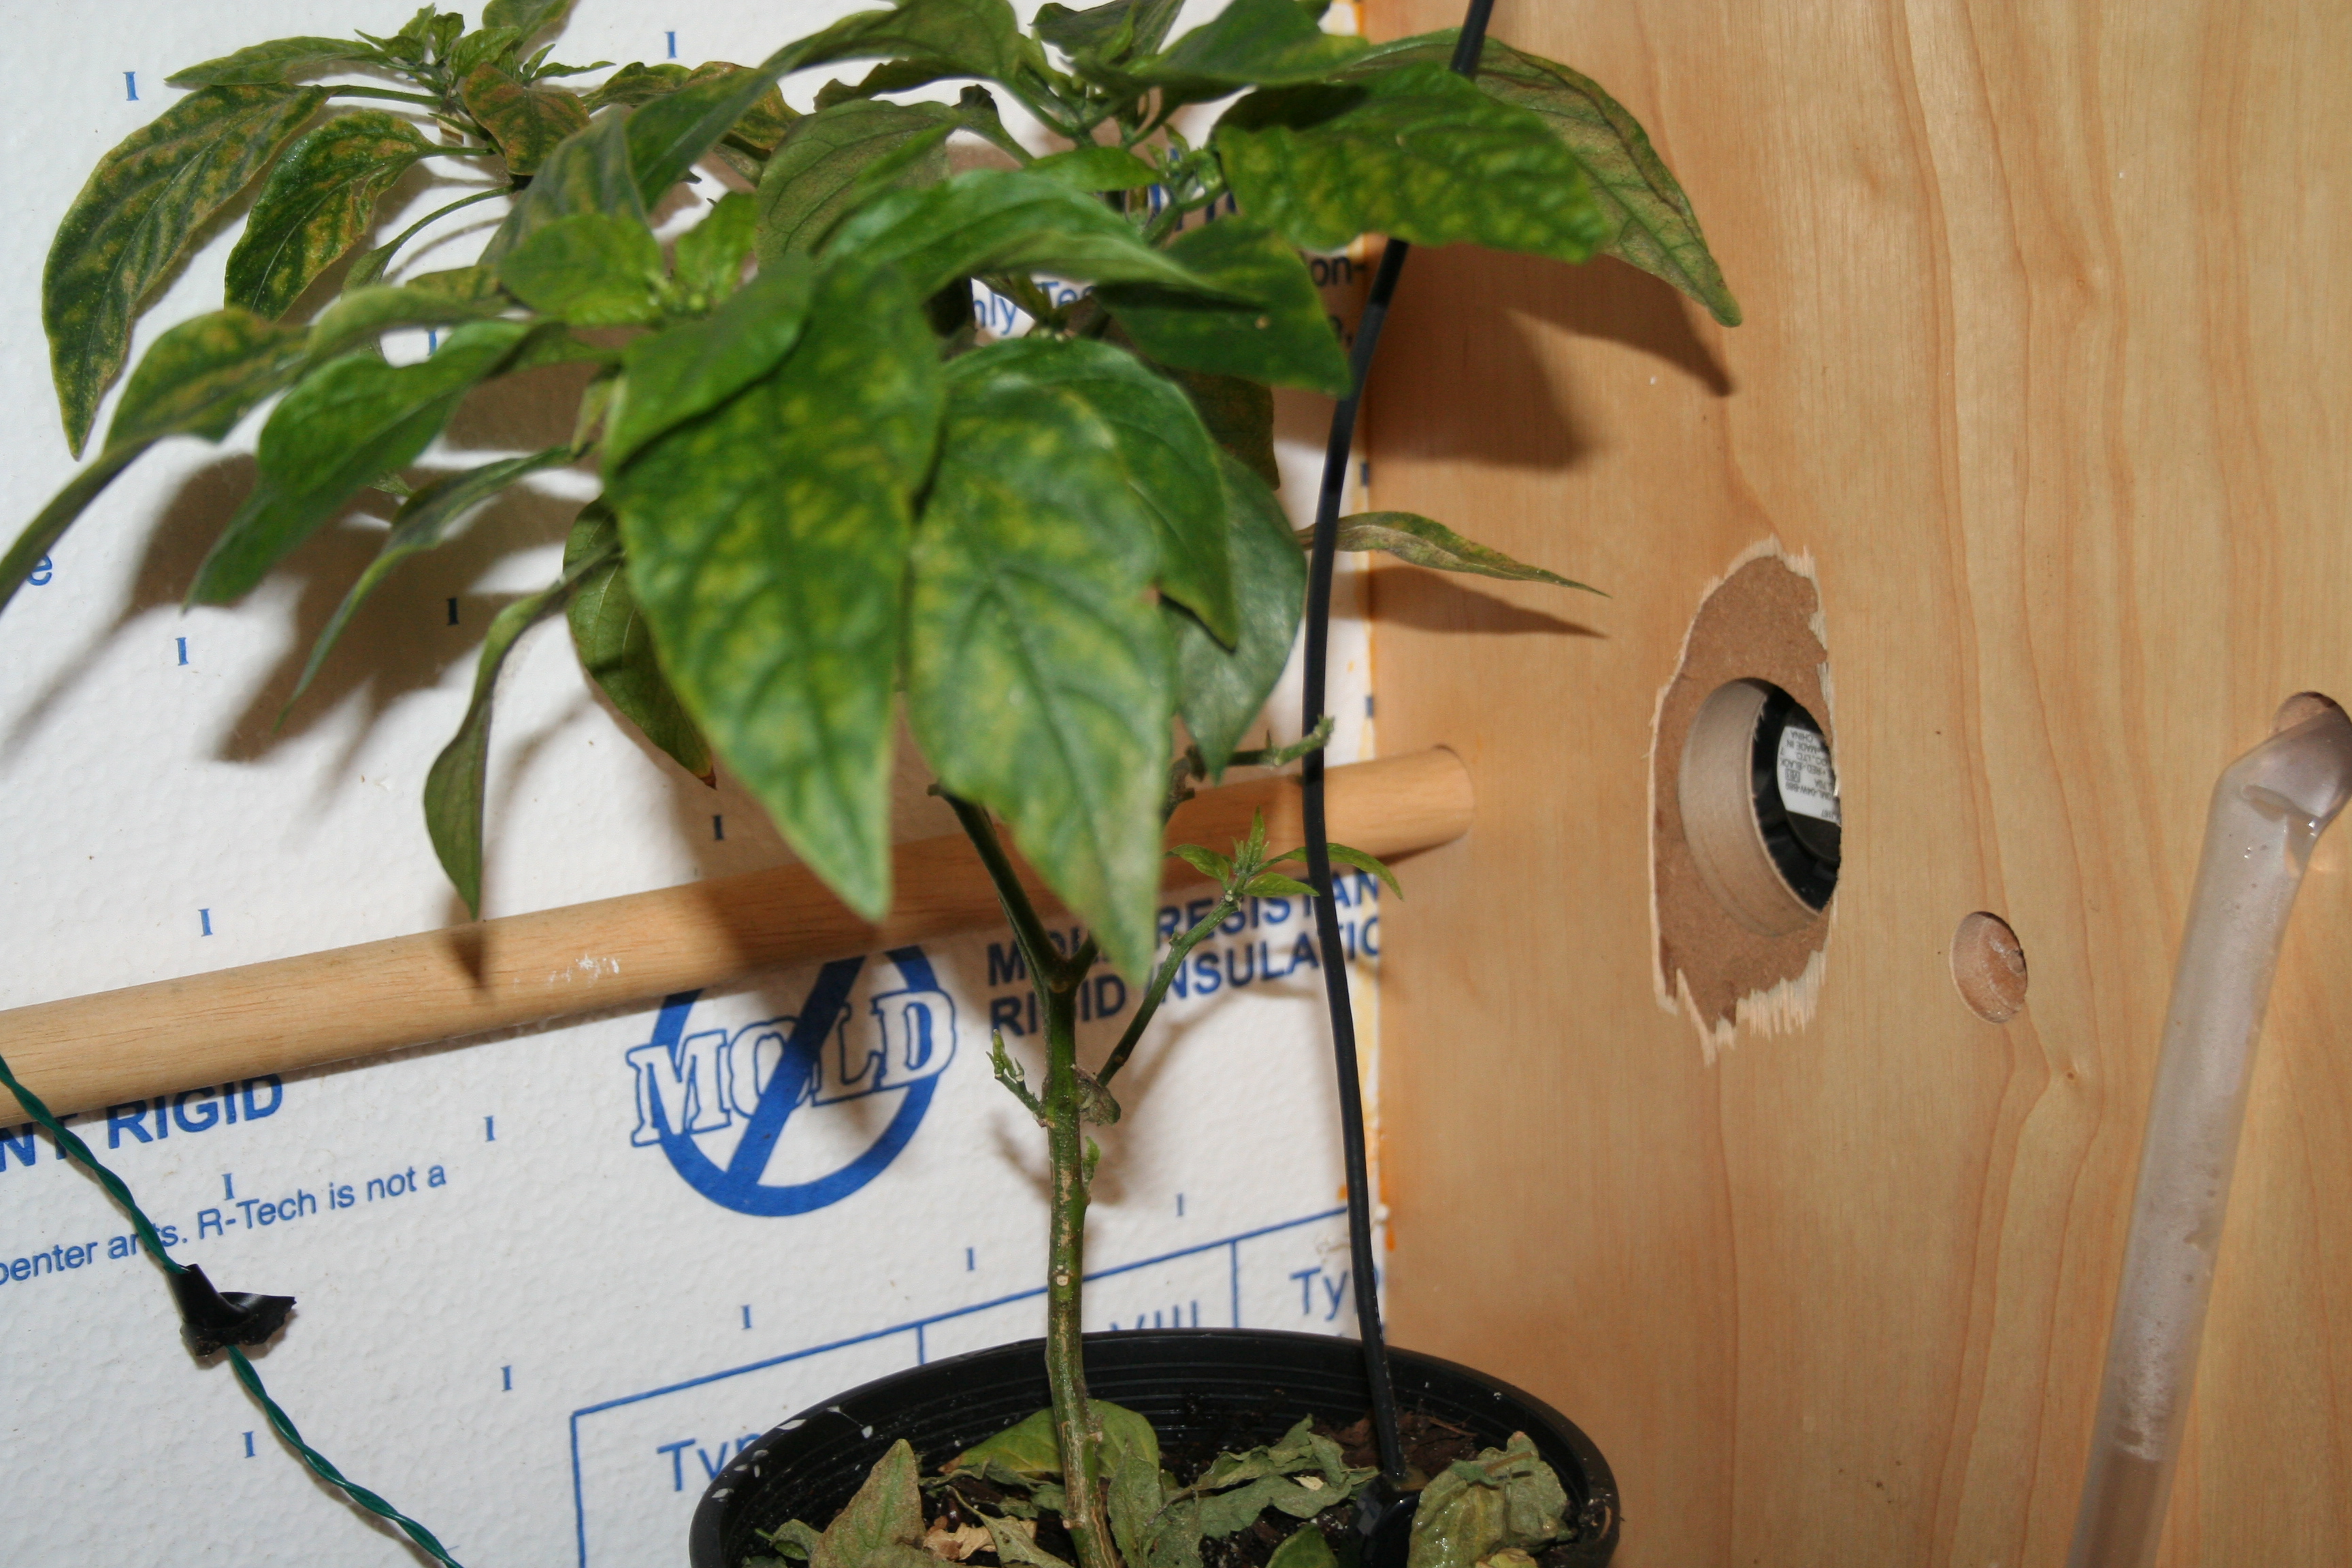
Currently it is 16 degrees outside and given my grow box containing jalapeno peppers is in my unheated detached garage, which can bring some challenges. Like most plants, peppers will continue to grow in the range of 60 to 90 degrees, but thrive in 70 to 90 degrees. With the lights on the grow box gets to about 60 degrees but drips to the 50’s at night. This will result in plants having stunted growth and begin dropping blossoms before they can start bearing fruit.
My solution, a string of green mini Christmas lights. Just to clarify these are your typical small bulb Christmas lights not LEDs, given the efficiency of LEDs they do not product much extra heat which is what I am going for here. I also chose green Christmas lights because plants do not absorb this wavelength very well so they can be left on at night to keep heating while still letting the plants “sleep”.
Of course results will vary depending on the size of your grow box or outside row tunnel, insulation, and exterior temperature, but I am seeing 8-10 degree increase in temperature with a single string (50 bulbs)
I am always open to new ideas to safely, cheaply and efficiently heat my grow box or row tunnel so if anyone has any other suggestions please add a comment.
Tags: cheap, grow lights, growbox, led, outdoor plants, pepper plants
Twittering computer grow box
14.6 years ago indoor growbox, twitter

Well this is pretty much clichéd nerdiness but given it only required a couple of lines of C# I couldn’t resist. I have updated my grow box software to “tweet” some sort of semi-humorous and not really witty comment appropriate to its current state and share its current temperature and moisture content every 2.5 hours.
For those who want to do something similar, this is how I did it. I one of the many twitter C# libraries and for no specific reason I chose tweetsharp and after adding a reference to their DLL and just the few lines of code (below) you can be programmatically making updates via twitter.
private void UpdateStatus(string message)
{
IFluentTwitter twitter = FluentTwitter.CreateRequest();
twitter.AuthenticateAs("user_name", "password");
twitter.Statuses().Update(message);
twitter.AsUrl();
string response = twitter.Request();
}
If you want to see it in action go to http://twitter.com/computergrowbox.
Right now I only have a handful of not so witty comments, so if you have some good zingers add them to the comments and if I like them I will add them to the list.
UPDATE: Grow box shares its own pictures
I get busy these days and sometimes can’t make it out to keep a close eye on my plants in the grow box. Given I have everything automated the box basically takes care of them, though I thought it would be nice if I could see how they are doing so added photo sharing to the grow box’s twittering software.
I already have the software taking pictures every so often so all I really needed to do what send out the most recent file to twitter. After a little looking I found that tweetsharp already supported this so yet again this was just a few lines of code to implement.
First I needed the logic to determine the last photo I have taken, fortunately I was carefully about my naming using a timestamp based name similar to “Photo_2008_10_01_090130.jpg”, so alphabetical sorting would work just fine. I removed the error handling to keep things brief but here is the code to complete this logic:
string[] files = Directory.GetFiles(photoDirectory, "*.jpg");
Array.Sort<string>(files);
string fileToUpload = files[files.Length - 1];
Now you have your photo to upload just signup for one of the photo TwitPic using your twitter account and run the following code using your credentials.
IFluentTwitter twitter = FluentTwitter.CreateRequest();
twitter.AuthenticateAs("user_name", "password");
twitter.Photos().PostPhoto(fileToUpload,
                      SendPhotoServiceProvider.TwitPic);
twitter.Statuses().Update("My Picture").AsJson().Request();
Hopefully this, you too can make you own grow box (or other inanimate object) share its feelings on twitter.
Tags: growbox, outdoor plants
Computer controlled grow box – Part 2
14.6 years ago indoor growbox, water

Though I have made some significant changes to the grow box controller, the actual grow box has undergone some minor but important changes over the past few months.
Automated watering
Now I must say this one is pretty darn simple. Though I will be planning on a slightly more complicated hydroponic setup later I decided to start with a very easy bottom watering technique. Just take a regular old fountain pump (I went with the cheapest I could find) drop it in a 5 gallon bucket of water and attach a hose long enough to reach your planting tray and plug in the power to the pump to your grow box controller and that’s about it.

To prevent evaporation and algae and little bugs making a home in my nice bucket of water, I added a lid with two holes for the water output and power input. The power input required me to make a straight cut with a utility knife to ensure a snug fit while not requiring me to cur the AC line to feed the wire through.

I also cut a hole of the same size as the water output on the bucket lid to the grow box to allow the line to enter while still keeping the box closed.
Exhaust fan control

Air circulation is important for plants to be healthy but when the box gets warmer than expected I installed two controlled CPU fans to help regulate temperate as well as one static fan that constantly pushes air from the top to bottom.
I added a 12 volt exhaust fan to the top of the box (pictured above) to help push hot air out of the grow box with another (pictured below) at the lower part of the grow box to push in cold air as needed. Both of these fans are powered by a 12 volt power wall adapter plugged into the grow box controller.
Heating
Though the computer and lights allow the box to create a comfortable internal temperature, sometimes it needs a little help. For this I installed a regular old seedling heater to hopefully take a little sting out of the cold floor the seed tray is sitting one. Like other components this was simply plugged into the grow box controller.
Putting it all together
My previous version was a little sloppily put together with duct/packing tape (lets just call it prototyping). Though this added some hackiness appear it wasn’t too functional so I added a little strip of wood to support a couple hinges which I created a top which holds the LCD panel.

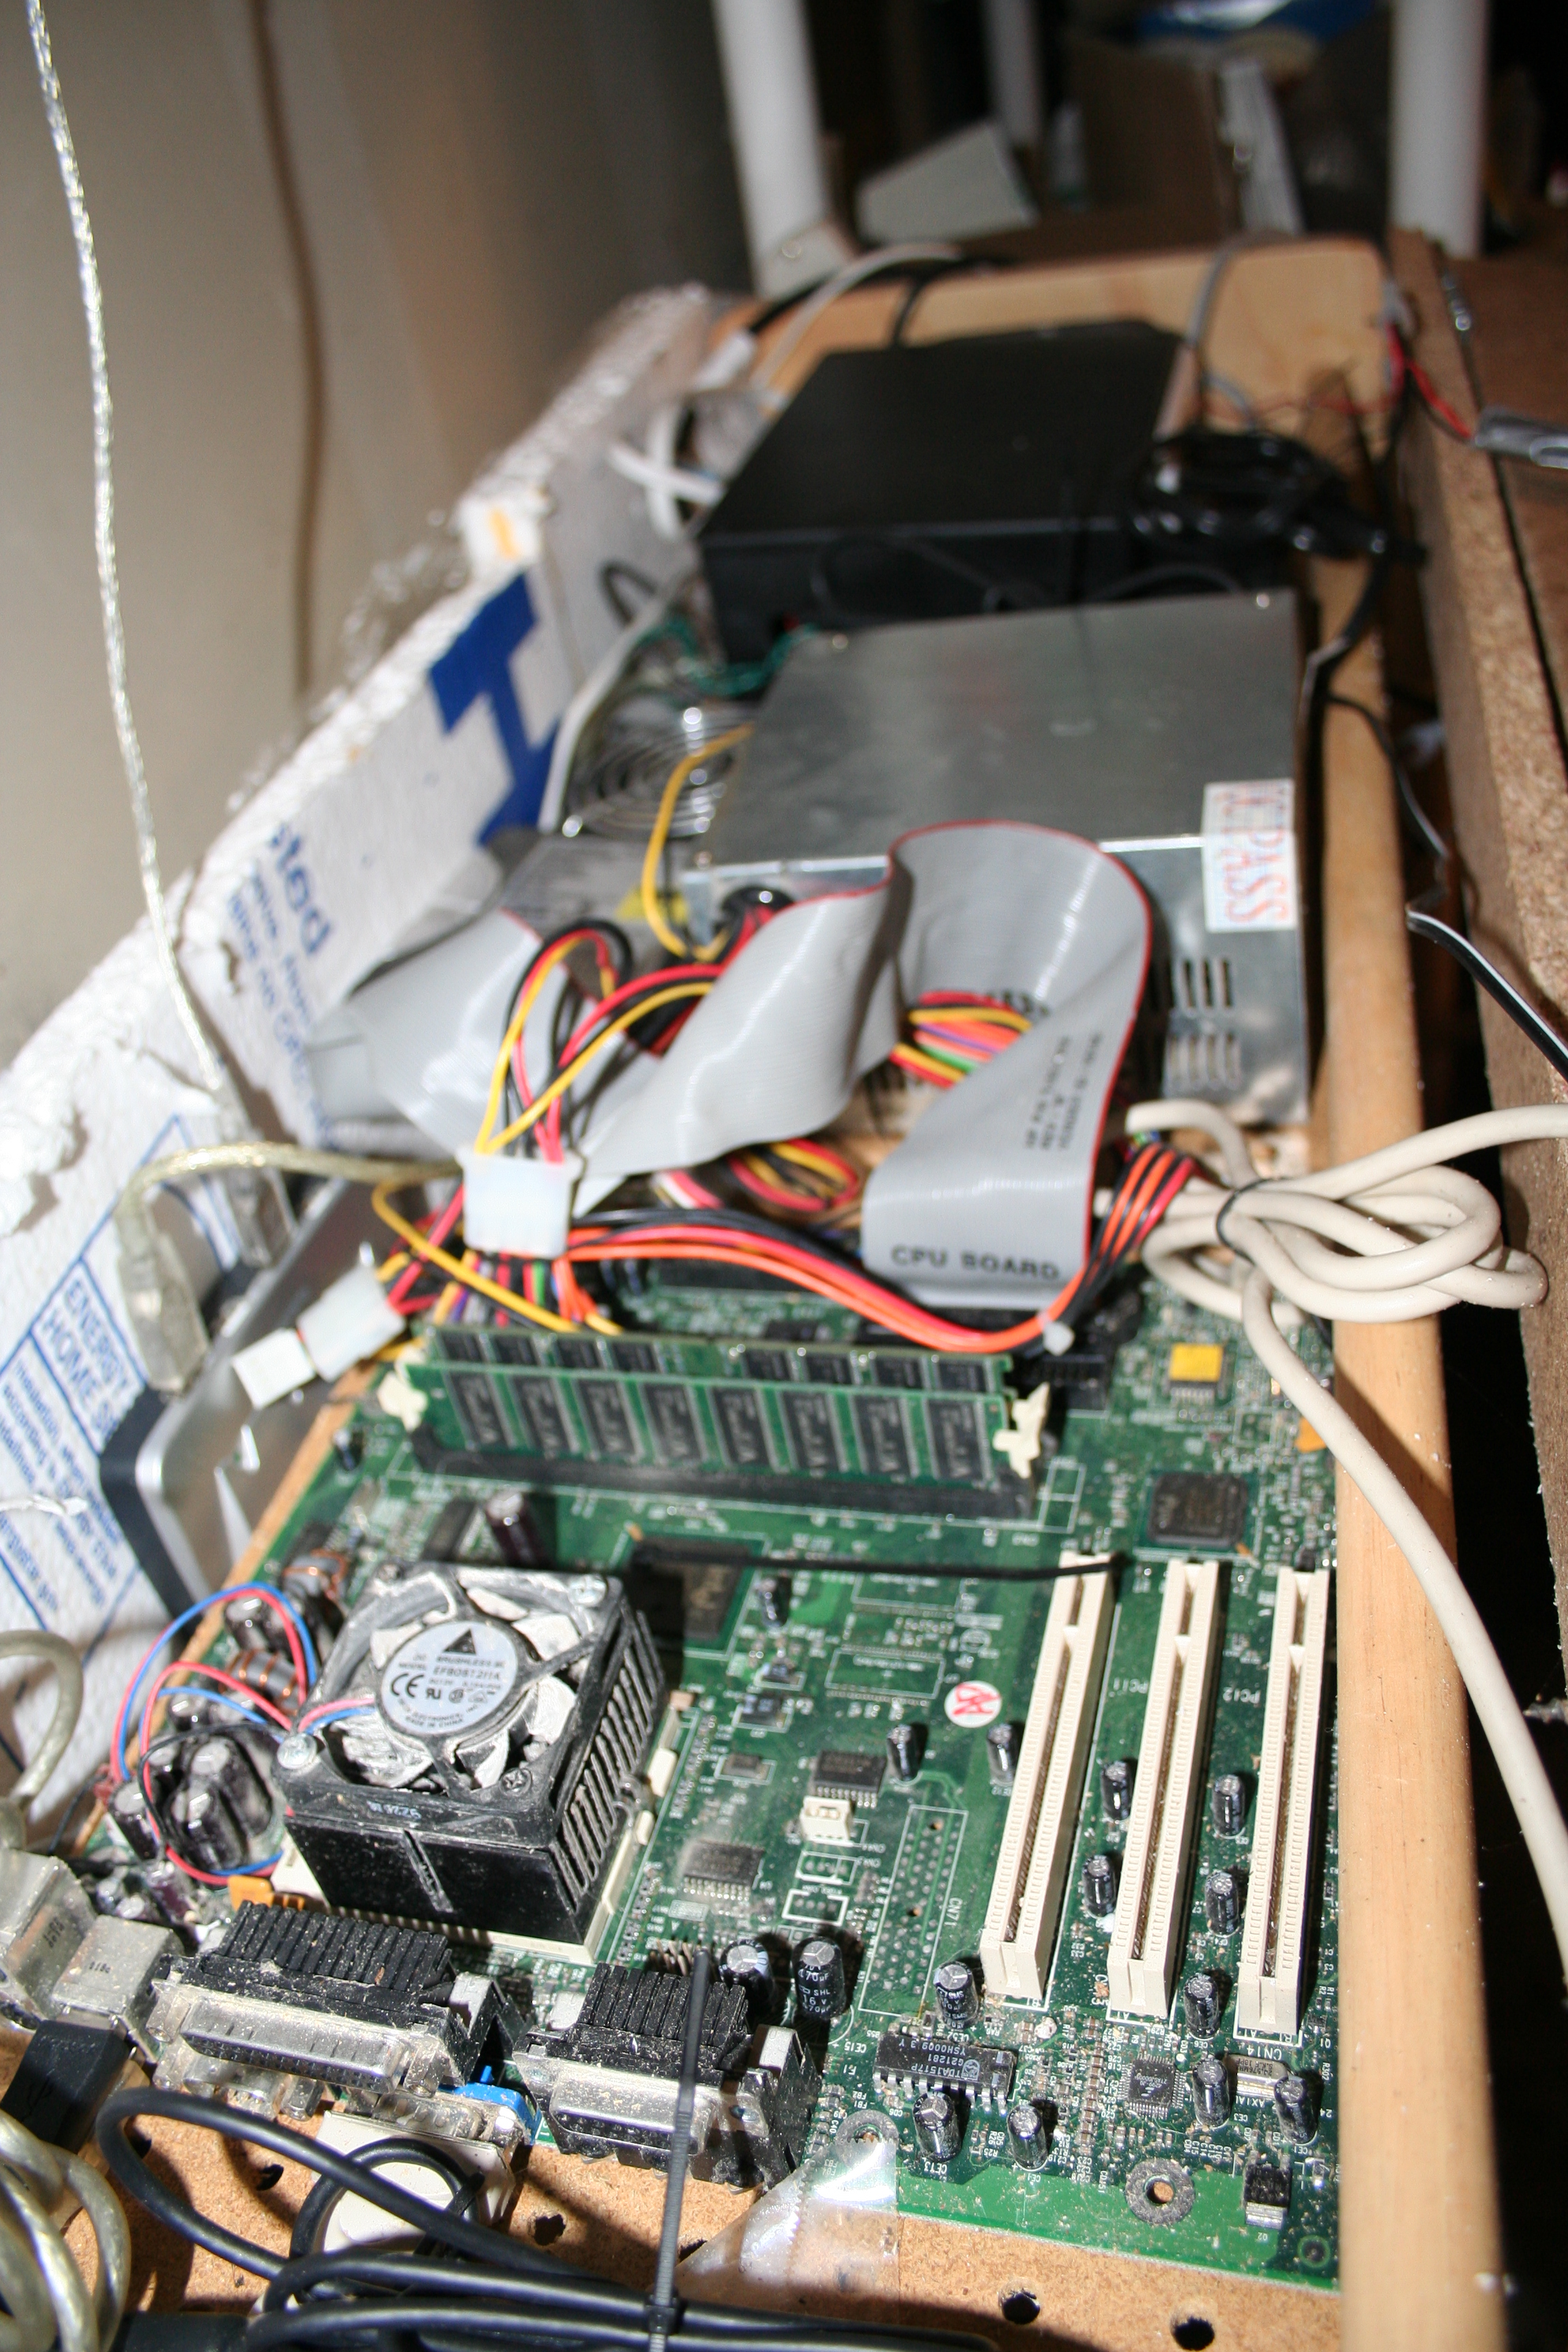
Upon opening the top you can see the grow box controller and the state of the art 600 MHz PC in all their glory.
As you can see I have still have some cleaning up to do with compress air and maybe a few more zip ties but all in all everything seems to have come together nicely.
Tags: cheap, garden seeds, grow lights, growbox, led, outdoor plants, vegetables
Peppers sprouting in grow box (time lapse)
14.7 years ago indoor growbox, peppers
Well slightly more exciting than watching grass grow but for something that takes several weeks to complete is definitely worth a watch. If you watch carefully you can even see the automatic watering in action.
Joining the sprouts is a mature pepper plant which has been flowering and daisy seedling my 7 year old planted hoping it will flower as well.
Tags: garden seeds, growbox, outdoor plants, pepper plants


