Search Results

Chemistry of Gardening: What nutrients do plants need?

ChemistryOfGardeningIf I ask my four year old what it takes for a plant to grow she can quickly respond with response, “Sun, water, air, and soil”  This is a great answer for photosynthesis since plants need energy from the sun.  They leverage the carbon dioxide (CO2) from the air and water (H2O) to create starches and sugar.  Now the soil part of this answer is where things get a little more complicated.  Soil gives plants the ability for roots to expand and grow but also provides many nutrients to help them as well.

Similar to humans, plants need various minerals to live healthy lives.  The primary macronutrients Nitrogen (N), Phosphorus (P), Potassium (K) are required to sustain life.  These are the nutrients that plants consume significant amounts which is why these are advertised in big letters on the outside of packages of fertilizer.

MACRONUTRIENTS – PRIMARY

Nutrients Benefits Signs of Deficiency Sources (N-P-K)
Nitrogen (N) Provides energy to allow vegetative growth.  Leafy plants can’t get enough, root plants need very little, fruiting plants need plenty in beginning but too much later in growth cycle will result in big/tall fruitless plants. Light green to yellow leaves; growth stunted Bloodmeal (14-0-0)
Alfalfa meal (7-3-4)
Soybean meal (6-1-2)
Cottonseed meal (6-2-2)
Fish emulsion (5-2-2)
Chicken Manure (3-4-3)
Compost (1-1-1)
Cow Manure (.2-.2-.2)
Phosphorus (P) Makes plants more stress resistant, allows for fast growth, encourages bloom and root growth. Red or Purple leaves; cell division slowed Bonemeal (4-12-0)
Chicken Manure (3-4-3)
Alfalfa meal (7-3-4)
Compost (1-1-1)
Potassium (K) Helps with photosynthesis process, immunities to disease, and increased quality of fruit. Vigor reduced; susceptible to disease; thin skin; small fruits Alfalfa meal (7-3-4)
Greensand (0-0-3)
Wood ash (0-1-3)
Chicken Manure (3-4-3)
Compost (1-1-1)

We could live off a simple food like gummy bears for quite a while, but our quality life will decrease once we picked up scurvy and exhibit significant bone and muscle loss.  The same idea goes for plants, they can live simply on the primary macronutrients but they will live poor and possibly fruitless (literally) lives.  This is where the secondary nutrients come in.  With the exception of Calcium, these are not consumed in nearly the volumes as the primary macronutrients though supplementation may be required.

MACRONUTRIENTS – SECONDARY

Nutrients Benefits Signs of Deficiency Sources
Calcium (Ca)

Helps with cell wall structure imperative for strength of plants

Growing points of plants damaged Dolomitic limestone, gypsum, egg shells, antacids
Magnesium (Mg) Required as part of the chlorophyll required for photosynthesis Yield down; old leaves white or yellow Epsom salt, Dolomitic limestone, organic material
Sulfur (S) Required for to allow plants to create protein, enzymes, and vitamins.  Helps with seed, root growth, and resistance to cold. Light green to yellow leaves; growth stunted Rainwater, gypsum

Finally are the macronutrients, these are the nutrients that most of the time, as long as you are not growing with hydroponics. should exist in your soil and rarely need to be supplemented due to the small amounts that are consumed by plants, nevertheless are still very important for plant growth.

MICRONUTRIENTS

Nutrients Benefits Signs of Deficiency Sources
Boron (B) Helps in production of sugar and carbohydrate
s.  Essential for seed and fruit development.
Small leaves; heart rot (corkiness); multiple buds Organic Matter and borax
Copper (Cu) Helps in plant reproduction Multiple buds; gum pockets Copper sulfate, neutral copper
Chloride (Cl) Helps with plant metabolism None known Tap water
Iron (Fe) Helps in formation of chlorophyll Yellow leaves; veins remain green Iron sulfate, iron chelate
Manganese (Mn) Helps in breakdown of carbohydrates and nitrogen Leaves mottled with yellow and white; growth stunted Manganese sulfate, compost
Molybdenum (Mo) Helps in breakdown of nitrogen Varied symptoms Sodium molybdate, compost
Zinc (Zn) Regulates growth and consumption of sugars by the plant Small, thin, and yellow leaves, low yield zinc oxide, zinc sulfate, zinc chelate

Nutrient Deficiency Information from “The Vegetable Gardener’s Bible”

Now you are armed with plenty of information, though unfortunately you can not act on any of this without knowing the chemical composition of your soil.  If you simply went by the signs of deficiency (for example yellow leaves) could be caused by one or many nutrient deficiencies.  Fortunately you can get this information to act on by running a soil test on your soil.  There are a couple options for this if you are simply concerned about primary macronutrients there are cheap DIY home tests, electronic testers, or you can send a sample to a soil lab to give primary/secondary macronutrient and micronutrient levels and recommendations to get your soil back on track.  You may also want to check with your local municipal office they may have a cheaper/free option available to you.

Just remember, your perceived lack of a green thumb my have nothing to do with your ability but the chemistry of soil you are working with.

Many uses for egg shells in your garden

035

This time of year you probably have a larger number of egg shells heading to your trash.  Between dying Easter eggs and our new tradition of making Ukrainian Easter bread (uses over a dozen eggs) I end up with quite a pile of egg shells.

032

The good news is there are many uses for these to use in your planting and in your garden.

Use #1 Soil amendment: Egg shells consist of calcium carbonate which many of your plants desperately need; apples, broccoli, brussel sprouts, cabbage, carrots, cauliflower, celery, cherries, citrus, conifers, cotton, curcurbits, melons, grapes, legumes, lettuce, peaches, peanuts, pears, peppers, potatoes, tobacco, and tomatoes (just name a few)   What I like to do is collect the egg shells and throw them in a freezer bag and keep them in the freezer.  Once I have a dozen or so saved up I put them into the oven (when I am warming it up to bake something else) and give them a good toasting.  I quick spin in the coffee grinder and I have some great calcium powder to apply to plants when planting, or seep in some water overnight to give your tomatoes a quick boost if they are appearing sufficient.

015

Use #2 Compost nutrient additive: If you start getting too much lying around you can also add some to your compost pile to give that black gold a little extra boost.  Just be sure you crush them finely (or powder as mentioned in Use #1) or you will just find a bunch of whole eggshells in your finished compost.

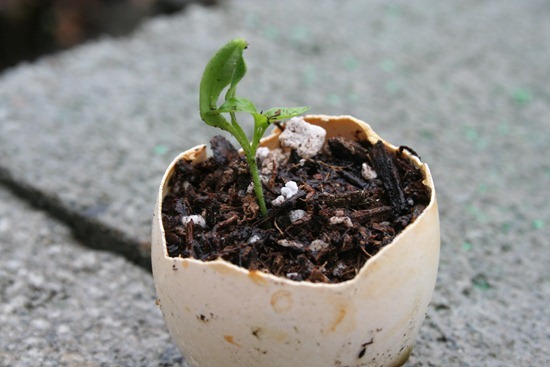
Use #3 Seed pots: If you are even just a little bit careful when cracking these eggs you can add a little soil to these egg shells add a seed and use them to start seeds.  Provided that the seeds are round you will want to also save the egg carton to keep them upright.

014

Use #4 Pest deterrent: Using the same method of creating a powder in Use #1 this granule form can be sprinkled around the base of your plants to deter cutworms and slugs who will find these abrasive surface undesirable.

015

How to make pickles

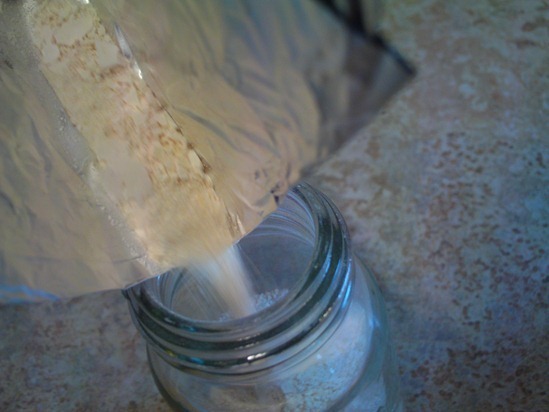
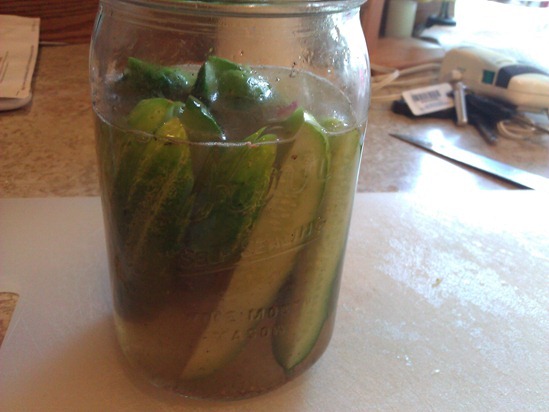
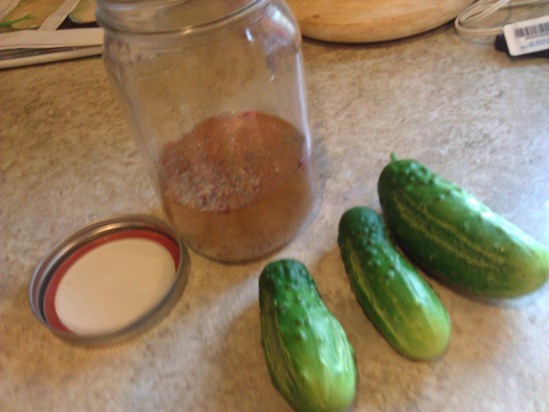
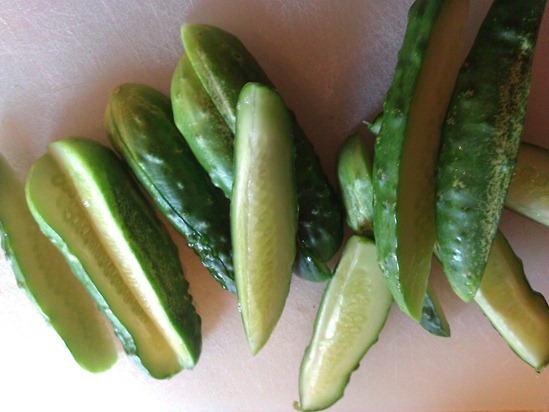
WP_000343 When my first cucumber started to rot in the vine when I was waiting for it to mature, I realized that I grew the smaller variety of which grows 6-8 inch cucumbers which are perfect for pickling to enjoy a nice nutritional snack.  Having a few nice specimens on the vine this afternoon I decided to make myself a few pickles. Step 1: Clean the pickles.  One of the surprises when I picked my first cucumber a few years back was the little spikes they have on them…you don’t see any of those by the time they make it to you in the grocery store.  I quick bit of brushing of your hand should get these off.  Finish this off with a quick wash in the sink and you should have a few clean almost pickles. WP_000339 Step 2: Cut the Pickles.  If you have a small variety like mine you can get away with simply quartering (or cutting in sixths if you have an extra girthy one).  For full size cucumbers you will probably need to cut it into two pieces and cut each half into sixths or eighths depending on how large of spears you desire. WP_000340 Step 3: Brine the Pickles.  There are many good recipes for brines out there.  Here is my favorite that provides a good balance of sweet/salty/spicy as well as some extra components to have a nice balanced flavor profile.  Simply add the ingredients to a 1 quart mason jar, give it a little shake, then add your cucumbers.  Secure the lid of the jar and give the jar another shake and place in your refrigerator.

My Pickle Brine

  • 1 clove garlic
  • 1/2 cup apple cider vinegar
  • 1 cup water (or enough to cover the pickles)
  • 3 T sugar (artificial sweetener works here)
  • 1/2 tsp salt
  • 1/2 tsp dill
  • 1/4 tsp pepper flakes
  • 1/4 tsp cloves
  • 1/8 tsp cinnamon
  • 1/4 tsp coriander
  • 1/4 tsp mustard seed
  • 1/4 tsp black pepper

Step 4: Wait. This can be the hardest part, you need to wait at least 3 days for your pickles to brine, possible a couple of days more if you needed to add much more than 1 cup of water to cover your cucumbers. As more cucumbers come in you can simply add them to the jar and have a non-stop supply of incoming snacks…at least until the end of summer. For something a little more traditional you can also try the following:

Alton Brown’s Dill Pickle Brine

  • 5 1/2 ounces pickling salt, approximately 1/2 cup
  • 1 gallon filtered water
  • 3 pounds pickling cucumbers, 4 to 6-inches long
  • 1 tablespoon black peppercorns
  • 1 tablespoon red pepper flakes
  • 2 cloves garlic, crushed
  • 1 teaspoon dill seed
  • 1 large bunch dill

Directions: Same process as above though probably going to have to wait 6-7 days before your pickles are ready and are good for about 2 months.

Planting seeds in January

WP_20140103_031

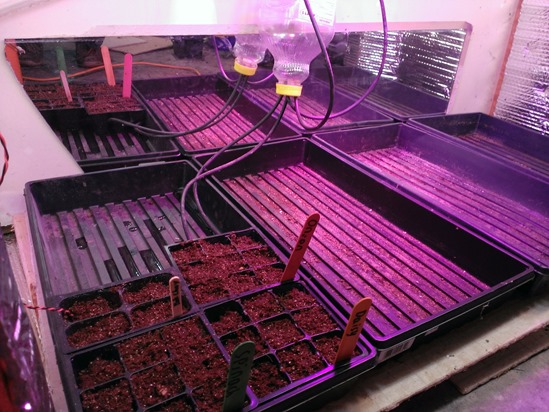
Though it is still pretty cold inside right now is the time for me to begin start planting seeds for this spring.  These include bok choy which are very cold tolerant, onions which do pretty good in the cold but could use a head start on these to get some good sized bulbs by the end of the season.  I also started some daisies which I will let mature plenty before bring them out.  Finally I planted some spinach to try to grow some greens for consumption in my grow box given how much empty space I have in here right now 🙂

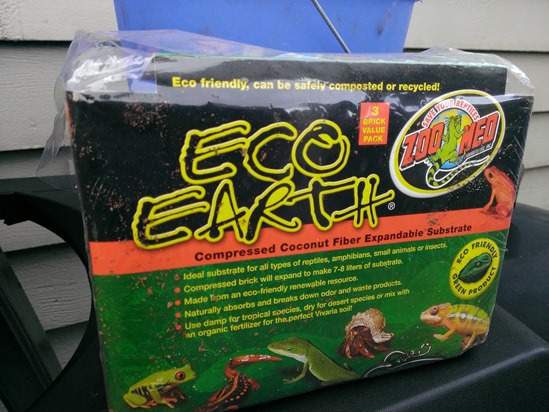
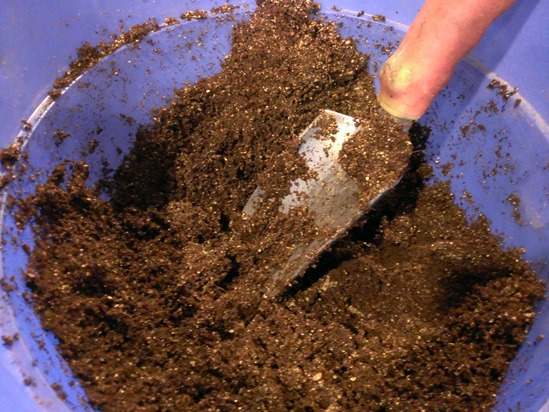
For my seed starting mix I start with some coconut coir, though you can find this in the gardening section I typically grab a three pack at the pet store at nearly half the price.  Though looks like you can get it at a pretty good price on Amazon these days with free shipping.

WP_20140103_001

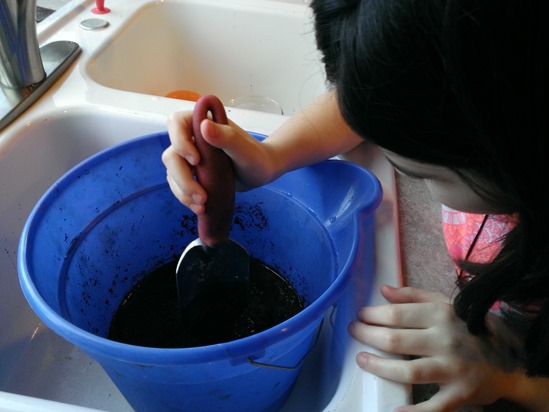
All you have to do is add 1 gallon of water and let sit for a about 10 minutes then still a bit with a trowel.

WP_20140103_002

Though this works great by itself as a seed starting medium I typically add a couple cups of vermiculite (to lighten up and moisture control) and a handful organic fertilizer to add some trace minerals to give the seedlings a head start when they emerge.

WP_20140103_024

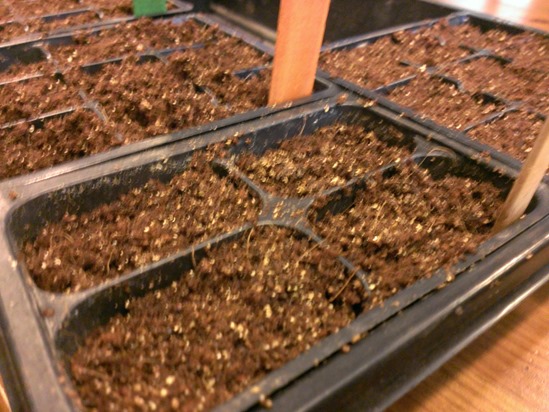
Finally will fill the Name Your Linkplant trays with your seedling mix and add you seeds, not watering should be required since the soil should already be pretty moist.

WP_20140103_022

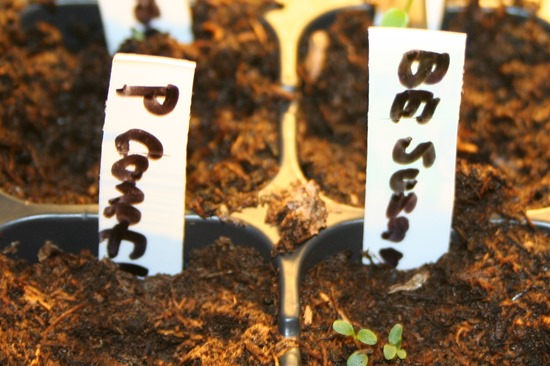
Complete by add some popsicle sticks with some handwritten labels or use a discarded yogurt container from your recycling container to make your own plant labels by simply cutting them into strips like shown below.

IMG_8598

Planting mint in your garden


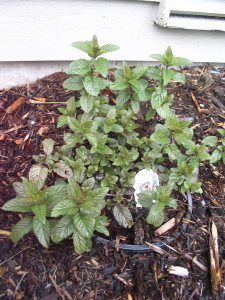
If you happen to have a couple of brown thumbs and kill any plant you touch you may want to consider planting mint in your garden. These members of the mint family is so hardy that it can practically be planted anywhere and in many cases it can take over your garden without taking some precautions during your planting. Couple of low impact options is to grow it in a pot on your patio or even grow in a hanging basket and harvest the leaves as they grow over the side. If you wish to grow your mint at ground level you will need to create a root barrier to keep it from spreading over your whole garden. You start by digging a 12-18 inch hole and place your mint in a large plastic pot or lay down a plastic liner with drainage holes. One other option is to use an old 5 gallon bucket and give your mint a little more room to grow but you will need to dig a little deeper hole.

Now for picking your plant(s), if you want some peppermint for tea or that mojito in the middle of summer you will need to buy your plant from a nursery (unless you have a nice friend or neighbor to get a start from them) since peppermint is sterile so you will be unable to grow it from seed. Other mints such as spearmint can be started from seed but it will take a couple months until you can begin harvesting. I would definitely recommend buying as plants since they are usually inexpensive and a modest plant can become pretty established in just a few weeks. The one exception is if you want a species you may not be able to find in your area nursery, so seeds might be your only option.

So why grow mint in the first place. It has a great fragrance and many uses including refreshing your breath, deterring pests (mosquitoes, slugs, wasps, and ants), garnishes or major ingredient to your cold drinks. For me the primary reason was peppermint tea.

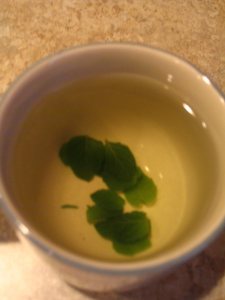
If you don’t think you like peppermint tea make sure you try the fresh version before you sign it off. Tea leaves are dried so they last longer if you want the best flavor best to use it fresh. There is no part of peppermint that can harm you so can break off a piece of mint (stem and all) and let it seep for 5 to 10 minutes. Not only is it a refreshing beverage that leaves your mouth with a nice clean taste but also can help with any stomach discomfort. If you want something with a little more flavor try this recipe:

Straight from the garden peppermint tea recipe

Ingredients:

  • 3 peppermint leaves
  • 3 spearmint leaves
  • 3 lemon balm leaves

Directions:
Add leaves to one cup of boiling hot water. Let leaves seep for 10 minutes. Add honey or sugar if desired.

How to save coriander/cilantro seeds from your garden

146

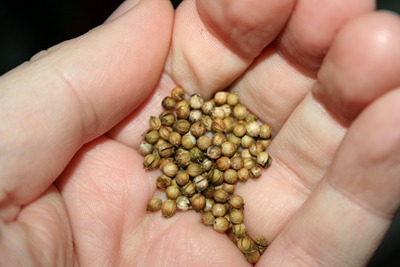
Cilantro (at least that is what we call the plant in the United States) and the seed coriander as it is know to the rest of the world is the first plant I ever collected seeds from.

2278

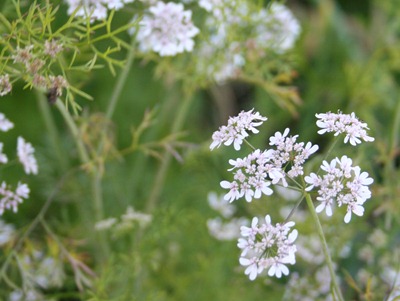
What I like about cilantro/coriander is that its flowers actually grow great and the bees seem to like them.  As an added bonus the collection of seeds really couldn’t be easier.  Like other plants I collect seeds on I let them mature as much as possible outdoors on their own and bring them indoors when the heavy rains come.

148

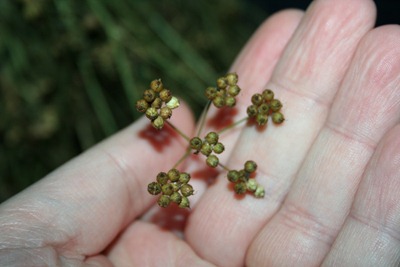
I give them a little extra time to dry by hanging the bunches upside down in my garage until I get around to the harvest.

145

To harvest simply find these flower shaped clusters of seeds and pull down to release the seeds and add to your awaiting container.  If you don’t care as much how clean your seed collection is you can also run run hands down the whole plant from bottom to top.  While this will drop many leaves in your collection, this is definitely the way to quickly harvest a large number of seeds.

IKE