Search Results

How to prevent weeds in your garden

I doubt there is anyone who enjoys pulling weeds, though now at the end of the season is a great time to do some preventive measures to prevent new growth next season.

Kill your weeds early: The sooner you pull your weeds the easier it is to keep up with them.  In addition, if you pick the weeds before the mature and flower and drop seeds you will save a ton of time pulling weeds for every one of those seeds that drop.  Call me old fashioned but I normally skip the whole herbicide method and just pull the weeds by hand.  Not only does your lawn or garden immediately look better, there is no coming back to see if the weeds need another dose of spray and the whole environmental part of keeping some chemicals out of our water system.

Mulch: This is one I didn’t completely understand until I had been gardening for a while.  I for one never have found “beauty bark” beautiful and have always preferred the more natural look and benefits of fertile soil.  But that is entirely why you want to use a mulch such as ground bark, straw, pine needles, leaves, newspaper, rubber bark, or even some old carpet.  This helps prevent weeds in twp ways.  First, it blocks light from the potential little weed seedlings to make their way to the surface.  Second, they are not fertile mediums to grow seeds, which is exactly what you are looking for for your large flower beds which like to create good crops of weeds.  As a final benefit they help insulate and hold water down for the plants you want to thrive having great growth and eventually shading out those “poor” weed seedlings.  just 3-4 inches during the fall and your back should be bending over much less next spring.

If you are thinking, “What about my vegetable garden?  I want seeds to be able to grow in there next year.”  For your vegetable garden I highly recommend chopped leaves and a vegetable garden mulch.  If you happen to have a leaf blower/vacuum that will chop them up all you need to do is empty those bags in a thin 1-2 inch layer across your garden.  I used to have one of these though accidentally sucked up a rock which didn’t “chop” well and broke it so the alternate method I use is the following.  Bag your leaves throughout the fall and once the leaves stop falling dump them out in a long row in your yard.  Then use you lawnmower with bagger attachment and run them over until they are all chopped up.  You can also do this more frequently during the fall but I find this a good time to use all the gas in the lawnmower before the end of winter feeling more like I am doing something more meaning other than just letting the mower sit there until it burns off the remaining fuel.  With these leaves on the surface you smother any weed seeds and also block out all light to the soil.  When spring time comes you simply work in the decomposed leaves into the soil and your garden has a head start with some good organic matter.

Pre-emergent weed control: For some parts of your yard like your lawn mulching is not really an options so to protect against pesky weeds like one of my personally loathing weed, annual bluegrass.  Which grows and seeds so close to the ground it is nearly impossible to pull the plants to prevent the spreading.  Pre-emergent herbicides is the solution to this problem.  Pre-emergent herbicides work by preventing weed seeds from germination by inhibiting cell division in their tiny root system.  Given these plants are annuals a successful application can rid you yard of these weeds until they eventually blower over from a neighbors.  Pre-emergent herbicides can be purchased as a chemical or the organic method is applying glutton corn meal which normally can be purchased from your local feed store.  One thing to remember is that this also will prevent you normal grass seed from germinating as well so be sure to time your application after with with enough lead time to allow the pre-emergent from wearing off.

Grow a cover crop:  Growing a cover crop has two major benefits to your garden.  Various legumes, grasses, and buckwheat make good options for for cover crops to plants while you garden is empty.  First it creates a natural shade from the sun making it hard (or impossible) for seedlings are the surface to survive under their great shadows.  Second it provides organic mater as “green manure” to add nutrients to your soil.  One recommendation is to make sure you do a little research on the plant you choose as a cover crop, if you accidentally wait too long to “harvest” your cover crop it could go to seed and you may have an entirely new weed problem on your hands.

Cook the soil:  When all else fails apply some black plastic (thicker the better) covering to your planting beds and let them “cook” throughout the fall/winter.  Like mulch this will prevent any light and most water from entering the areas covered.  This will essentially cook the soil killing any weeds, seeds, fungi, or anything else living in that area.  Though this is very effective in eliminating weeds and disease from your soil it also kills everything else including good bacteria that your friendly worms like to visit your garden, so you soil may take sometime to recover and return to becoming living soil.  I would recommend this method as a last result when the previous methods have proven to be completely unsuccessful.

Just for some positive outlook, you can also think of weeds as green manure assuming you are adding these to your compost, so even out of control they still can decompose and help your garden…
How to save tomato seeds

001

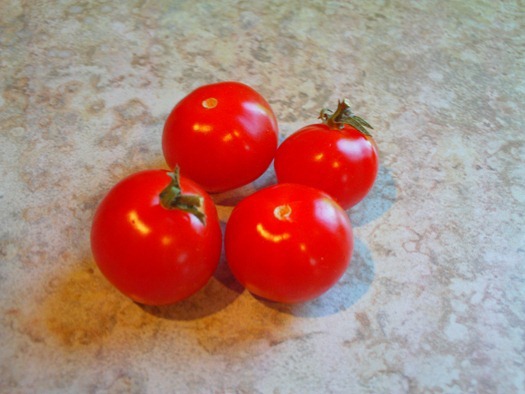
It is really easy to save tomato seeds is a little more difficult that other vegetables seeds, but with a little patience and the right technique you can save your seeds with very little effort.

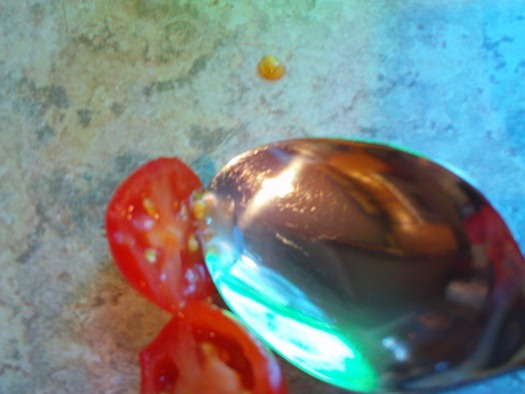
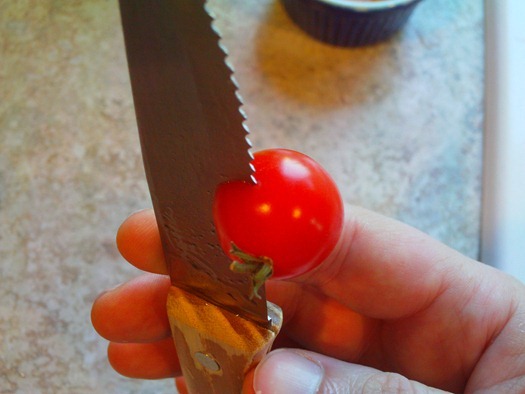
Step 1: Get the seeds.  The easiest way to get to your seeds it do cut the tomato across the hemisphere as shown below.

005

This will give you easy access to the seeds, though if you are slicing your tomatoes at a different angle you can easily pull out some seeds with a prong of a fork or spoon.  The cutting board will normally hold more than enough seeds than I will need for the following year.

008

Step 2: Get the junk off the seeds.  The seeds have a gel-like substance that surrounds the seeds along with some pieces of flesh that you did not take the time to pick out.  There are a couple of techniques to do this:

  1. Add some water to the seed mixture, cover with plastic and let them ferment for a few days.
  2. Mix tomato seed mix with equal amount of powdered disinfectant cleanser and let sit for 30 minutes

Given the fermentation methods can stink up your kitchen and the powdered disinfectant methods doesn’t exactly sounds organic I went with my own method I call the soak and rinse technique.

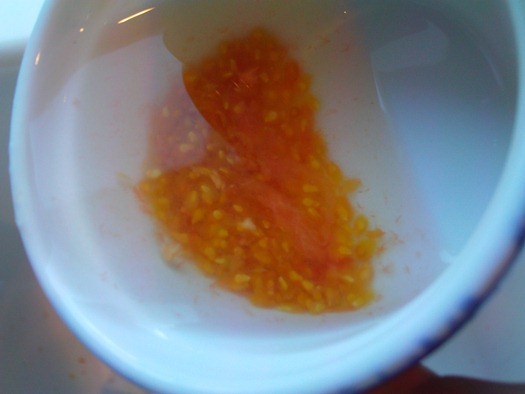
Drop the seeds in a small bowl with some water and let soak for a couple hours.  Pour off anything floating to the top (seeds too they won’t germinate) into your sink

014

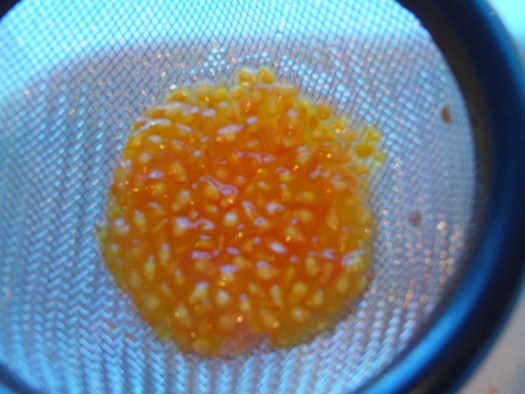
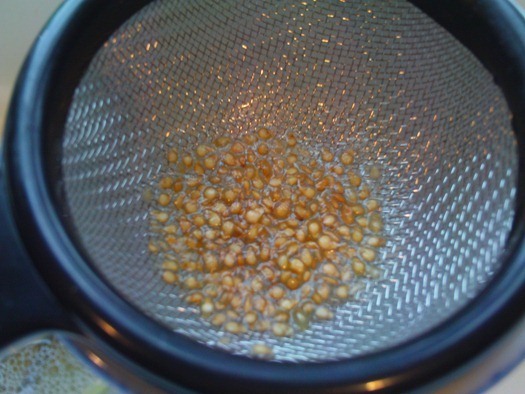
Pour what remains into a strainer and give a quick rinse with water.

016

Repeat the soak and rinse process twice a day and notice the amount of gel decreasing.

017

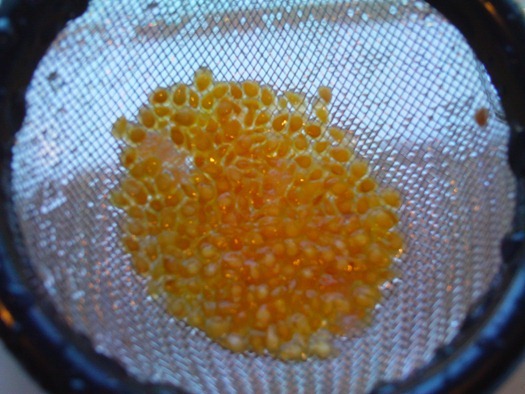
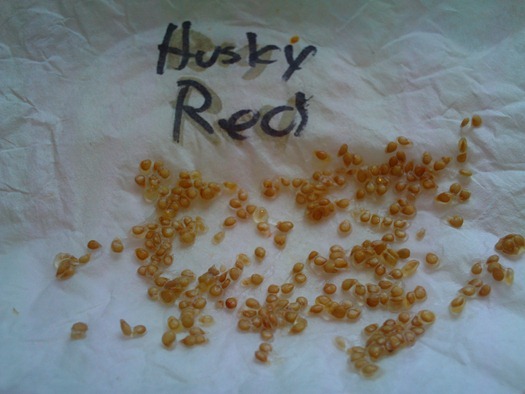
Once the seeds look like the ones below (about 2-2.5 days) they are ready to be dried.

024

Step 3: Drying the seeds.  I do this by spreading the seeds on a labeled coffee filter trying best to keep seeds from touching.  Once they dry (couple days to a week) store them with your other seeds.

026

With very little effort and a few days of waiting you can collect seeds to use/share/trade for next season.

Growing sprouts in a Mason jar

IMG_2186

My daughter was required to do a presentation which included an experiment using plants for school and of course her mother directed her to me.  Given there was not a lot of time until the presentation I suggested that she grows sprouts, given you can go from seeds to a jar full of sprouts in less than a week.

Construction

You really can grow sprouts in almost anything.  We chose a mason jar, though plastic storage containers, trays, or even fabric bags (just drip in water and hang)

The important thing is to provide plenty of airflow, if you don’t your seeds will produce an awful stank that you won’t want in your house let alone eat.  We used a piece of an old pair of leggings, which we stretched over the opening of the jar and applied the mason jar ring….well that’s about it.

How to Grow Sprouts

The process starts with seed selection.  You can grow any seed as a sprout though you may not want to eat them.  Cilantro is a good example it will grow great but the root of a cilantro/yellow mustard sprouts are very potent so use with cooking, not raw.  Some good suggestions are alfalfa, broccoli, buckwheat, cabbage, chickpea, garlic, lentil, oats, yellow mustard, peas, onion, radish, sunflower, fennel, arugula, pink kale, fenugreek, wheat, or wheatgrass.  In our case my daughter wanted to determine how quickly and big seeds grew depending on the initial size, so I gave her a several different types of seeds for her experiment.

IMG_2182

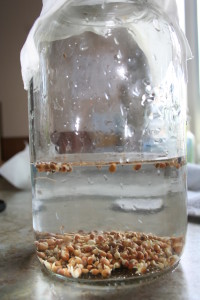
Take about a tablespoon of seeds and soak in room temperature water with a couple drops of liquid fertilizer overnight.

IMG_2189

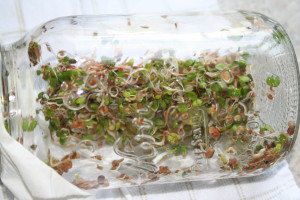
In the morning drain, rinse and let sit out of direct sunlight.  Repeat the drain/rinse process once a day (twice a day if your sprouts begin to smell)  During the first couple days it is advisable to shake and/or roll the jar on its side to allow the seeds to spread out a little.  Doing this simple procedure within about a week you should have a jar full of fresh healthy sprouts.

Why grow sprouts?

IMG_2342

Fun: Great for kids with limited attention spans.  Within a day or two they can see their seeds sprout growing more and more each day.  It is also a great way to keep your sanity during those long winter months.

Cheap: For mere pennies you can grow pounds of greens.

Nutritious: These little sprouts pack a ton of nutrients for their little size.

Easy: The process is pretty fool proof, just rinse with water, set them on your counter, and eat.  What could be easier

How to make strawberries last longer

WP_20130622_007

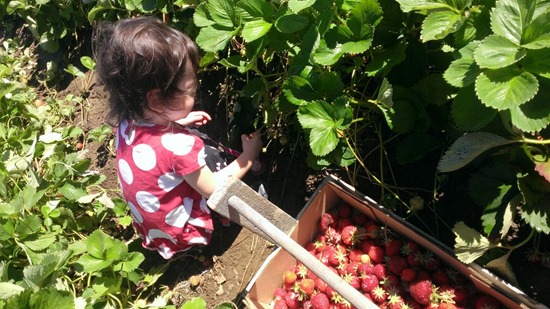
My youngest (2 years old) decided to venture out and too a little strawberry picking this weekend.  It took her a little while (probably a solid pound of berries) to figure out we were supposed to be picking berries and putting them into our flat and not her mouth.  Thirty minutes later and $11.50 paid I left with my full flat (11.5 pounds of berries)

The great about thing picking fresh strawberries is they are ripe and delicious, but the bad thing is you only have a few days before they start to go bad.  Knowing that my little strawberry monster (and her older sister) would not even be able to get through over 11 pounds of berries in 3-4 days so had to start considering preservation methods.

Prevent the strawberries from molding

WP_20130623_011

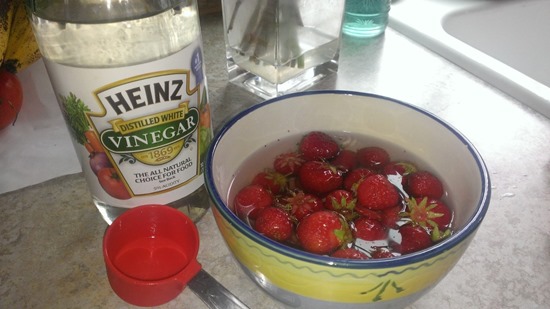
Here is an easy technique to extend the life of your berries by a few days to even a week.  Prepare a solution of 1 part vinegar to 10 parts water (example for pint of berries I prepared above I did 1/8 cup of vinegar and 1.25 cups of water) Add your strawberries and given them a quick spin.  Next you can optionally rinse them (solution is pretty weak so I do not taste any vinegar taste if I don’t rinse) and then place on an open air container.

This technique also works for other berries that may have molding problems and can enable your berries to last about a week or even up to 2 weeks depending on the actual ripeness when they were picked.

Sugar coat them

WP_20130623_015

Though fresh organic strawberries are sweet enough all by themselves but adding about a teaspoon of sugar to a pint of cut strawberries will generate some strawberry syrups which can easily give you a week in the fridge.  This can be a great topping to ice cream, pound cake, angel food cake, or even by themselves topped with a little whipping cream.

Strawberry Jam

WP_20130623_001

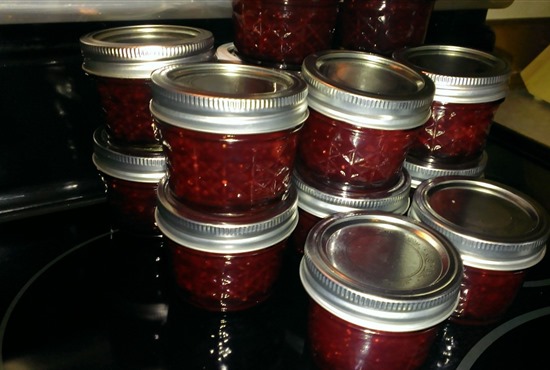
This was the first obvious method of saving some of these delicious berries for next year.  I picked up some new 1/2 cup jars since we typically do not make it through a full cup jar once the 3 week timer starts after cracking the seal.  Also great size for sharing with the neighbors.

The recipe for any type of jam can be found in your box of pectin but I will repeat it here since I personalized some techniques to speed up the process.

Ingredients

  • 5 cups of strawberries (4 cups crushed)
  • 7 cups white sugar
  • 1 package of pectin (I personally prefer the liquid form)

Directions

  1. Wash and cut tops off berries and crush them.  I personally add them to my food processor and given them a little pulse to chop them up.  Be sure not to over do this you want some chunks in there not a smooth puree.
  2. Add berries to large pot or saucepan and heat at medium high and add sugar.
  3. Let berries and sugar come to a rolling boil (when you still bubbles continue)
  4. Add pectin and wait until rolling boil returns and let boil for 1 minute while constantly stirring
  5. Remove from heat and fill cleaned a boiled jars/lids with 1/8 inch gap at the top being careful to remove any jam on the top of the jar.
  6. Once all jars are filled add to large pot filled with water on rolling boil (be sure to account for the displacement that will occur when you add your jars)  The directions say you should have 2-3 inches of water over your jars.  My tallest pot doesn’t allow this even for these 1/2 cup jars but have gotten good seals with 1/2-1 inch of water above in the past.
  7. Let boil for 10 minutes (more if higher altitude but see directions on pectin) and let sit at room temperature.  Check the button on the top to see if you have a good seal.  If one doesn’t stay down, no worries just through it in the refrigerator and that will be the first jar you consume.  Let the remaining sit a room temperature for 24 hours, checking the seal again.

Your jam should be good for up to a year with a solid seal and up to three week refrigerated after opening.

Freezing Strawberries

WP_20130623_006

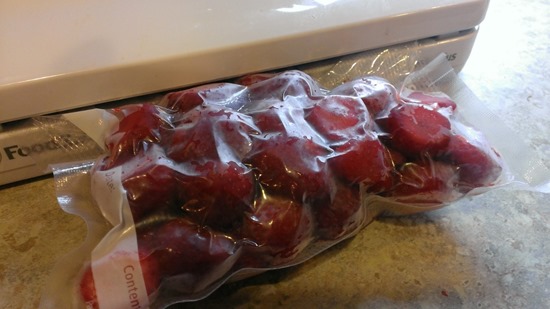
Freezing strawberries is a very easy option for preserving your produce. What I do is wash the berries and remove the tops and split any berries that are significantly larger than the others. Place on a cookie sheet and freeze for 8-12 hours and transfer to freezer bags and remove air with a straw (poor mans vacuum sealer) or use real vacuum sealer like I did below. With this technique the berries should not stick together and all ready to make some shortcake next winter.

WP_20130623_009

Cool way to collect rain water – Rain Drops

image

I came across this great new design and thought I would share.  The inspiration is to provide a cheap way of capturing rainwater for developing countries.  This would be a great way to prevent some water bottles from going into landfills but also a space saving way to capture some rainwater without requiring the large footprint or cost that rain barrel(s) can take up.  No word on these going on sale yet, seems to be in the design stage but great idea.

image[5]

The RainDrops system simply allows people to adapt standard plastic bottles to an existing gutter system to collect rain water. This changes water storage from the most to the least expensive part of the system. These are much easier to clean and replace than larger storage units. The repurposing of these plastic bottles will also give value to many bottles that are otherwise headed for landfills. Corruption in the water sector is a real problem in many developing countries. The scalability of this system helps to give more power to the communities in need.
Another large benefit to using plastic bottles as a water collection system is that it fits in nicely with the process called SODIS, which uses a combination of the suns UV rays and heat to remove pathogenic microorganisms that cause disease. This process is spreading across many developing countries due to its effectiveness and low cost.

How good are the latest gardening tools? Let’s talk

Gardening-Tools

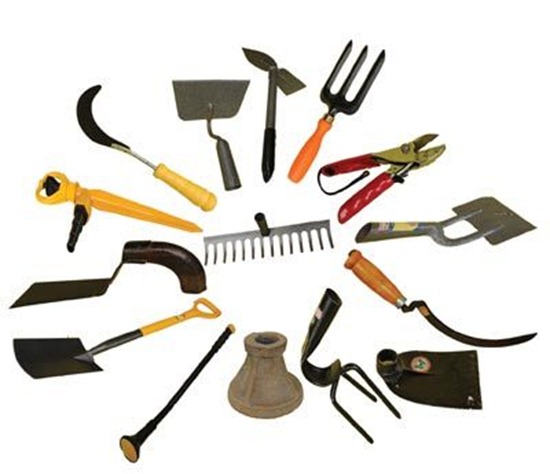
For true garden lovers, taking care of their yard is more than just an everyday task. Hard-working garden owners take pride in their yards, and with the necessary tools in their garage, they find it easier to make their yard look fantastic. Here is a list of the latest gardening tools that help to keep your yard in tiptop shape.

hulahoe

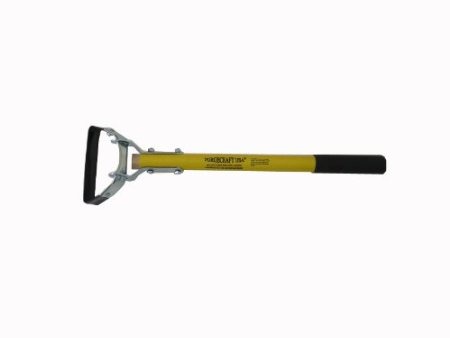
Hula Hoe

Hoes help you to make rows, dig furrows, loosen the soil and kill weeds. This tool is also known as stirrup hoe that makes weeding an easy job. The stirrup hoe is a long-handled tool that makes you work easily without too much bending. Its blade oscillates to and fro like the hips of a hula dancer. This oscillating blade also helps to slice weed roots below the soil surface. Since the blade swivels to and fro it cuts on both pull and push stroke, making it easy to handle in closed spaces between plants and along the edge of flower beds. When the blade starts losing its sharpness you have to replace it with a new one.

shovel

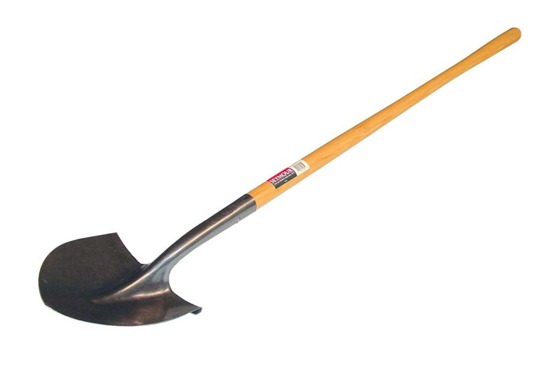
Shovels

A good long-handled shovel is used for mixing large quantities of dirt, compost, soil and other related materials. The long handles of the shovel minimize strain on your back and shoulders. The handle is slightly tilted so that your hand remains in a natural position thereby reducing the pressure on hand and wrist. You can also use the shovel for planting trees and shrubs.

gardenGroom

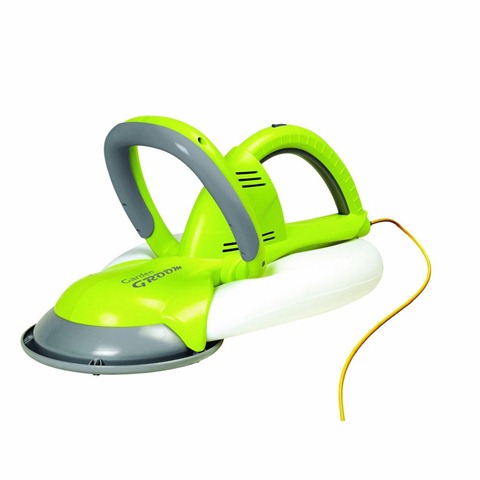
Electric Garden Groom

You no longer need to waste time cleaning up hedge trimmings than trimming them. Garden groom is a wonderful invention that is ergonomically designed to trim your hedge. The groom uses its big rotary blade for trimming and collects all the cuttings in its built-in-cavity bag to keep your yard free from debris. Thus the tool makes disposal easy without requiring you to sweep up afterwards which is the most labor intensive part.

Gas powered three-in-one Push Lawn Mower

Ideal for smaller garden, the compact design is easy to handle in closed spaces and features three-in-one cutting system that includes side discharge option, mulching and a rear bag collection. Simply fold the handle and keep it aside when not in use. Its mulching option returns the essential nutrients back into the soil resulting in a healthier and greener lawn. You can adjust the height of the handle for more comfortable pushing. Overall the Lawn mower is designed to be an user-friendly tool.

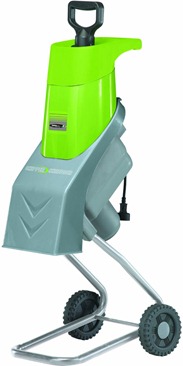
electric_chipper_shredder

Electric chipper or shredder

This machine powered with electricity makes quick work out of leaves, pruned branches and plant debris. Converts your garden’s rubbish into beautiful munch or compost material thus saving your job of reduce, reuse and recycle. Its lightweight design makes you comfortable in moving it around the yard. The machine is also provided with a safety hopper lock that stops the motor from operating when opened. So there are no more smoky fumes in your garden.

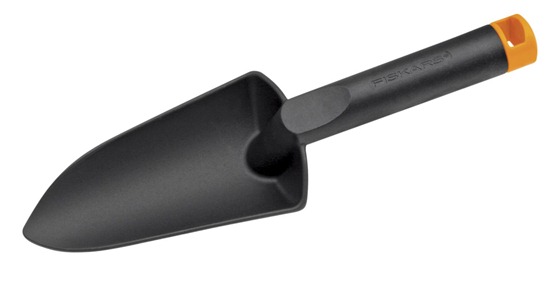
hand_Trowel

Hand Trowel

Trowels are ideal for digging holes in garden beds; planting small annuals, herbs and vegetables; planting container gardens and mixing soil with compost, fertilizer and other potting mixes. Look for the latest one piece design where the handle will always stay firmly with the head as you take it deep into tough soil. The latest versions have an easy-to-grasp handle. Overall it offers a hassle free performance.

Hand Pruners

Hand pruners are of two types: the anvil type with a deep sap groove and the bypass type which functions like scissors. Anvil pruners do not require much of hand pressure and is easy to cut. Bypass pruners functions well in tighter spaces. Both the models can be used to cut branches up to 1 inch in diameter. The sap groove prevents the blade from sticking when used to cut sappy wood. Hand pruners reduce pressure and impact on wrists. If you take proper care then these pruners will last longer.

Bulb Planters

This tool can be used to make a perfect hole for planting bulbs and other bedding plants. Its long handle saves your back and makes planting easy. For easy operation, simply moisten the soil before planting. Take the planter to the position where the bulb has to be placed and twist the tool to dig hole to the desired depth, then take out the tool from the hole. Now all you need to do is simply drop in seeds or bulbs without straining your back.

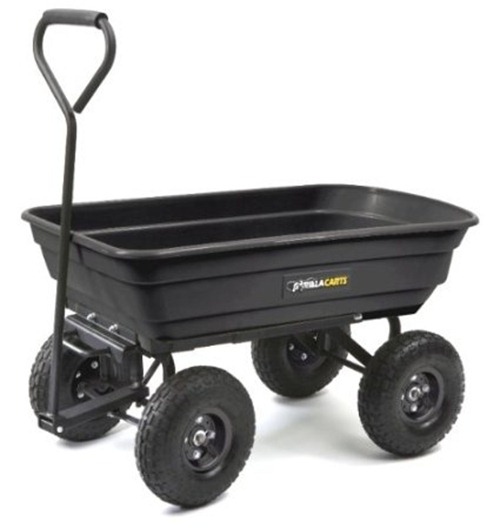
garden cart

Wheel barrow/ Garden cart

These carts are not only used to transport heavy and bulky materials such as soil, garden debris, plants and compost but also to carry concrete mixing containers. Its light weight makes lifting and managing extremely easy. The latest carts have cushioned loop handle for comfort and powder coated steel frame for extra durability.

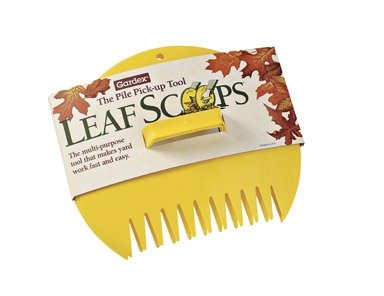
poly leaf scoop

Poly Leaf Scoops

Poly leaf scoops can be used to pick up leaves, thorny or poisonous plant trimmings, pine needles, weeds and gum balls without harming your hands. It is also used for bedding mulch and peat moss. Poly leaf scoops are ideal for all seasons.

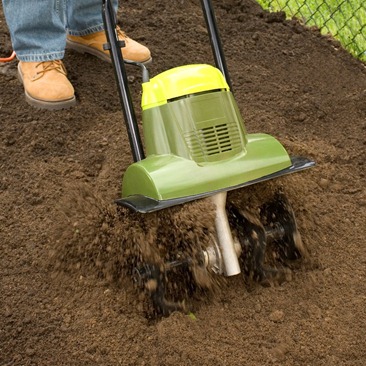
electric cultivator

Electric Garden Cultivator/Tiller

Cultivators are generally used to open up and aerate the soil. The tines of this tool help in mixing of materials and loosening weed roots. If you have smaller rocks on your garden soil, no worry, the tiller kicks them out of the soil and to the top where they can be easily removed. Because of its light weight it digs very well without requiring much of man handling or intense arm and back workouts. The only thing you have to do is remove the tines after each use and clean them, which is quite an easy job.

Visit your favorite store and grab these latest tools to make gardening even more enjoyable.

About The Author: Alia is a writer blogger. She loves writing, travelling and reading books. She contributes to Joshia Pastore

IKE