Computer controlled grow box – Part 2
14.6 years ago indoor growbox, water

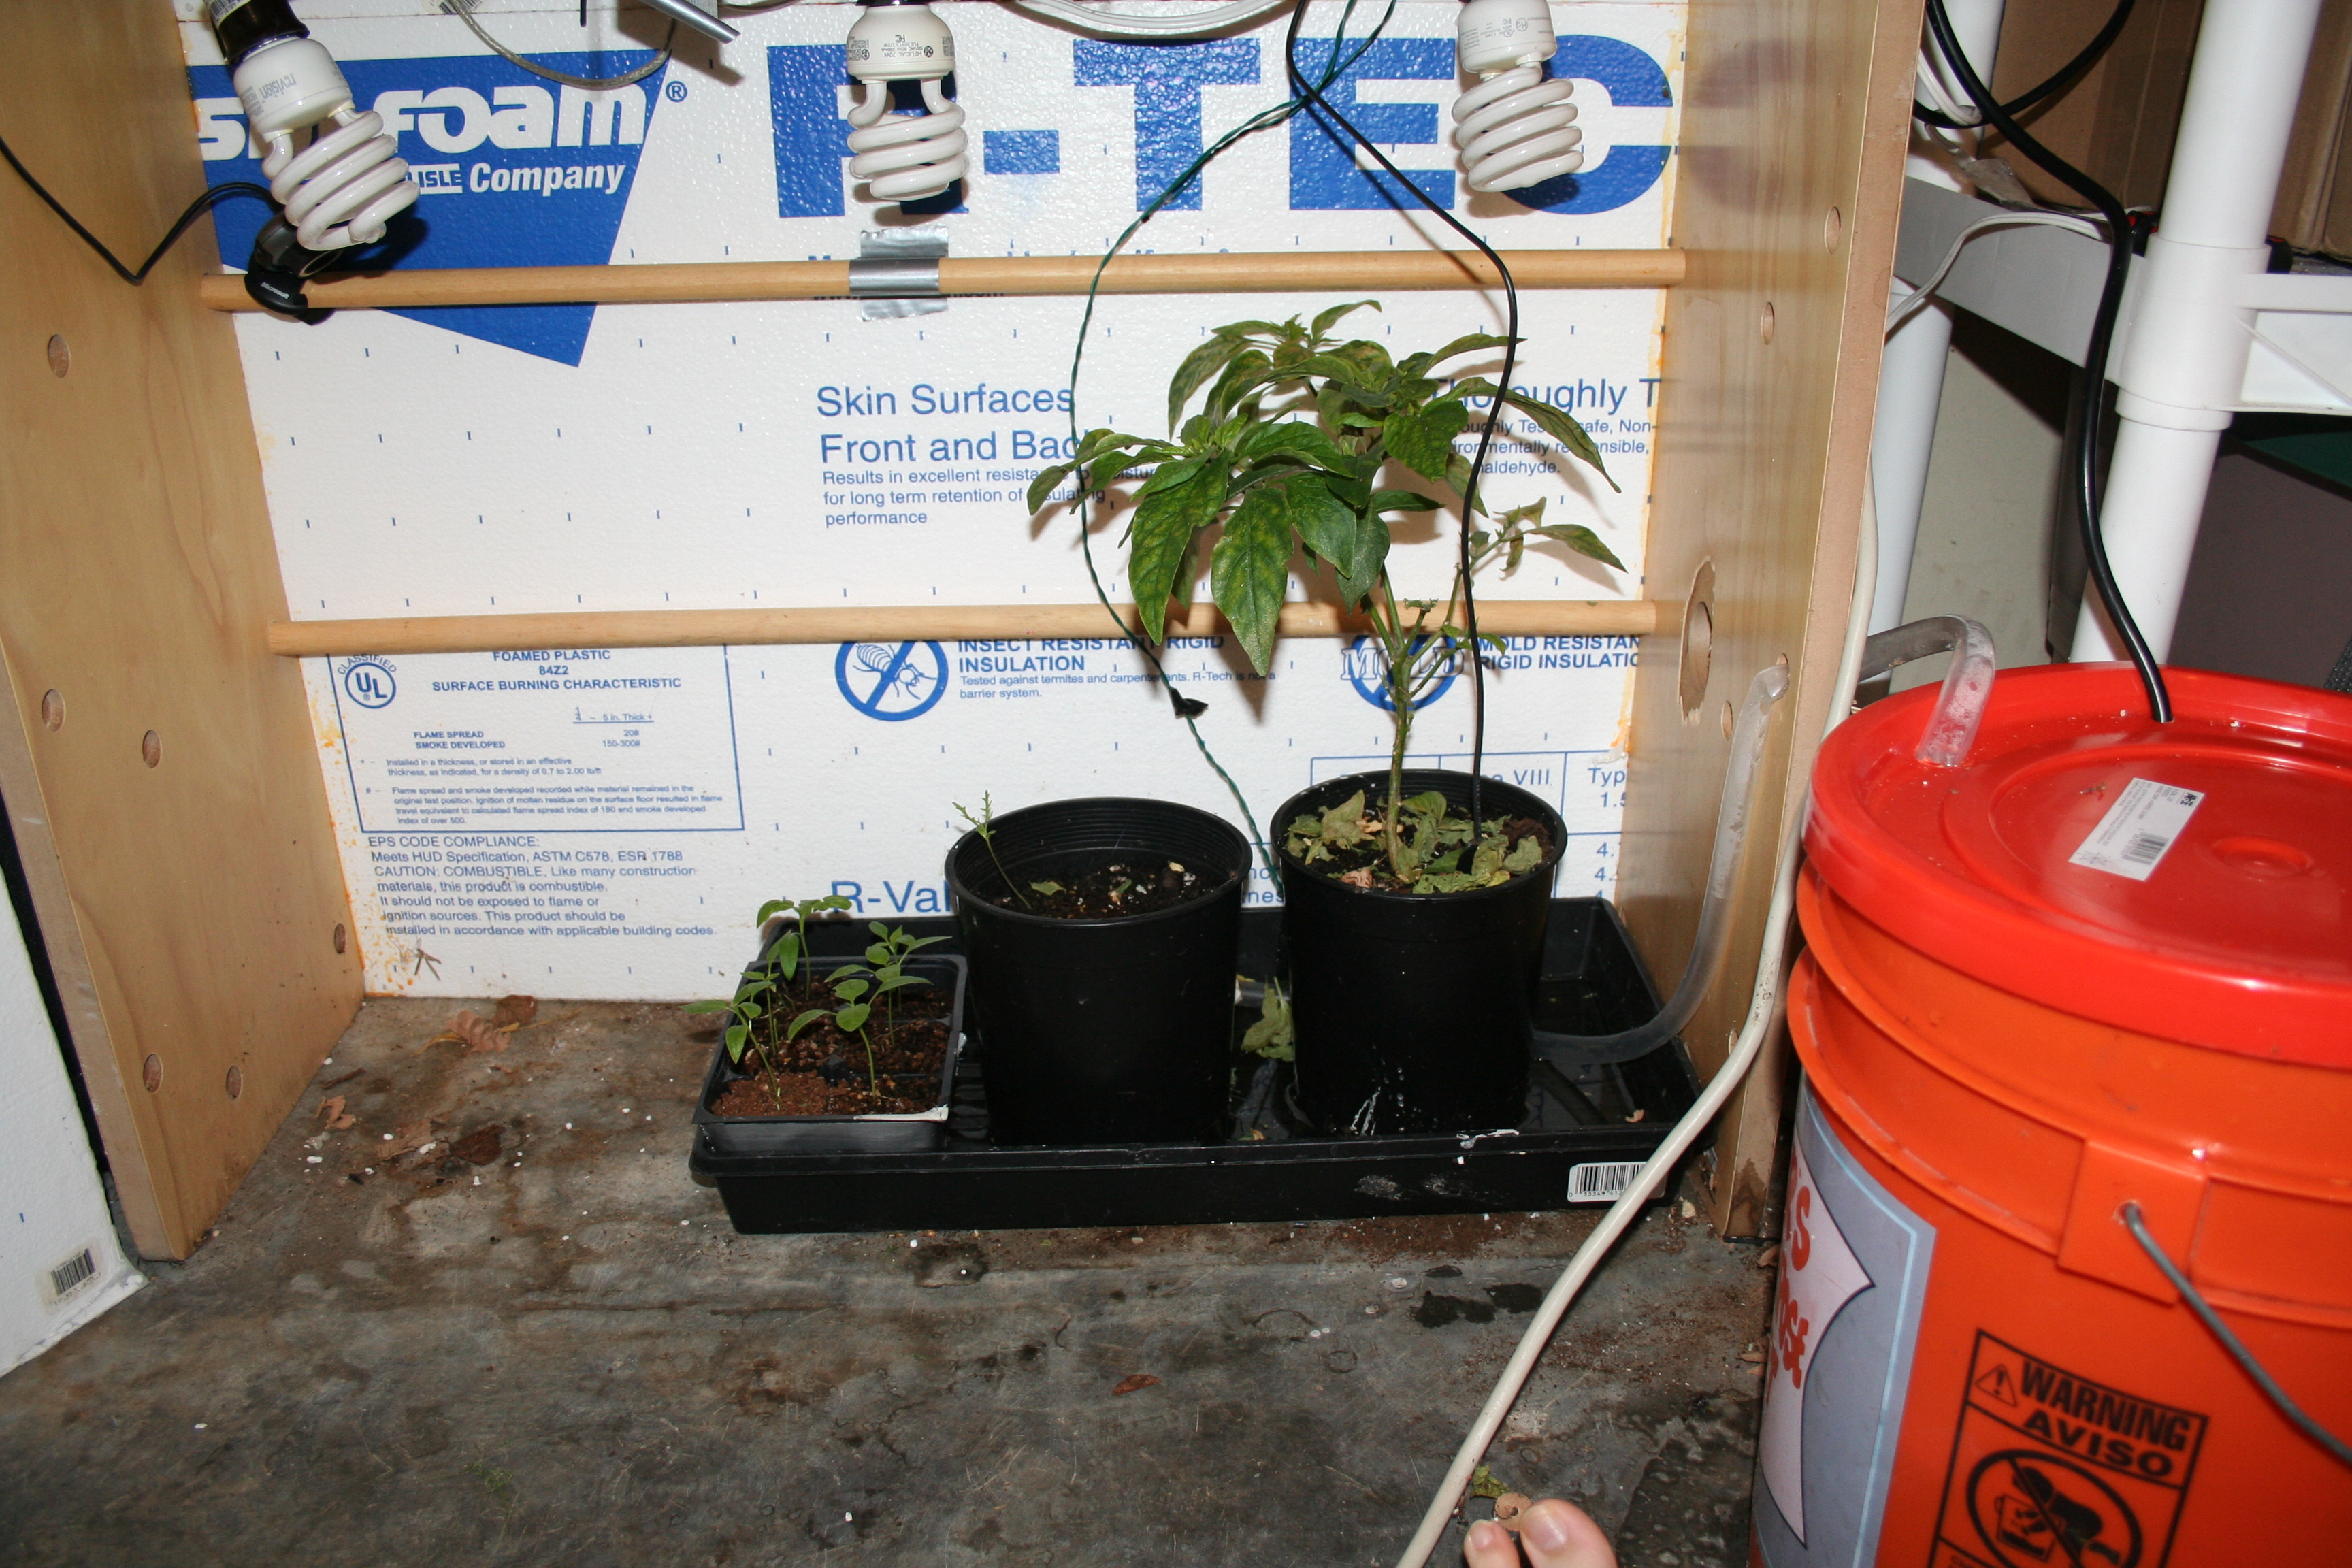
Though I have made some significant changes to the grow box controller, the actual grow box has undergone some minor but important changes over the past few months.
Automated watering
Now I must say this one is pretty darn simple. Though I will be planning on a slightly more complicated hydroponic setup later I decided to start with a very easy bottom watering technique. Just take a regular old fountain pump (I went with the cheapest I could find) drop it in a 5 gallon bucket of water and attach a hose long enough to reach your planting tray and plug in the power to the pump to your grow box controller and that’s about it.

To prevent evaporation and algae and little bugs making a home in my nice bucket of water, I added a lid with two holes for the water output and power input. The power input required me to make a straight cut with a utility knife to ensure a snug fit while not requiring me to cur the AC line to feed the wire through.

I also cut a hole of the same size as the water output on the bucket lid to the grow box to allow the line to enter while still keeping the box closed.
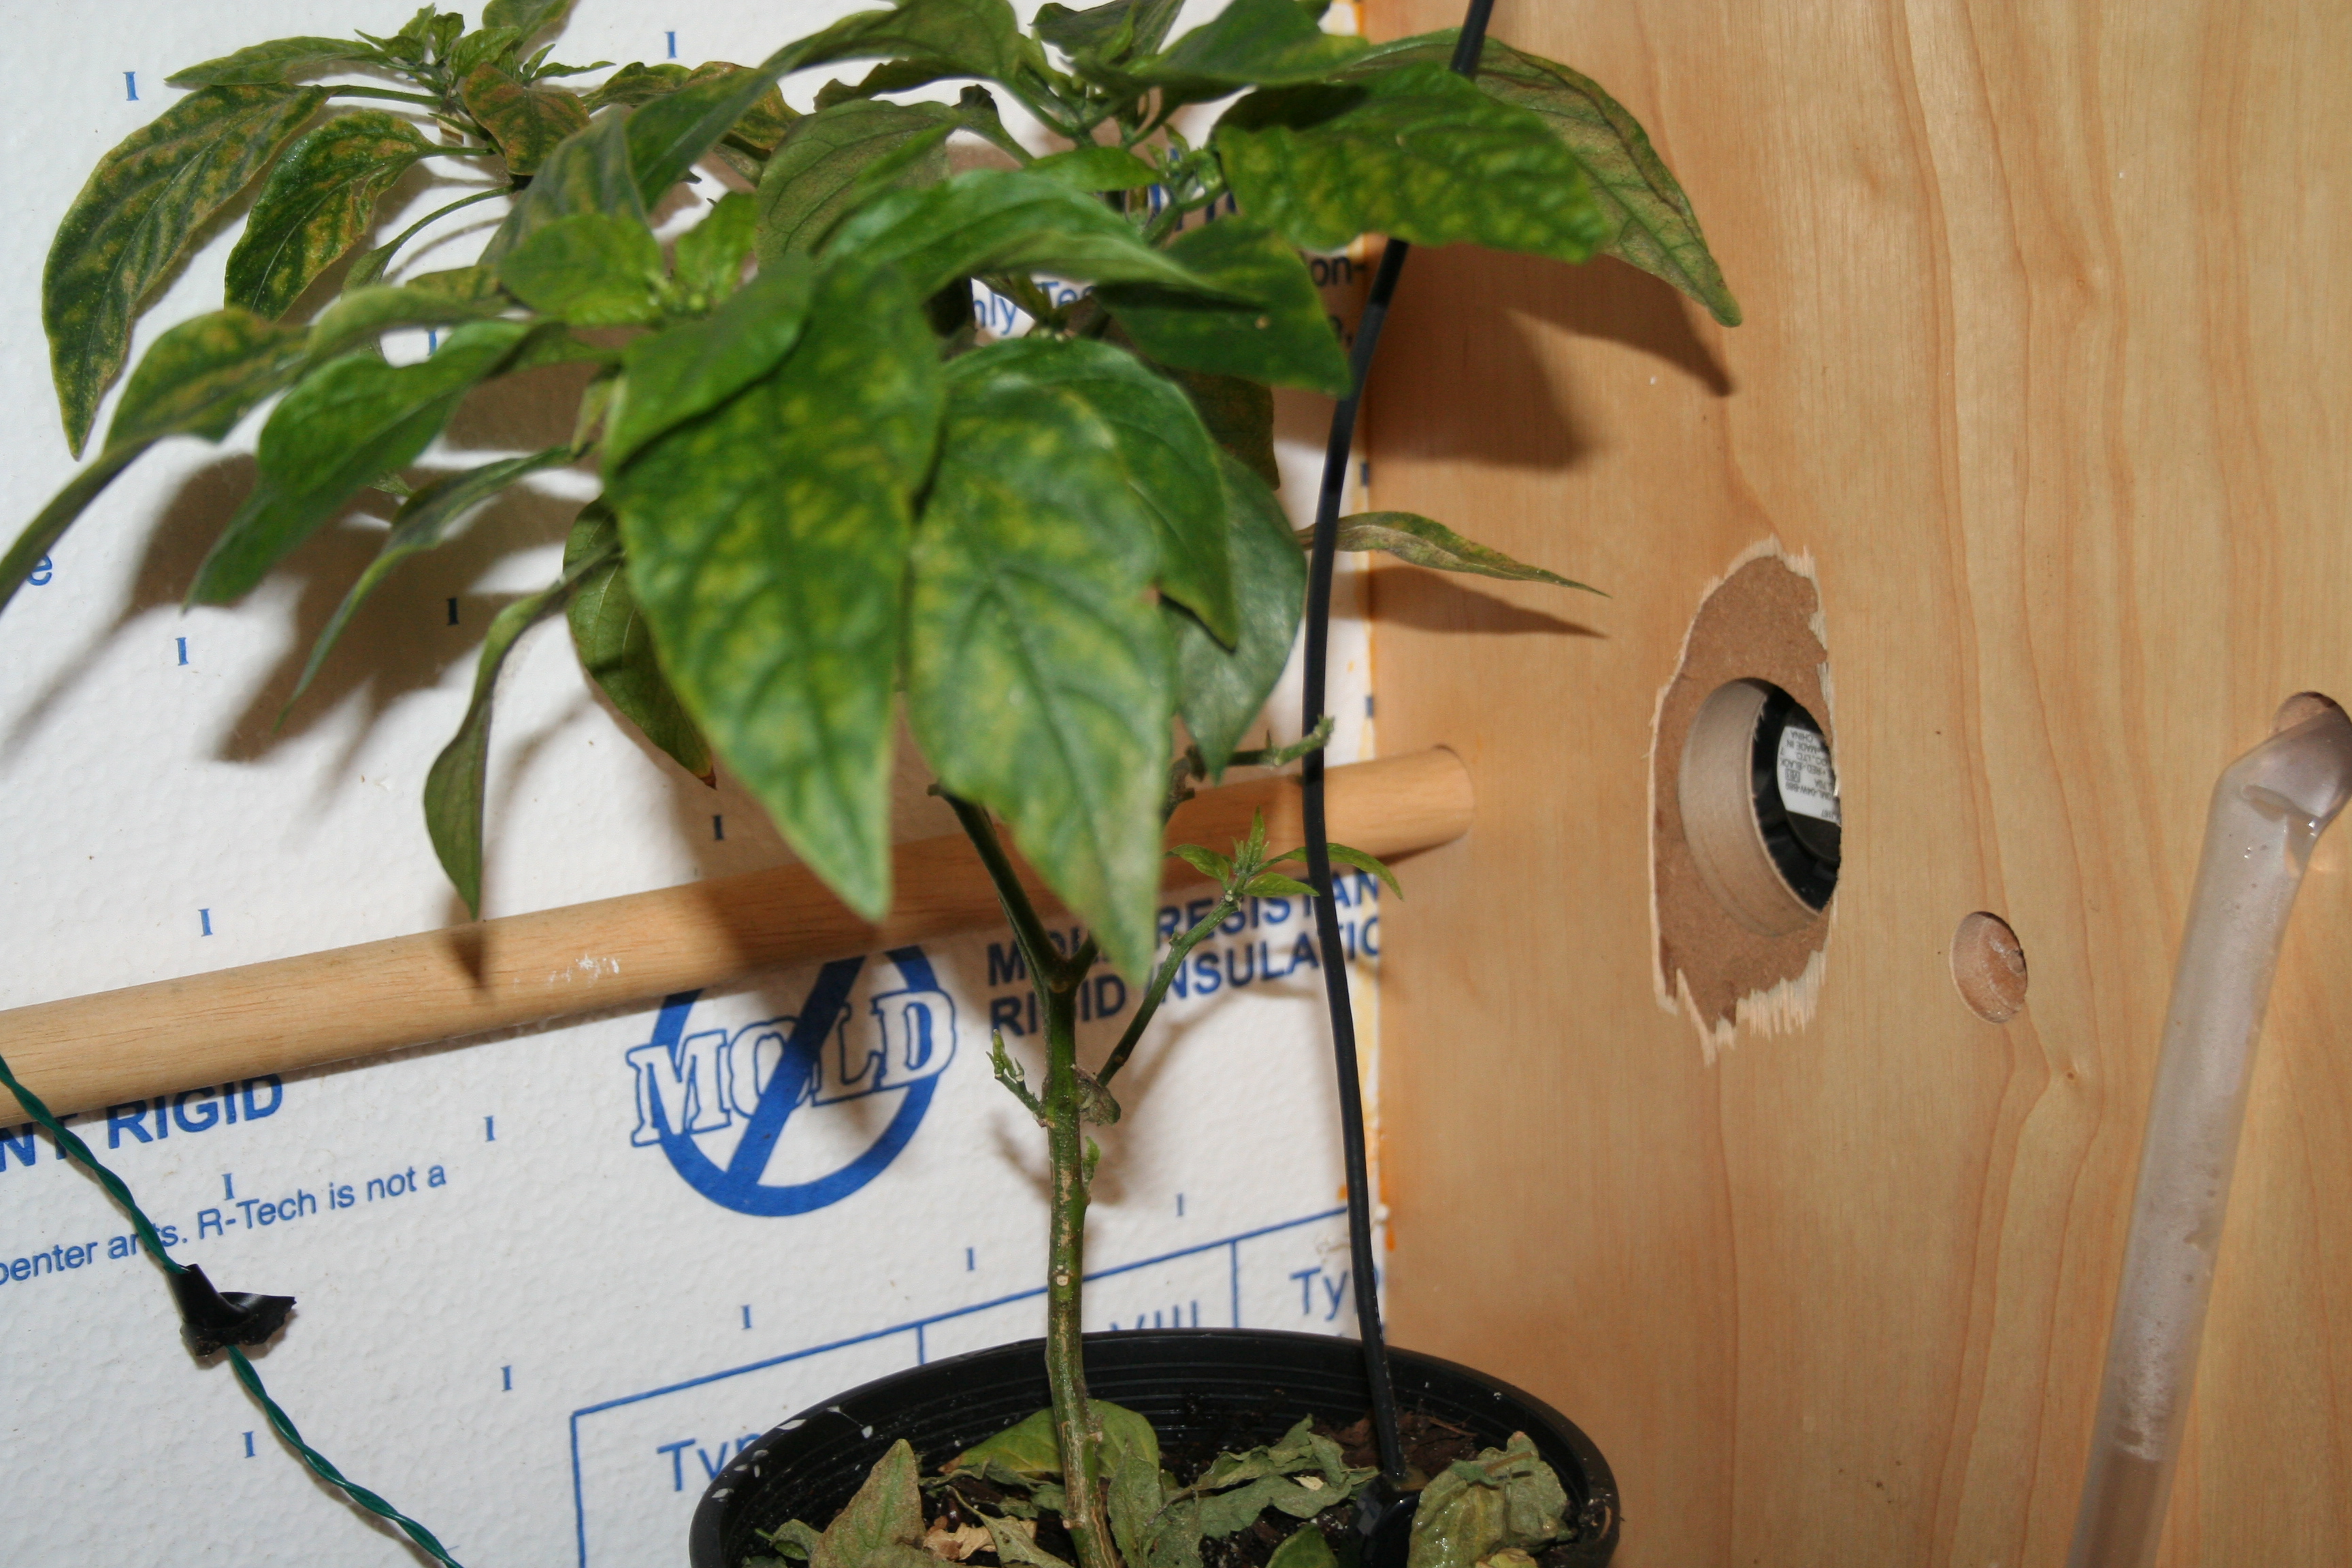
Exhaust fan control

Air circulation is important for plants to be healthy but when the box gets warmer than expected I installed two controlled CPU fans to help regulate temperate as well as one static fan that constantly pushes air from the top to bottom.
I added a 12 volt exhaust fan to the top of the box (pictured above) to help push hot air out of the grow box with another (pictured below) at the lower part of the grow box to push in cold air as needed. Both of these fans are powered by a 12 volt power wall adapter plugged into the grow box controller.
Heating
Though the computer and lights allow the box to create a comfortable internal temperature, sometimes it needs a little help. For this I installed a regular old seedling heater to hopefully take a little sting out of the cold floor the seed tray is sitting one. Like other components this was simply plugged into the grow box controller.
Putting it all together
My previous version was a little sloppily put together with duct/packing tape (lets just call it prototyping). Though this added some hackiness appear it wasn’t too functional so I added a little strip of wood to support a couple hinges which I created a top which holds the LCD panel.

Upon opening the top you can see the grow box controller and the state of the art 600 MHz PC in all their glory.
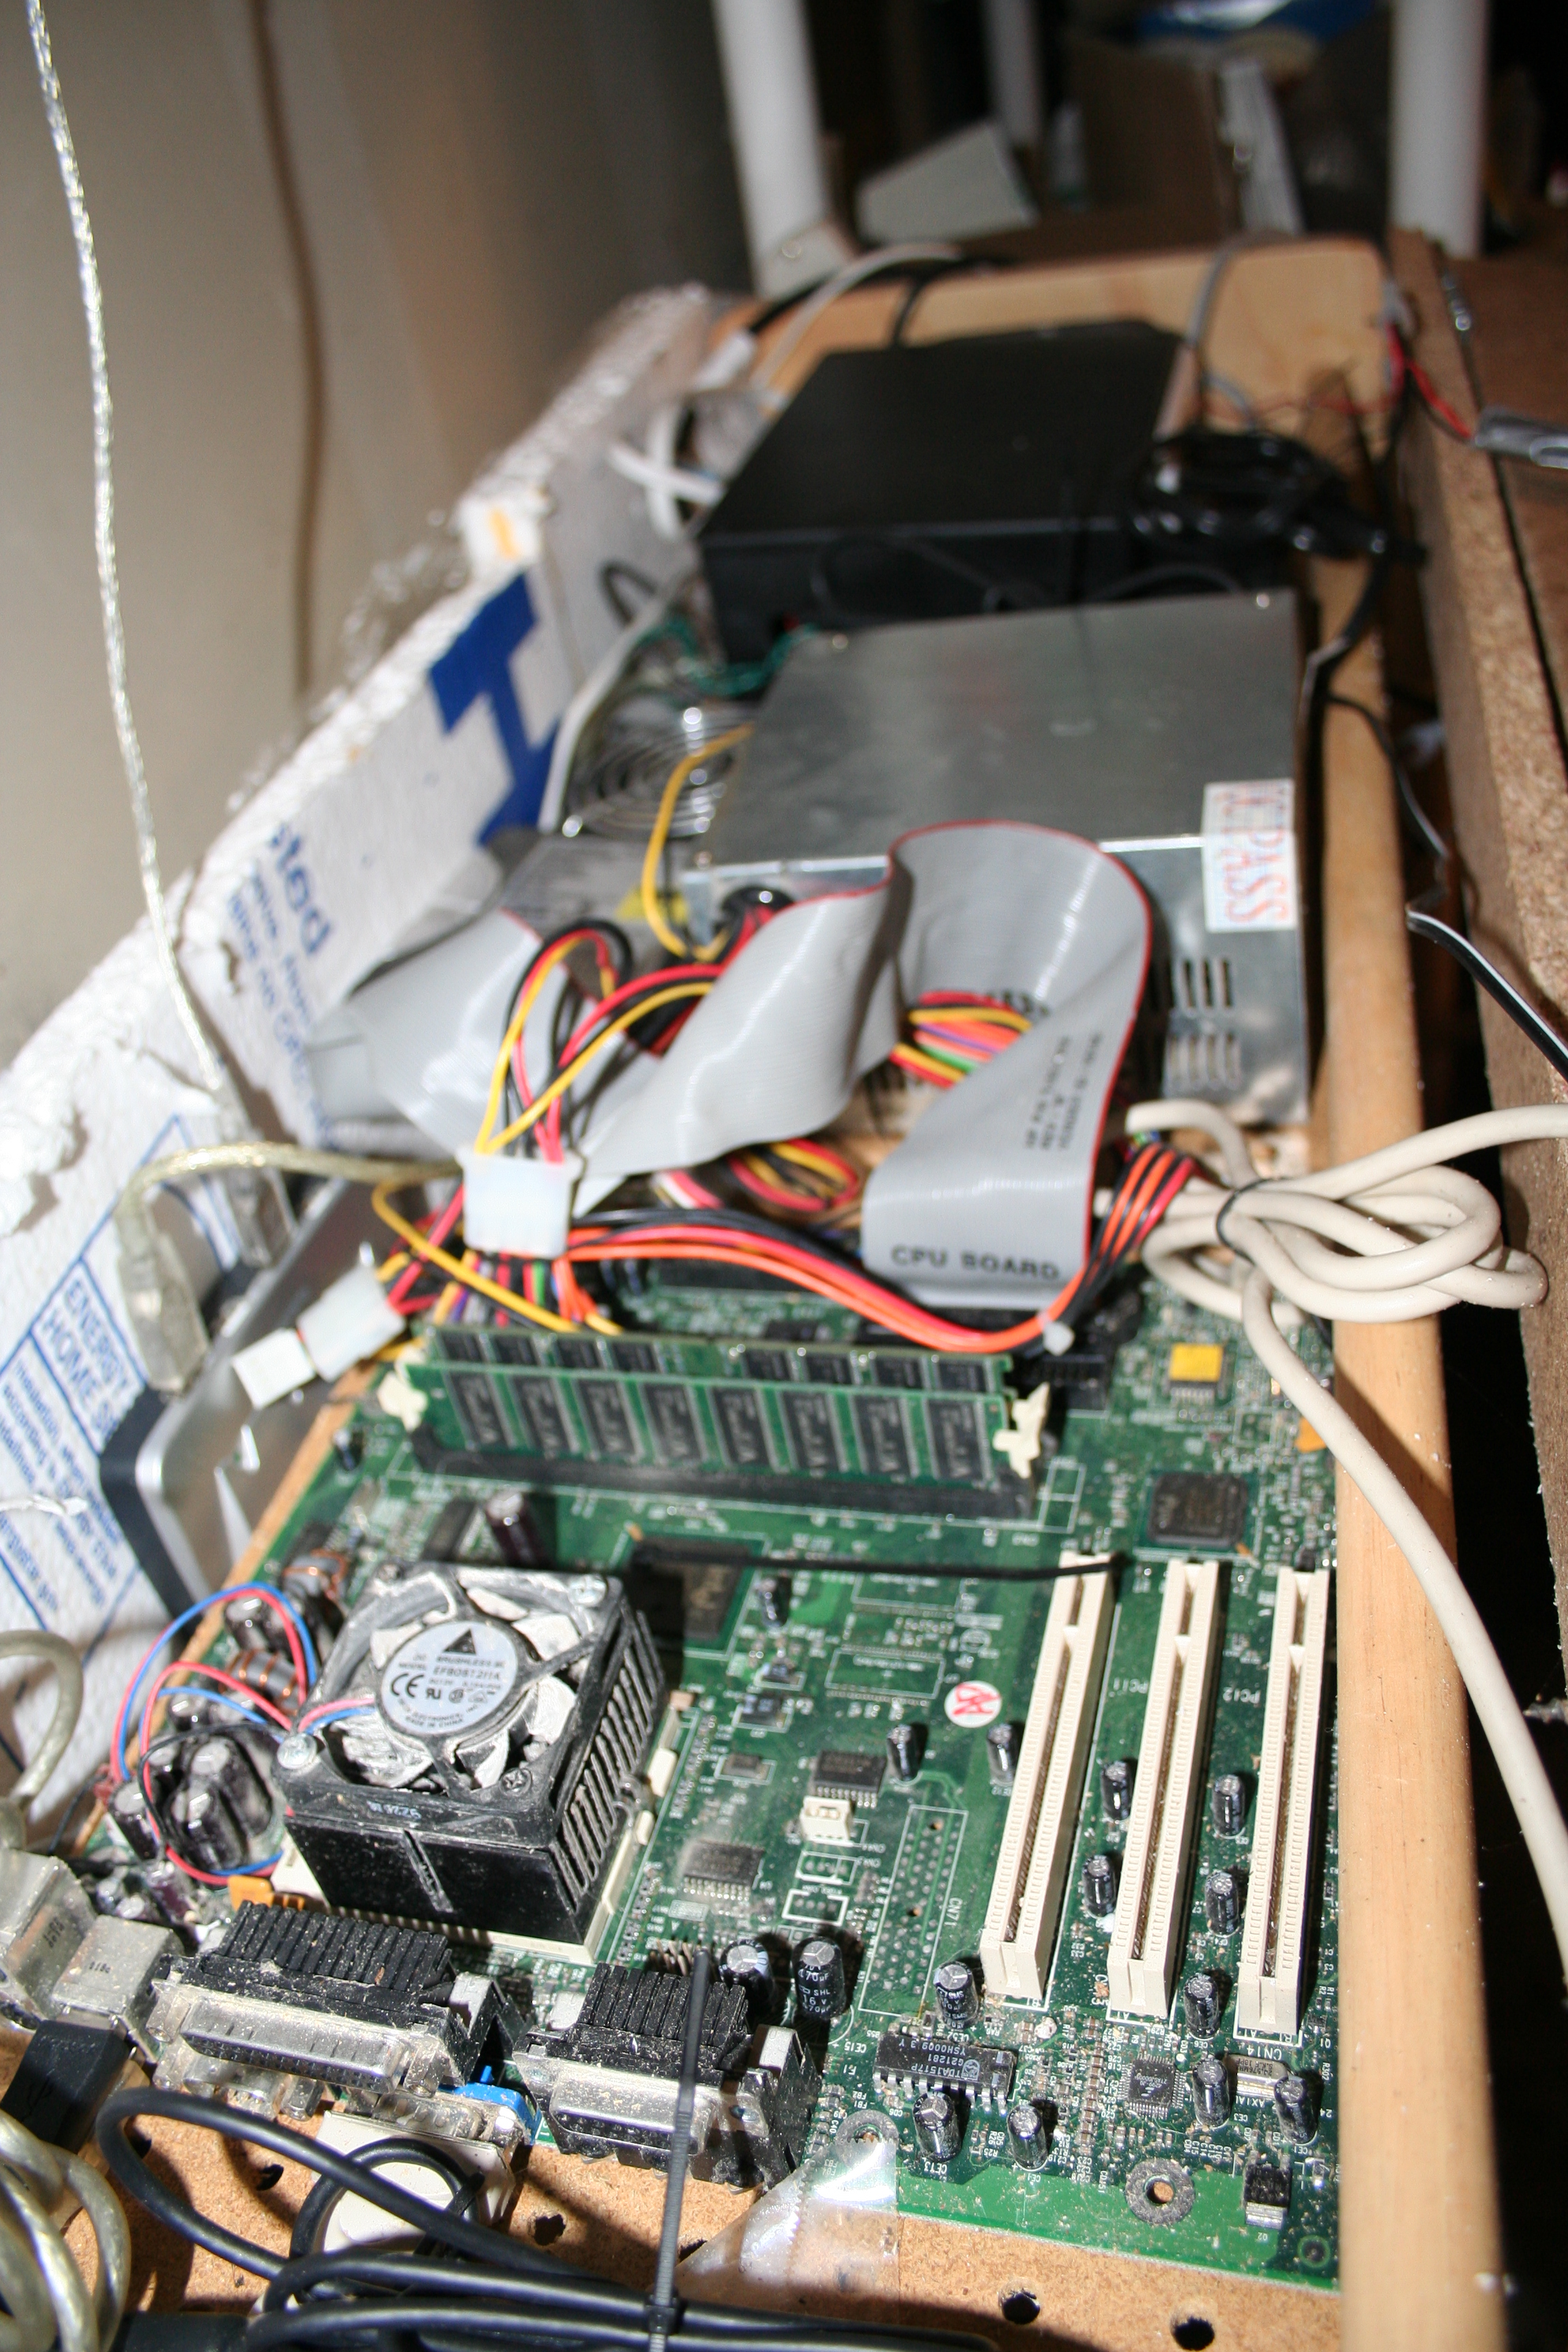
As you can see I have still have some cleaning up to do with compress air and maybe a few more zip ties but all in all everything seems to have come together nicely.
Tags: cheap, garden seeds, grow lights, growbox, led, outdoor plants, vegetables
Water your plants with authority
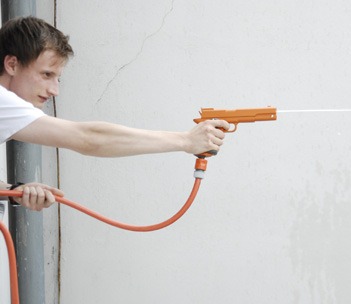
This is only a concept, but I am surprised SuperSoaker has not already released something similar. Now a gun shaped water nozzle is definitely not necessary or possibly even safe in some neighborhoods but sure to make you more manly while watering your pansies.
Tags: outdoor plants
How to make a cheap soil moisture sensor
15.2 years ago cheap, electronics, water

Soil sensors can be pretty expensive to purchase but a few minutes and a few cents worth materials around your house you can make your own accurate cheap soil moisture sensor.
UPDATE: Though this still a great sensor, check this post for the latest version of a more heavy duty soil moisture sensor.
I mentioned in a previous post that my previous soil moisture sensor did not hold up in my automated grow box update, so I needed to make a new one. After a little research there was the classic science class method of creating a homemade sensor by simply putting two galvanized nails in the soil and measuring the resistance between them. A major problem with this solution is the soil composition can significantly vary the resistance and keeping the spacing between the nails could be troublesome.
After a little more research I came across the method that has been working well for over 50 years. This method includes taking two metal probes and inserting them into a gypsum block and measuring the resistance between them. The gypsum absorbs the water and provides a decent range of resistance and moisture measurement.
Unfortunately I was fresh out of gypsum (sort of), so I looked around the garage and found a good substitute, Plaster of Paris. Plaster of Paris is created by heating gypsum to around 150 degrees where it becomes calcium sulfate hemihydrate. After adding water and allowing to dry it magically turns back into gypsum with the added bonus it also has the ability to mold to any shape I could come up with . On to construction…..
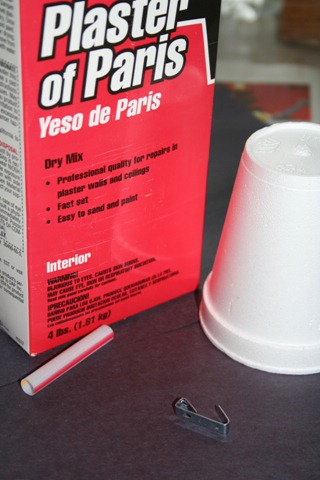
Materials for cheap soil moisture sensor:
- 1 tsp Plaster of Paris
- 1/2 tsp cold water
- Disposable cup for mixing
- wide straw (I used one from McDonalds, but most fast food straws should work)
- 2 small pieces of metal (I used wall hangers, but nails, paper clips, etc will work as long as they can fit inside the straw with room for plaster to form around)
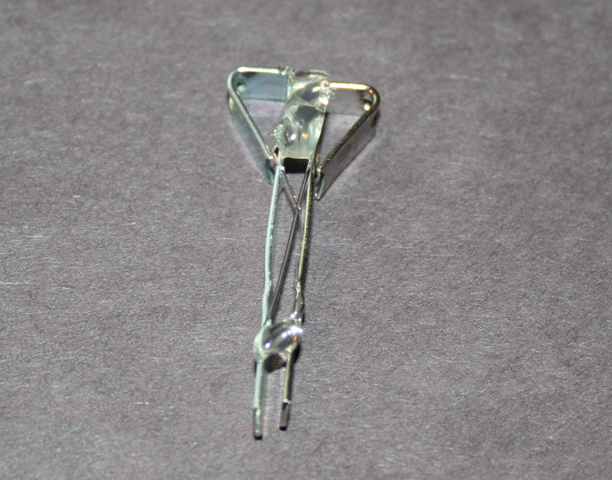
I straightened out one end of both wall hangers the best I could with some needle nose pliers. I then carefully positioned them approximated 15mm apart, the exact measurement is less important though if you are creating multiple sensors I would recommend making them the same gap to ensure consistency of measurements without having to individually calibrating each sensor. I then used some hot glue (insulator) liberally at the top and at the bottom just enough to keep it in place during while pouring the plaster and while the mold solidifies.
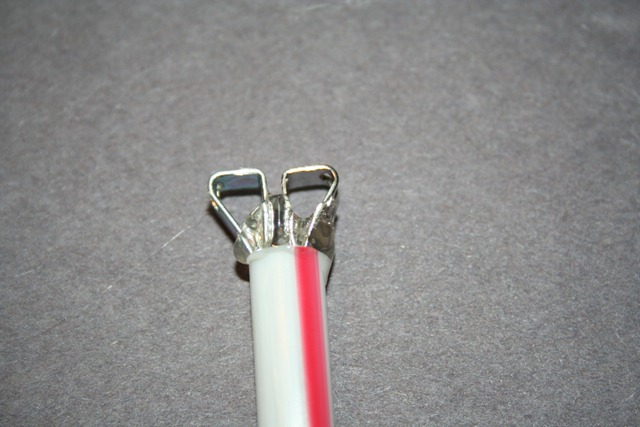
Now insert your secured metal probes into the straw, ensuring that both metal probes are equal distant from the sides of the straw. The great thing about the wall hangers is they do this automatically due to their wedge shape at the top. Once you have them centered apply gobs of glue to keep the probe in place but also to seal any gaps between the straw and the bottom of the straw. This needs to be water tight since this will be the bottom our your mold.

Prepare the Plaster of Paris according to the instructions on the box. On my box it said 2 parts mix to 1 part colder water. Given the small size of the mold 1 tsp of mix and 1/2 tsp of water which gave you more than enough to make one sensor. I used a bamboo skewer to stir since I would have gotten in trouble for trying to use our new silverware.
Now it is time to pour your mold, depending on how steady your hands are you should be able to pour the plaster right into the top of the straw. Fill about 1/4 of the length then tap the probe gently to help the plaster settle between the gaps. Repeat the previous step until the straw is full. If you have problems pouring you can also dip the skewer into the plaster and scrape it against the top edge of the straw. This step is optionally but I wanted to give my sensor a little point so I carefully added plaster beyond the end of the straw to provide a sharp point. Once you are done filling the straw, use your glue gun to secure the probe onto the paper you are working on and allow at least 1 hour to set.
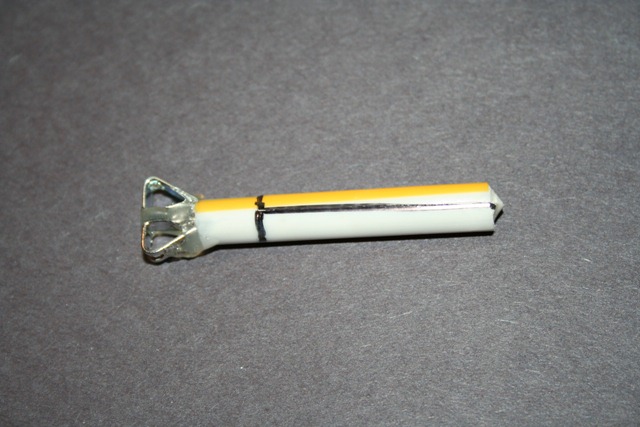
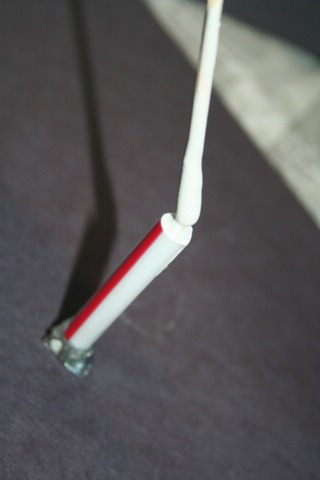
After about an hour you can remove the bottom part of the probe. Do this by carefully cutting around the diameter of the bottom 3/4 of the straw, along with a lengthwise cut as shown in the lines marked above using a utility knife. You must be very careful in your cutting going too deep can result in cracking the plaster and you need to start all over.
Allow the plaster to dry for 24 hours and it should be ready for testing. With my probe it is essentially an insulator dry (beyond what my ohmmeter can measure) and a reading of 957 ohms when slightly damp which was a great range for measuring moisture level in my computerized grow box.

Finally, I attached attach wires to my analog measuring device (in my case a PS2 Controller) and I started getting readings. At this point you should calibrate the sensor by getting a reading with the probe dry then again when it is full saturated in water. Ironically, the probe I made was almost exactly specifications as the one I re-purposed from a cheap commercial soil moisture sensor so I didn’t even have to modify the constants on the automated computerized grow box software.
Given you can make hundreds of these things with a regular sized box of Plaster of Paris, box of paper clips and a few trips to your favorite fast food restaurant. The cost of each of these things would be pennies and given the cost of buying a commercial product seems like a very economical alternative.
Tags: cheap, growbox, vegetables
Cool way to collect rain water – Rain Drops
15.3 years ago cheap, harvest, water

I came across this great new design and thought I would share. The inspiration is to provide a cheap way of capturing rainwater for developing countries. This would be a great way to prevent some water bottles from going into landfills but also a space saving way to capture some rainwater without requiring the large footprint or cost that rain barrel(s) can take up. No word on these going on sale yet, seems to be in the design stage but great idea.
![image[5]](http://www.cheapvegetablegardener.com/wp-content/uploads/2009/02/image5.png)
“The RainDrops system simply allows people to adapt standard plastic bottles to an existing gutter system to collect rain water. This changes water storage from the most to the least expensive part of the system. These are much easier to clean and replace than larger storage units. The repurposing of these plastic bottles will also give value to many bottles that are otherwise headed for landfills. Corruption in the water sector is a real problem in many developing countries. The scalability of this system helps to give more power to the communities in need.
Another large benefit to using plastic bottles as a water collection system is that it fits in nicely with the process called SODIS, which uses a combination of the suns UV rays and heat to remove pathogenic microorganisms that cause disease. This process is spreading across many developing countries due to its effectiveness and low cost. “
Hydroponics 101 “ Introduction to Hydroponics
15.3 years ago aeroponics, hydroponics, indoor seed starting, water
By definition hydroponics is a technique of growing plants (without soil) with water containing dissolved nutrients. No soil is used but in most cases a growing medium is used to support the plant’s root system. A few examples of popular mediums are perlite, vermiculite, Rockwool, coconut coir, clay pellets, peat moss, sand, and even small pebbles. The basic idea behind the medium is to allow water to flow but also allow oxygen to be available to the roots. Even if you are not planning on growing hydroponically, I would definitely recommend learning some about the subject since many of the concepts can help you get a different perspective to have a better understanding about plants needs in various states of growth even with conventional soil growing. If you really think about it if you have ever added water soluble plant food while watering your indoors plants, you technically have already done some hydroponic gardening.
Advantages:
The primary advantage if hydroponics is the increased speed of growth in you plants. This is possible because you are making life really easy for your plants, they just relax and just keep getting bigger. Even with a small root system they are getting exactly what they need to thrive thus spending more energy upstairs instead of expanding their root system. This is possible by careful control of nutrients in the water solution which the plant is completely dependent since the growing medium does not provide any nutritional support. Another benefit is automation, though some work is required to monitor nutrient levels and pH of the solution once everything is setup you can walk away knowing that your plants will be happy. Given the in most cases the systems are basically closed very little water is lost to evaporation so that means less wasted water (and less times you have to add water)
Disadvantages:
To create a large scale setup, there can be a significant cost to get started in hydroponics. Purchasing water/air pumps various nutrient solutions during various growth stages, monitoring equipment, pH balancing, etc. No worries though, there is a cheap solution to all of this which is my current project which I will write on shortly. When automation fails, a simple pump failure can kill off your plants in hours depending in your medium since they plants require short and frequent watering since they have no way of maintaining the moisture over a long period of time.
How it works:
The great thing about hydroponics is essentially anything that holds water can be used to create a hydroponic system. Even commercial solutions use your regular old Rubbermaid storage totes and 5 gallon buckets. The uniqueness begins with the method in which you get the solution to your plants which I will explain some of the popular methods in detail below:
- Wicking — This is one of the simplest and cheapest methods of hydroponics. The basic concept is you take a material such as cotton (shredded sock/T-shirt) and surround it with growing medium and place one end in the nutrient solution. This is where the name implies, the solution is wicked to the roots of the plant. You can make this even simpler by using a medium that has some wicking properties itself (perlite/vermiculite are good examples) and suspend the medium directly in the solution. Mediums such as peat moss, Rockwool, and coconut coir should not be placed directly in the solution since they may absorb too much solution and suffocate the plant.
- Bubbler — This is also a simple and inexpensive solution where you suspend the roots directly in the nutrient solution and by leveraging a powerful air pump and air stone you create enough oxygen around the roots to prevent suffocation. This can also work as flavor of aeroponics (which I will explain more below) where the force of the rising bubbles create a light spray to keep the roots moist which are suspended in air. One benefit of this method is limited points of failure air pumps are normally pretty reliable and even if you neglect keeping your solution up the bubbling can create enough moisture to keep your plant alive for quite awhile.
- Ebb and Flow — A simpler way of thinking about this is flood and drain, using a water pump at a specified interval you flood the growing area with nutrient solution allowing it to slowly drain back into the reservoir. You then repeat this process keeping the roots/medium at the desired wetness. This method is a little more expensive than the previous methods since it requires a pump and timer that can turn off/on several times a day at short intervals. Just to give you an idea how to build a system like this, find a Rubbermaid tub with a pretty deep lid. Flip the lid over and place a small hole in the bottom (idea it will drain but slower than pump can fill) add some plants with medium, hook up a timer and you have a system. A major advantage to this method is that it gives you more control over the watering which can be very important especially if you are growing plants that are accustomed to slight drying out periods.
- Drip — This method uses a timer (slow constant drip is also an option) and a water pump to provide nutrient solution to all of your plants using rubber tubing. This does have an advantage over Ebb Flow were you can control specific watering needs of plants at different stage and the ability to spread out your plants with a little extra tubing.
- Aeroponics — Aeroponics is the process of growing plants in an air or mist environment without the use of soil or an aggregate medium. Now there are some schools of thought one what exactly is considered a “mist” which separates aeroponics from “pure aeroponics” but for this discussion we will define it as directly watering roots just hanging in the air. If you have heard of the AeroGarden
this is a commercialized version of this technique, so this can definitely be an easy means of entry into aeroponics. There are two typical ways to get nutrients to the exposed roots: fog and spray nozzles both of which providing a fine mist to the tender roots. Both of these methods due have some drawbacks though. Ultrasonic foggers can accumulate sediments from the nutrient solution on their discs but can be periodically cleaned and occasionally need replacement of their ceramic/Teflon discs. Nussle on the other hand can get clogged due to the same sediments so though these methods are close to “Set it and forget it” you do need to check on them periodically for maintenance. Though these techniques sound really complicated and expensive they really are not too bad. You can use Pond Foggers which run $10-100+ depending on the number of discs they hold which directly to the volume of fog they will produce. If you are doing a small experimental setup a one disc is a good place to start. If you do go the larger setup route I definitely would advise spending a little extra for Teflon coded discs since they will hold up considerable better to the nutrient solution. As for sprayers most of the materials for this can be found in the sprinkler aisle of you local Home Depot. You can also create your own by drilling some small holes into a sealed (one open end for water input) PVC tubing, though cleaning a setup like this could be troublesome.
Hydroponics is obviously much different than conventional soil growing, but it definitely can be fun and rewarding to grow effectively in an unconventional way.
Tags: cheap, led, outdoor plants
Another way for your plants to talk to you
15.4 years ago electronics, water

If the Botanicalls DIY Plant Twitter Kit is out of your technical expertise (or just too ashamed to have your plants tell on you) There is another product out there called Thirsty Light which you place in your plants and when the light blinks when you have neglected your watering duties. At only $10 this is not a bad investment for gardening nerds like me. You also have the option of pulling it out and checking the moisture in all of your plants to see who else you have neglected.
Tags: cheap, led, outdoor plants, vegetables


