Growing peppers at high latitudes
15.1 years ago hydroponics, indoor growbox, peppers
Here in the Seattle area we are, as you say, latitudelly challenged. We are fortunately to have the Pacific Ocean to give us mild winters and summers though our distance from the equator provides our plants with less intense light and a relatively short growing season for summer crops. One in particular difficult summer crop are peppers.
This is important because one of the major exports of my garden are the ingredients to allow me to make homemade garden salsa (tomatoes, garlic, onions, cilantro, jalapeño peppers) Al ingredients come from my garden (except for jalapeño peppers) This year I am determined to fix this.
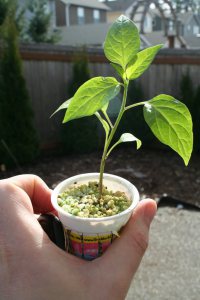
I have a couple strategies for doing this, the first is to “start early” pepper plants require 80-110 days from seedling to harvest, timing is everything. Given our late winters here over the past couple years, I don’t really have much of a cushion here and would also be nice if the peppers were ripe when the tomatoes are getting red as well. To get a head start many weeks ago I planted several jalapeño pepper seeds and they currently are turning into some great looking pepper plants in my grow box. As they have grown I have potted them up to encourage them to continue to grow vigorously.
Not wanting to put my eggs peppers in one basket, I have decided to try a few different techniques in case one completely fails I hopefully have a couple backups:
- Grow pepper plant in grow box in WonderSoil
- Grow pepper plant hydroponically using a Grodan Gro-Blocks
- Grow pepper plant in the ground beside my tomatoes
- Grow pepper plant in large pot in sunniest location
I honestly can not really predict the outcome of this experiment. The grow box as the advantage of accurate temperature control but the CFLs though work great can’t compare to full sun. On the other hand outdoors has the great light intensity of the actual sun though given the pepper plants can stop growing lacking 60 degree nights and at least 70 degrees during day. Given we don’t have too many nights greater than 60 degrees the grow box might have a chance.
UPDATE — 05/25/2009
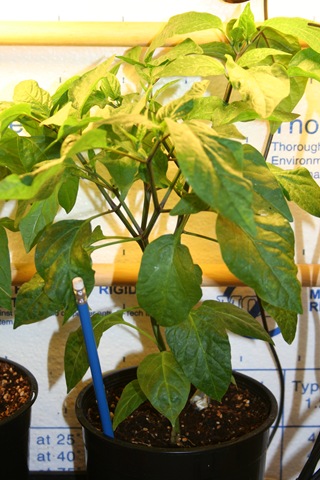
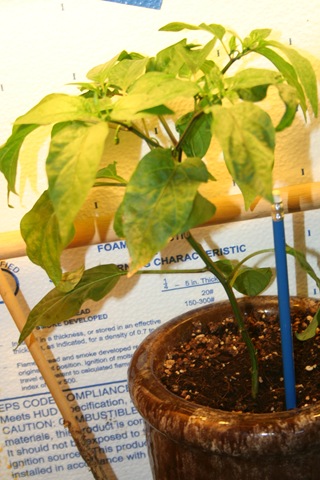
Plant grown in WonderSoil in grow box at temperature controlled to remain above 60 degrees at night and a high of 80 during the day. This is amazing results compared to the 2.5 inch plants I started with less than a month ago.
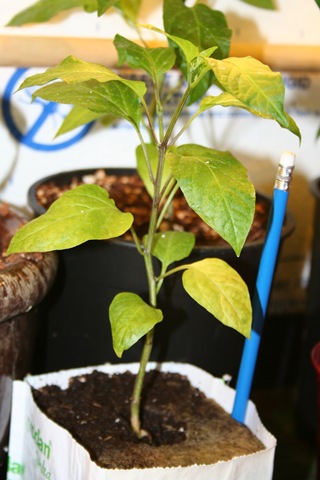
Plant grown hydroponically using a Grodan Gro-Blocks also in temperature controlled grow box.
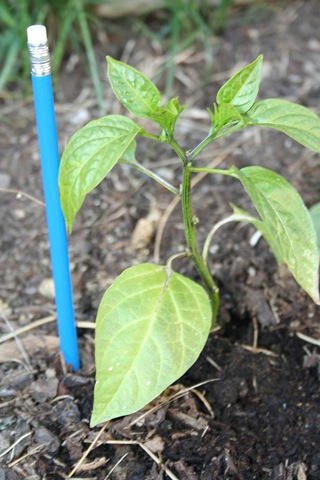
Plant grow in actual dirt outside in good light
Plant grown in pot outside…well this one is already out after some high winds and cold mornings this one was looking pretty bad to I brought to the infirmary (the grow box) to bring it back to life, which seems to have done wonders.
The obvious winner at this point is the pepper plant in WonderSoil in the grow box, though I have noticed some recent growth in the outdoor plant now the weather has started warming up, so might be some time for Mother Nature to redeem itself. Overall I have been very impressed with the results of the grow box but still need to see if I can get flowers and fruit…until the next update…
UPDATE — 06/20/2009
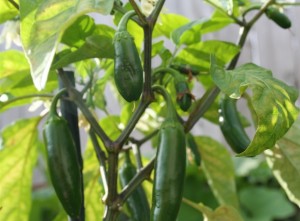
We were blessed with some warm weather so the outdoor potted plant has been doing great blossoming and almost a dozen of good sized peppers growing.
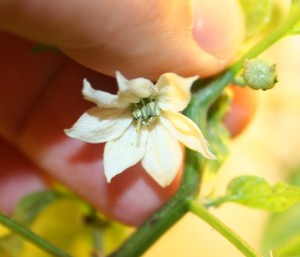
I have seen plenty of blossoms on the pepper plants in the grow box though I have not have and fruit set. I have two theories what is causing this, first is we have hat some hot weather with the garage getting over 85 degrees even with best exhaust and airflow it was hard to keep the temperature from exceeding 90 degrees which causes the blossoms to drop. The second reason is I have been attempting to hand pollinate the flowers with the absence of some nice bees to do the work for me. I have been using a fine paintbrush without much luck. Switching to having better airflow and using a Q-Tip to simulate a bees bottom.
The plant I had in the ground eventually got overtaken by a pumpkin plant which I removed and moved to the grow box given it had not shown any significant signs of growth since I transplanted it there.
Right now seems the best method is grow the pepper plant to about 18 inches and just let mother nature take care of things at that point.
Tags: cheap, cilantro, garden seeds, garlic bulbs, growbox, led, outdoor plants, pepper plants, salsa garden, tomato plants, vegetables
Vegetable Gardening Software Review
15.2 years ago computer, garden planning
When it comes to planning my vegetable garden I must say this is definitely one of my weaknesses. I make a good attempt to map things out on graph paper ahead of time only to decide to add/remove a crop and eventually resort back to my memory and then get a surprise when I find I planted carrots and cilantro in the same place.
Given I am required to spend around 10 hours a day in front of a computer my first thought was to find a solution online in the form of some sort of vegetable gardening software. I tried some trials of several products and got so frustrated I was about to create my own when I came across GrowVeg.com. After signing up for their 30 day trial within 15 minutes I had my gardens planned out and saved for future reference.
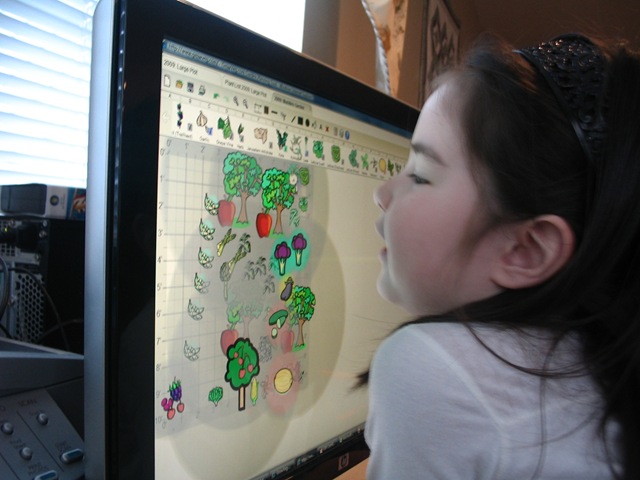
Now if when I change my mind on planting preferences I can easily modify my plan to the new desired configuration. When I see easy I really mean it, it completely passed the “I am a man and don’t read instructions” test but there are some helpful video tutorials for those with more patience. I can honestly say it is so easy a 4-year-old can do it. She saw me “playing” with my garden and asked if she could “play” the gardening game as you can see below.
Once my daughter was done with her garden I proceeded to check out some of the other features. The next feature I came across was by clicking on any of the plants it would return helpful plant information from how to plant, how to harvest, and even how/when to apply fertilizer.
Definitely the feature I was most impressed with was the planting schedule it automatically generates after you have added plants to your plan. Not only does it tell you when to plant but also when to expect your harvest. What I love about this is, if you are like me, you can’t decide what your frost date is, you can simply change it in the settings and the schedule automatically updates. Now if you are forgetful like me, there is even a feature to notify you by email when it is time to plant your seeds.
Once you have built your history of garden plans throughout the years, the program will use this information my warning you if you are planning on planting the same type of plant in the same location you did before. This enforcement of crop rotation can significantly help reduce the accumulation of soil borne fungus/disease.
For more information see GrowVeg.com
Tags: cheap, cilantro, garden seeds, outdoor plants, vegetables
Protecting your seedlings when your weather does not cooperate
15.2 years ago cold season crops, outdoor seed starting, sieve
I like to push the envelope my luck when I decide to start seeds outdoors and this year is not an exception. Just yesterday I posted about planting the rest of my outdoor seeds where karma responded with a freak snow storm and freezing temperatures.
I am not too worried about about the new seeds I planted since many have been sitting dormant in the refrigerator for almost 12 months so few more days in about the same temperature shouldn’t be too traumatic for the lettuce, carrots, and cilantro.
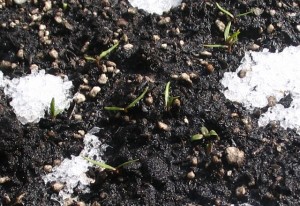
The plants I have concerns with are the spinach seedlings which have just started to break through the soil. Fortunately spinach are pretty cold tolerant but weight of the snow on top of them is not a great way for them to start their time in the world.
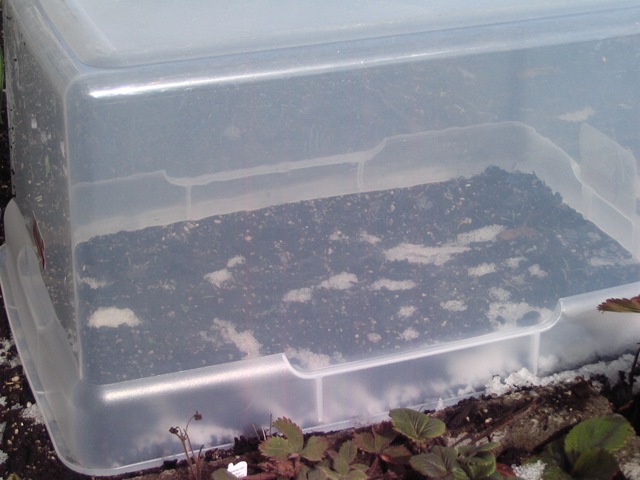
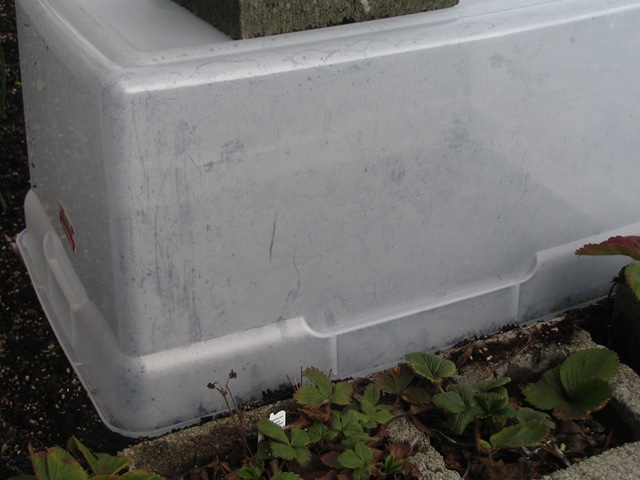
After a quick search through the garage I found a great solution, a plastic storage tub, which fit perfectly over the irregular rectangular space I planted them.
Tada. If I wanted to get all fancy, I would add some holes for venting/etc but I chose to set a small cinder block on top and call it good. After a couple days, I should be able to remove it until the next freak storms comes our way.
Stupid groundhog…
Update: This is what the tub looked like after a few minutes in the sun (instant humidome)
Tags: cilantro, garden seeds, outdoor plants
Finish outdoor seed planting with coffee grounds
15.2 years ago garlic bulbs, onions, outdoor seed starting
It has been a blessing that the competition for free coffee grounds at the Starbucks at my work has increased now the weather warmed up and I have freed from the temptation to grab yet another free shiny silver bag of grounds. The reason is, I have put four bags in my compost, worked generous amounts into my vegetable garden and I still have six bags left. Now I am looking at inventive ways to use the rest up. I tried mixing with perlite to make a cheap potting soil (failed still no room for roots) but I believe I have come across one success I thought I would share.
When you are finished planting seeds outdoors apply a thin layer of coffee grounds. This will deter slugs from going after your new seedlings and keep cats from mistaking your nicely loosened and raked soil for their kitty litter.
I have done this for my larger seed plants (peas, garlic, onions, cilantro) but for the small seed plants (carrots, lettuce, spinach) I used the coffee grounds as a seed covering.
So far the results are great. All of my peas/garlic/onions/spinach have sprouted with no signs of pests (four-legged nor zero-legged).
Tags: cheap, cilantro, coffee grounds, compost, garden seeds, garlic bulbs, led, outdoor plants, vegetables
Growing in dirt outside
15.2 years ago cilantro, cucumbers, garlic bulbs, indoor growbox, onions, outdoor seed starting, peas, tomato
I haven’t done many posts in a while about regular old gardening in actual dirt so figured a good time to do an update. Though I enjoy indoor seed starting in my LED grow box and computerized grow box, some plants need to be started outdoors. Today my daughters and I planted the last these plants for fall outdoor planting.
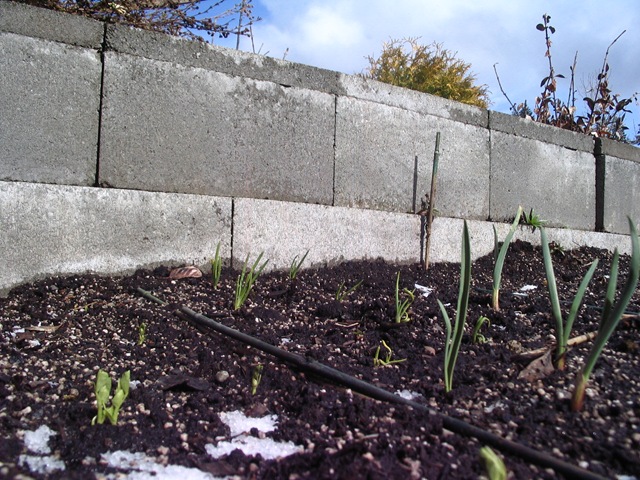
A few weeks ago, we planted garlic, onions, spinach, and peas which are doing well. I love growing these plants no matter how late your spring comes these plants are hardy they are pretty hard to kill off.
Today we planted carrots, lettuce, and cilantro leaving a little space left to do some successive cilantro planting in a couple weeks to ensure I have enough for salsa by the time the tomatoes are ready this summer.
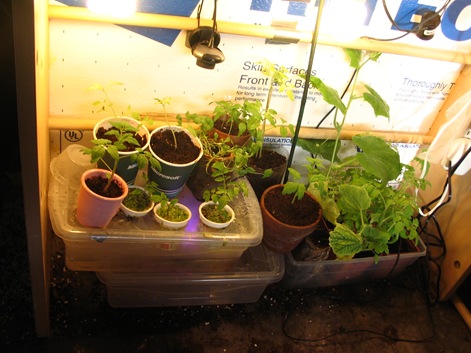
Speaking of tomatoes, they along with jalapeño peppers, and cucumbers (actually flowering) are doing great in the computerized grow box. In the LED grow box I have pumpkin, Black Eyed Susan, small sunflowers, and Purple Coneflowers using Grodan Gro-Blocks.
Nice to finally see some stuff in the ground though still hoping the weather gets better before my cucumbers try to escape the grow box.
Tags: cheap, cilantro, garden seeds, garlic bulbs, growbox, led, outdoor plants, pepper plants, salsa garden, tomato plants, vegetables
Computerized grow box update
15.2 years ago cilantro, computer, computer power control, cucumbers, electronics, indoor growbox, tomato
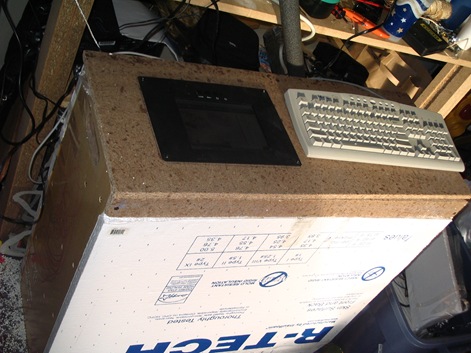
Haven’t mentioned the computerized grow box for a while, so think it is a good time for an update. The moisture sensor corroded away, but have plans to make a much more beefier one. With the exception of the hard drive failure, the basic functionality of the computerized grow box has been excellent and the plants have been thriving. The only physical improvement I have made is adding some particle board to the top and side (salvaged from packaging material from some furniture we ordered) of the grow box. This helps retain heat and allows the access panel to stay put without requiring tape and/or bags of coffee grounds propped against it. I also mounted the LCD panel securely to the top of the box.
They say as your paycheck increases, somehow your expenses follow suit. I have a feeling same concept applies for grow boxes. As the computerized grow box is about four times bigger than my PC grow box it has quickly getting pretty crowded waiting for the time I can move my summer vegetables outside. I am planning on doing some reorganization this weekend to clean things up a little bit but still going to be pretty tight quarters.
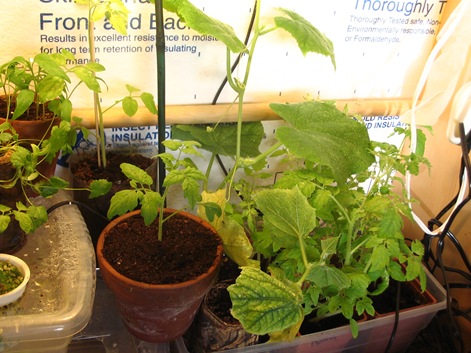
The current inventory in the grow box are 12 tomato plants (was 18 but gave six away at a recent gardening talk), 2 cucumber plants (had one fatality from Peat/WonderSoil experiment, looks like Peat lost), 6 pepper plants (need transplanting), and a cilantro plant which was the source of my first harvest of the year.
Now just hoping Punxsutawney Phil is wrong and we really don’t have six more weeks of winter, though with the snow we got two days ago and the current temperature outside, I think he might be right.
Tags: cheap, cilantro, coffee grounds, garden seeds, growbox, outdoor plants, pepper plants, tomato plants, vegetables
